The countdown is on for The British Shooting Show – book tickets online today and save on gate price!
How to: move into advanced hunt whistle training
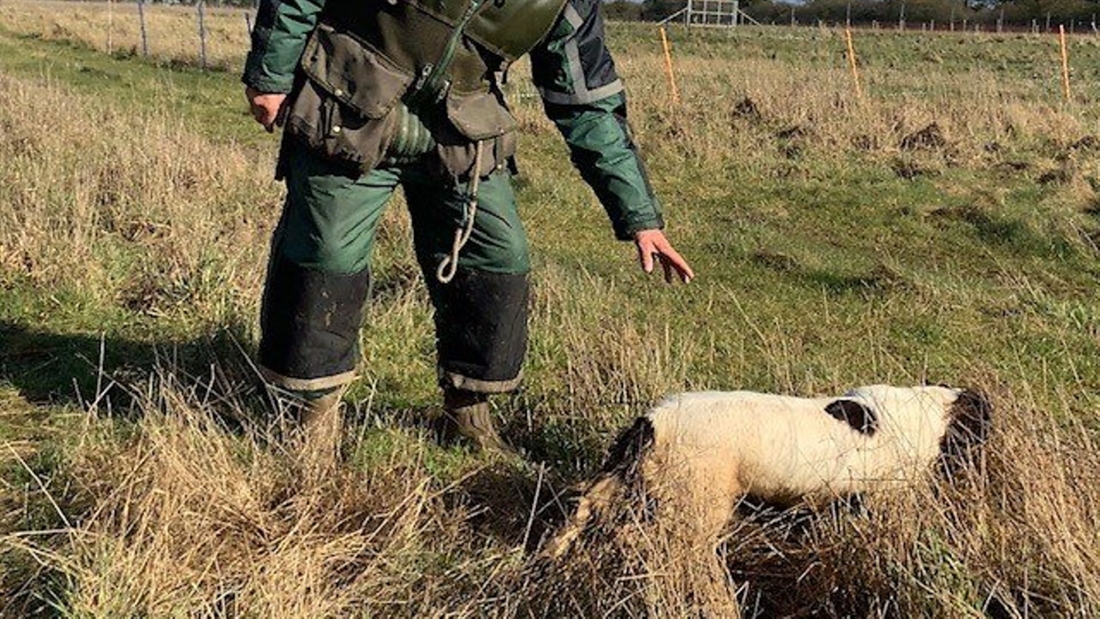
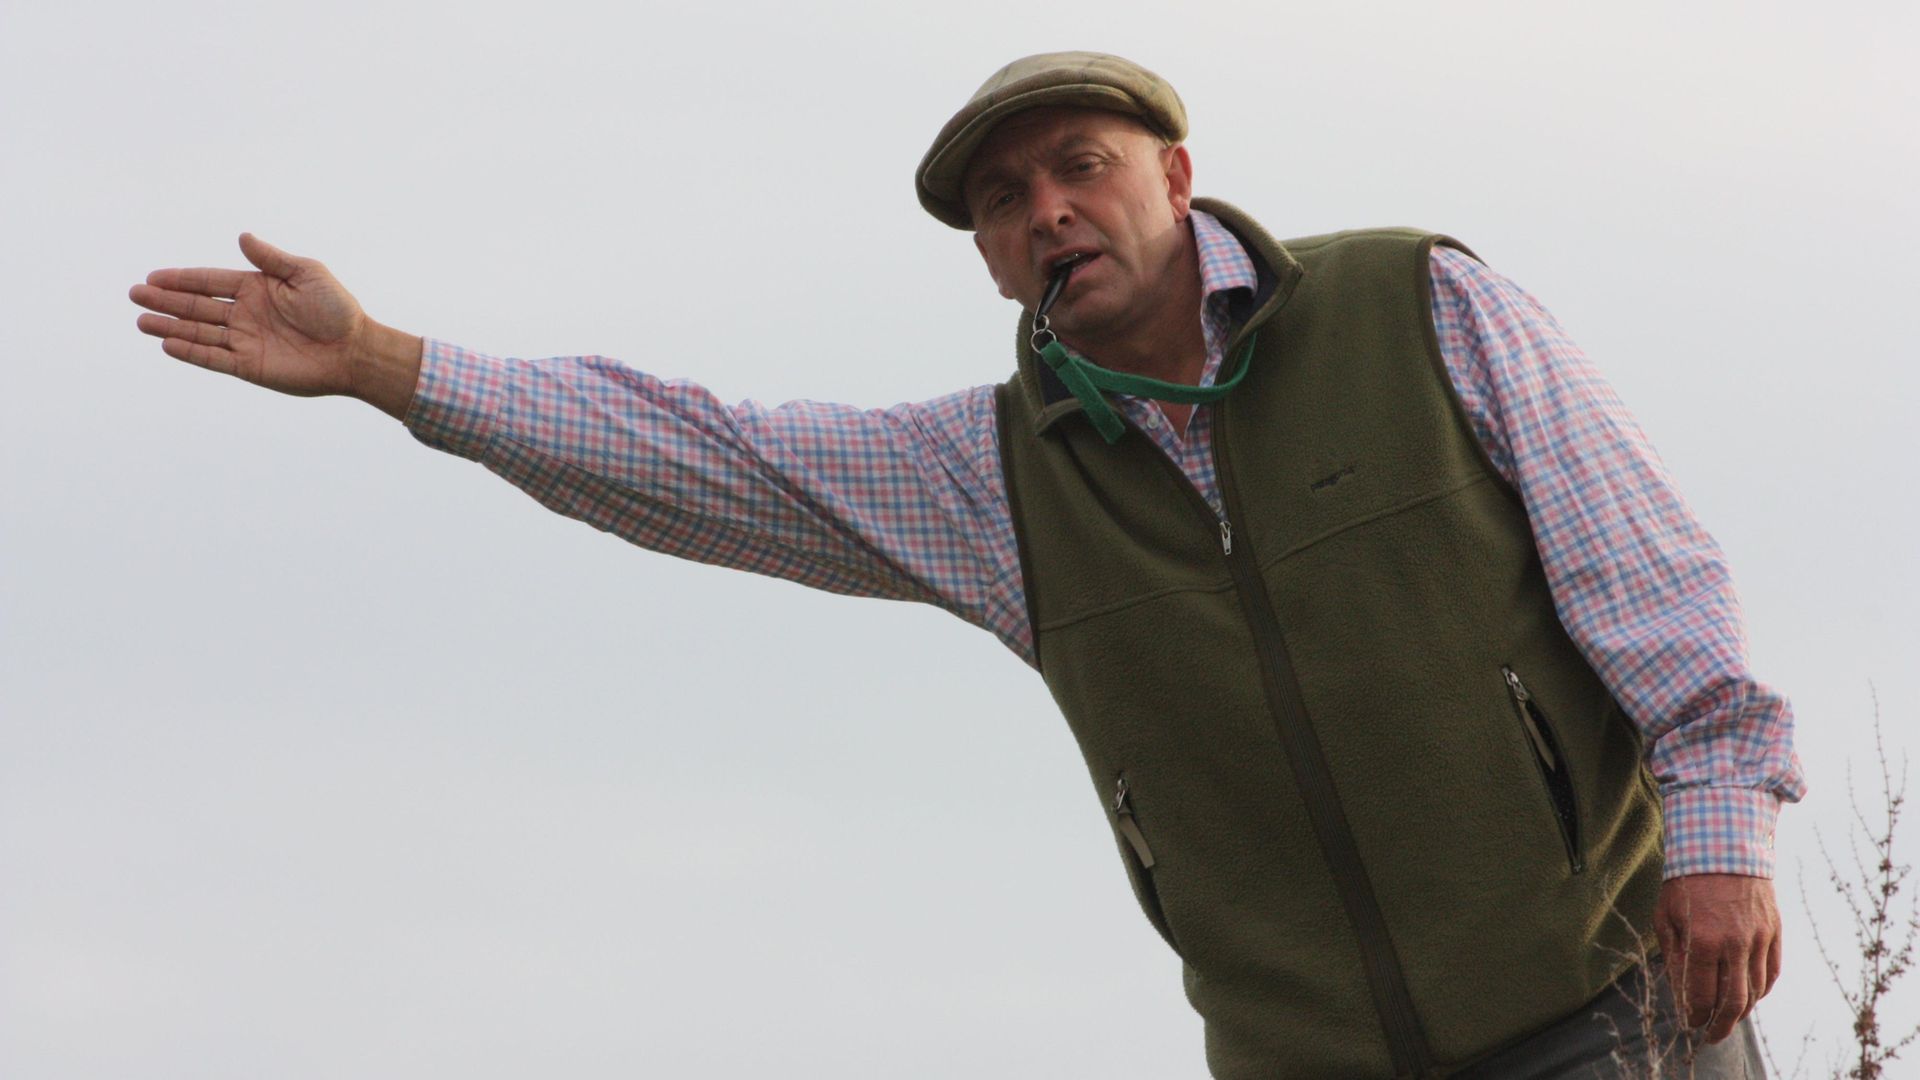
Now you can teach your dog to hunt on command, it’s time to up the ante with some directional work and some sophisticated whistle commands. Howard shows you how…
In last month’s article, we took a look at how you might set about schooling your dog to hunt on command. The article focused on establishing an understanding of the command you are issuing via your whistle. My view is that you can start to establish this understanding in a really young puppy by teaching it to hunt for food – but to teach the pup to hunt for dummies, you will have to get the puppy retrieving properly first.
It’s probably a good idea to establish that, with many dogs, it will be necessary to stop the dog on the whistle before telling it to start hunting. As with all of my advice, I’m absolutely aware that there are many successful gundog trainers that will have different opinions to this, which is why I love to listen and discuss tactics with anyone that is getting results.
The need for the Stop whistle is particularly important when you send your dog for a ‘true’ blind retrieve, where not only is the area of fall lacking any clues or distinguishing features but the dog may also be running out on an upwind line to the dummy or bird. Poor scenting conditions would also contribute to the need to stop the dog.
Some dogs possess such a powerful outrun that, when left to their own devices in any of the situations described above, they will quickly over-shoot ‘the area’, meaning that they are unlikely to be successful in locating the dummy.
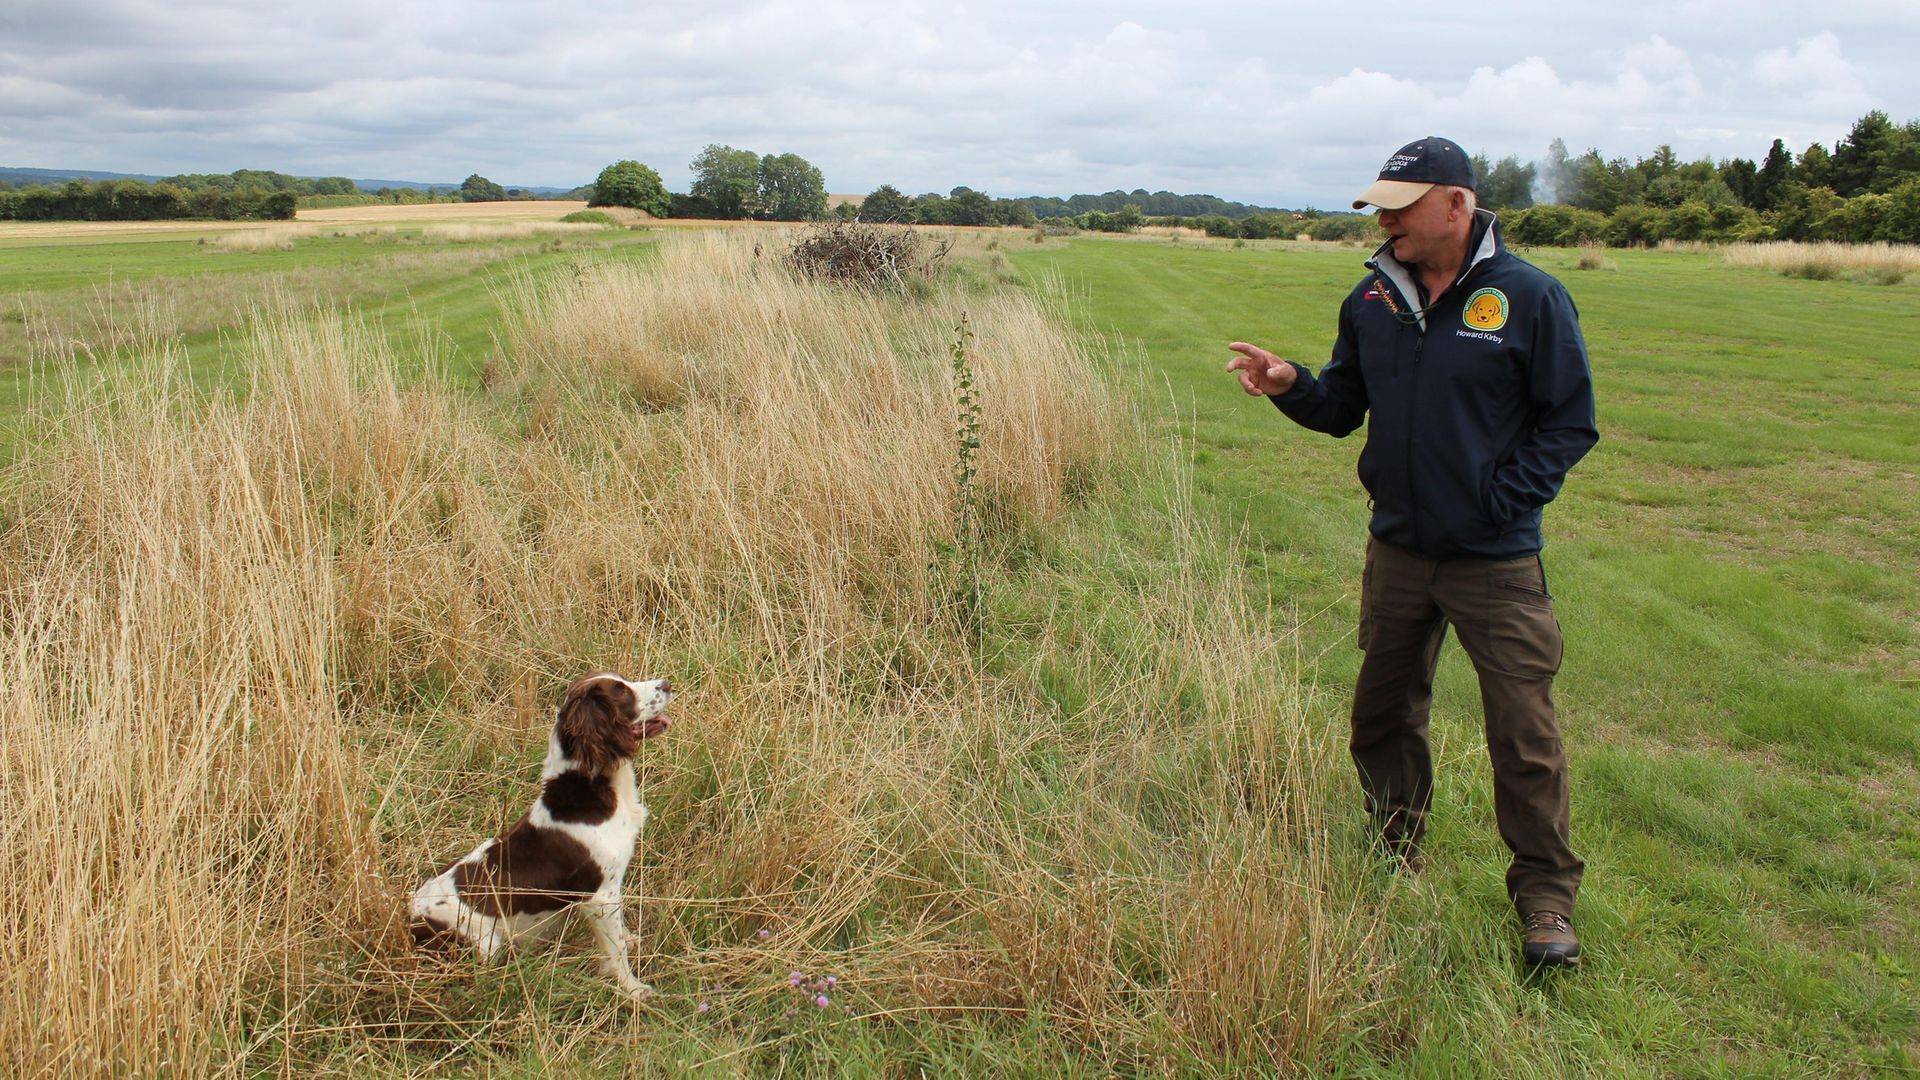
Sit to the whistle
Let’s have a quick think about the need to stop the dog before issuing the ‘hunt there’ command. Before moving any further forward, you will need to have schooled the dog to be sharp on its Stop whistle. The sharper it is, the easier it will be to put the dog into the area. A dog that is unreliable on its Stop whistle will clearly make handling more difficult.
There is no doubt in my mind that if a dog is trained to a very high standard, he or she will be considerably more effective when retrieving game. Before the ‘ahhh well, you’re just turning them into retrieving robots’ brigade start writing letters of complaint, please note that I said, “trained to a very high standard,” which means that the very same dog, when left to its own devices, will have learned gun and shot sense and be able to find game and dummies perfectly well on its own. For the record, a dog trained to this very high standard is hard to find and even harder to school to such a magnificent level. But don’t let that deter you.
Having stopped and grabbed the dog’s attention, some trainers take the time to build a further layer of understanding into their repertoire. A ‘hunt right where you are’ whistle command with an additional ‘you’ll need to get about to find this one’ gives the handler two nicely refined options. Clearly this will require two different commands. Honestly… I’ve never schooled to this level but have always wanted to.
I think that one of the young English springers that I’m currently working with would be better if I taught him to understand this level of differentiation. The dog I have in mind does everything at a hundred miles an hour which usually works in our favour but occasionally means that his legs are moving faster than his nose and brain can cope with.
Teaching the two hunt commands
A ‘pip-pip’ whistle sound fits in nicely here for the ‘hunt right where you are’ command. Sit your dog up in front of you and encourage the dog to hunt in really close proximity to where he is sat, whilst gently overlaying the ‘pip-pip’ whistle. This will start to build this understanding. Start by bending forward and rustle your hands around in the cover or pull up some short grass, spit on it and then throw it down in front or next to your dog. These actions should encourage the dog to put its nose down and snuffle around to investigate. Surreptitiously introduce a ball or a dummy as you do this and ensure the dog gets the find before it runs out of enthusiasm. Hard-hunting dogs will work for longer so you will need to gauge the dog’s level of enthusiasm.
To encourage our dogs to hunt a little more freely and to gradually open out their hunting pattern, we can use the ‘pip-peeeeeep’ whistle sound to deliver this message. Teaching this will be very similar to building the ‘hunt where you are’ behaviour. This time, we need to encourage the dog to hunt an area that’s approximately 10m across. Further details on teaching this can be found in last month’s article.
Adding in directional commands
Last month, we touched on adding a directional command to accompany the hunt whistle. Once again, the need to ensure you have schooled the dog to understand the difference between a ‘go BIG left or right’ arm signal and a ‘go SMALL left or right’ arm signal will be really useful.
How to do it
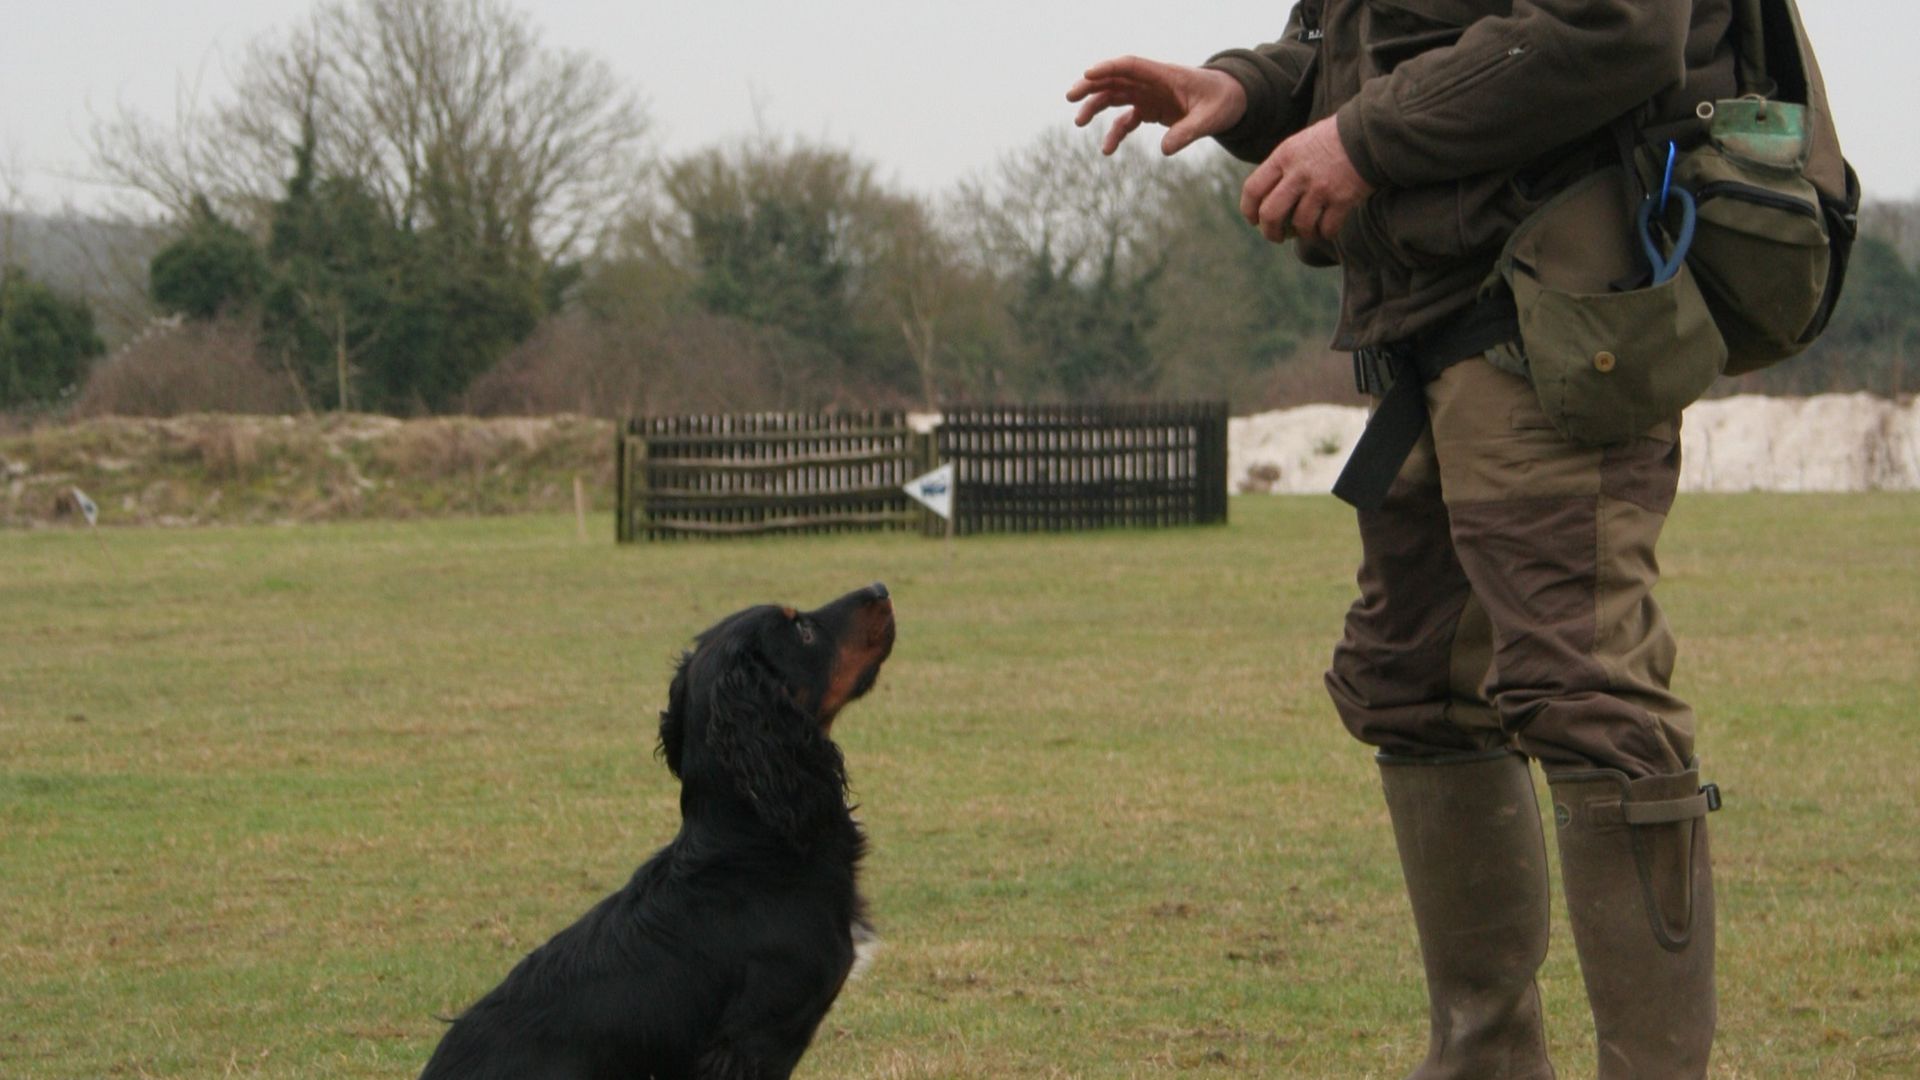
Once again, to teach these differences we will need to engineer behaviours. To teach the ‘go a little left’, sit the dog in front of you and throw a dummy just a metre to his left or right. Gently indicate downwards with your arm towards the dummy whilst overlaying the ‘pip-pip’ hunt whistle. With enough repetitions at varying distances and hunting areas, this will establish the understanding that we require.
A common problem that creeps into this element of training is that the dogs misunderstand the low hand and move forward to the handler, mistakenly believing that you want them to hunt near your feet. I believe this to be an association they make when watching us put food bowls and dummies on the floor. Therefore, it’s really important that you give the dog every opportunity to understand the signal.
As the understanding builds, you will need to increase the distance between yourself and your dog as you give these instructions. Don’t rush training and be sure to ‘proof’ the new distance before extending it.
Conversely, throw the dummy or dummies out much further to establish a ‘go BIG right or left’. With this command, do not overlay the hunt whistle as we don’t want to put it in until the dog is closer to the fall.
Of course, these hunt and directional commands are reliant on the dog being trained well enough to get it out to the area in the first place. As always, enjoy your dogs and Keeeeeep Training.
Related Articles
Get the latest news delivered direct to your door
Subscribe to Sporting Gun
Subscribe to Sporting Gun magazine and immerse yourself in the world of clay, game and rough shooting. As the leading monthly publication for passionate shooters at all levels, Sporting Gun delivers expert advice, practical tips and in-depth reviews to enhance your skills and enjoyment of the sport.
With features ranging from gundog training to pigeon shooting, and wildfowling to equipment recommendations, you’ll gain valuable insights from professional shooters and industry experts. A subscription not only saves you money on the cover price but also includes £2 million Public Liability Insurance, covering the use of shotguns, rifles and airguns for both recreational and professional use.
