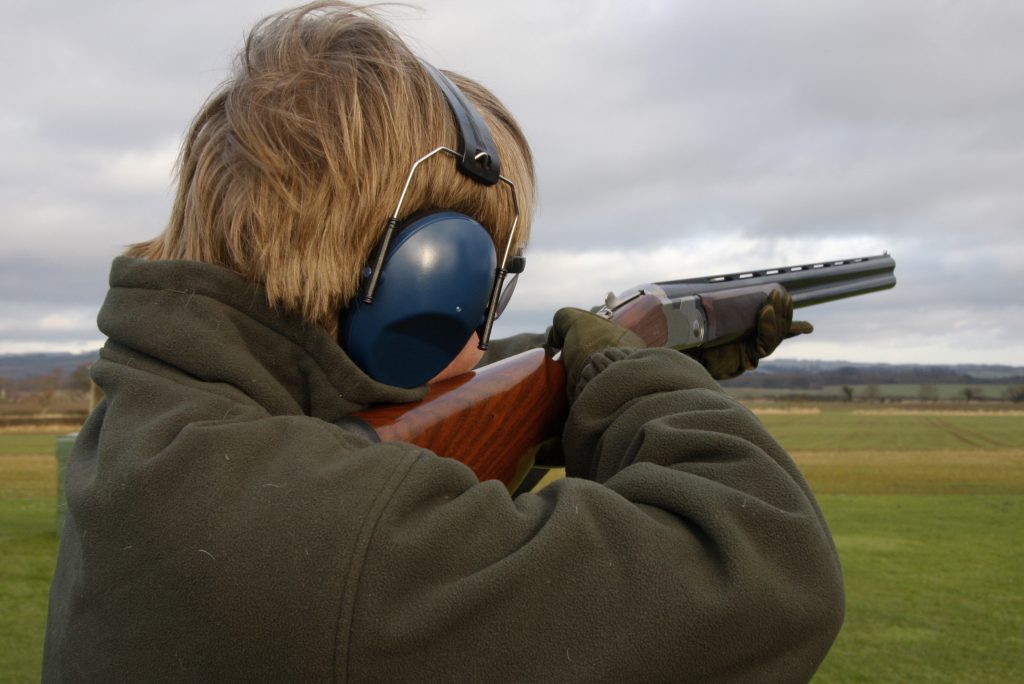
How to: shoot long crossing targets

Mastering the “long crosser” is essential for clay shooters, pigeon shooters and game shooters alike; Steve Rawsthorne tells us how to do it right!
Many of us are now busy preparing for the 2019 competition season. Long crossing targets, one of my favourites, can really make a difference to how you are placed. A 40+ yard bird sorts out the wheat from the chaff – and not just on clays either. Game and pigeon shooters also need to be able to get on well with this type of target.
The further and more technical the target, the more proper preparation pays off. Small errors in gun mount are magnified over distance and if your footwork is not right, you will run out of movement before you can complete the shot. When shooting clays, it is vital you take advantage of the time waiting on a stand to really look hard at the clay: where do you see it, where will you shoot it, how will you set up? All this should be sorted in your mind before you go into the cage and call for a bird.
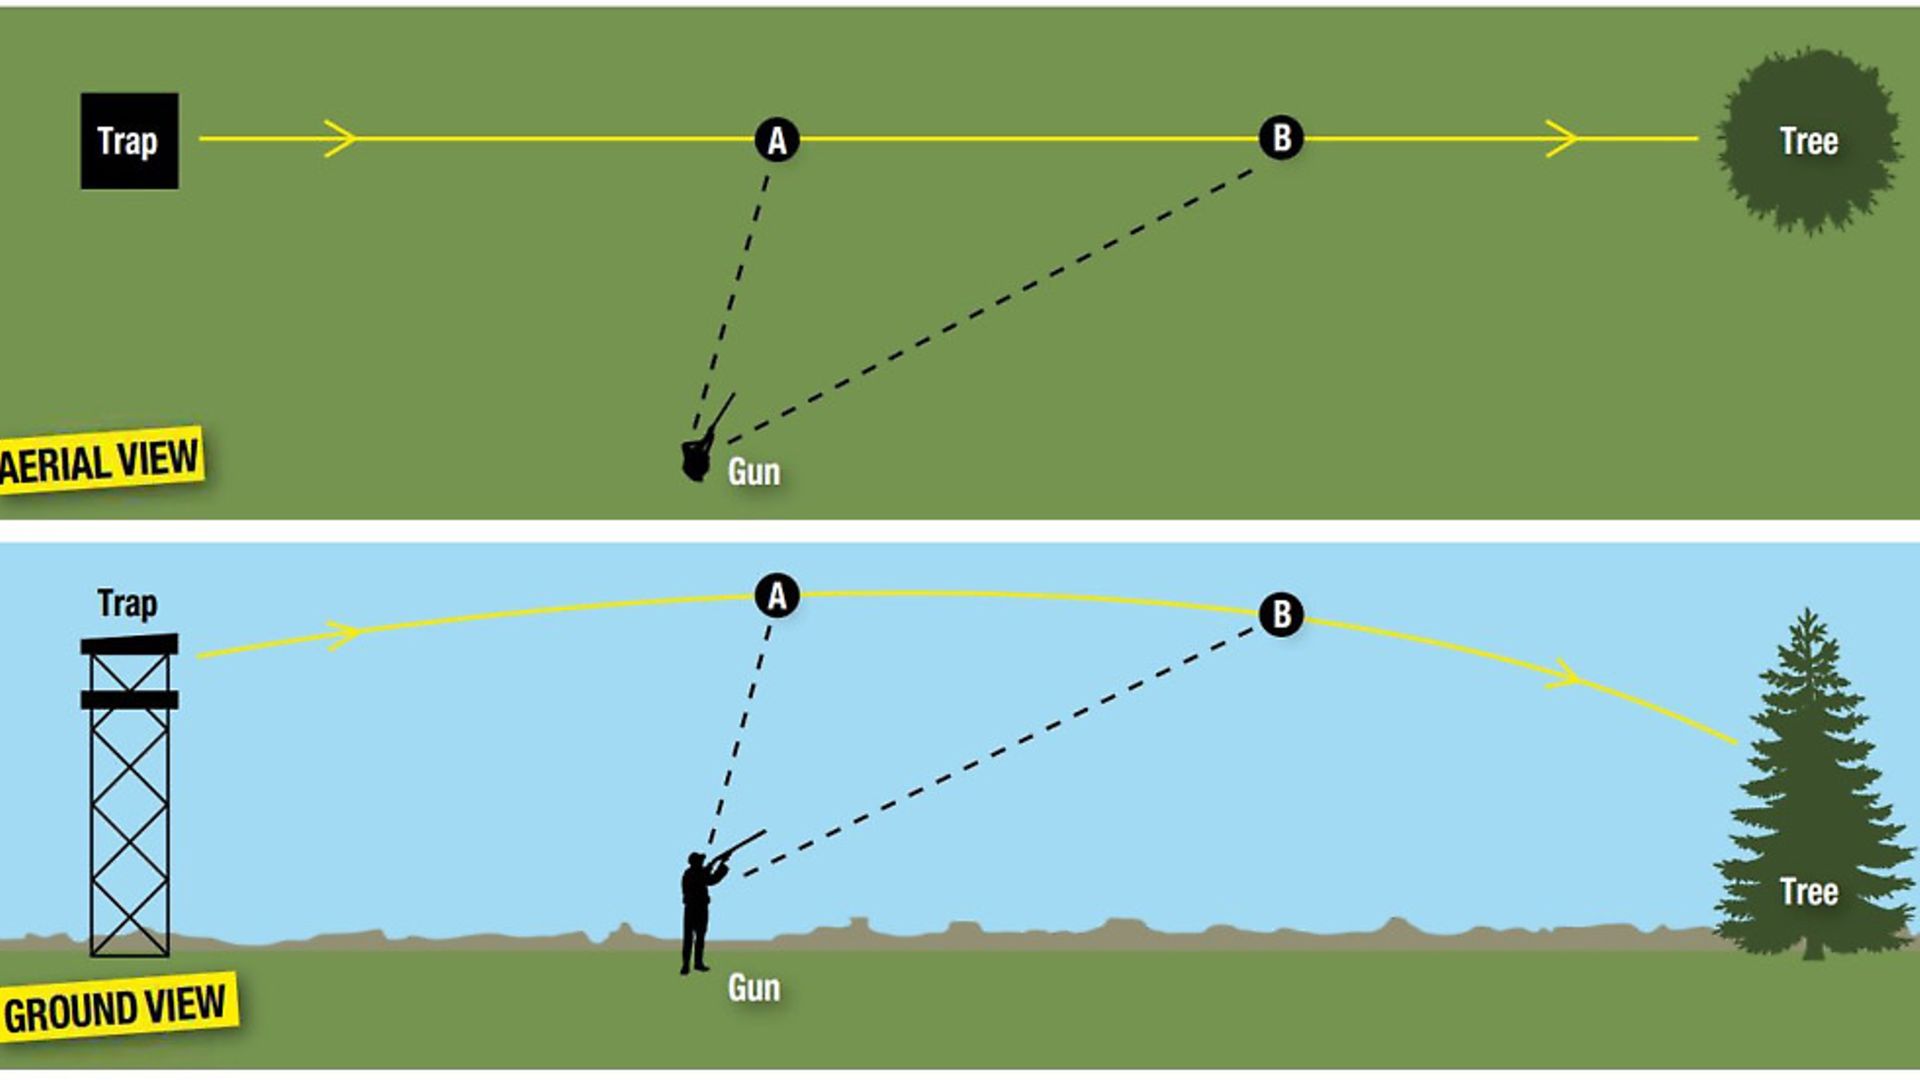
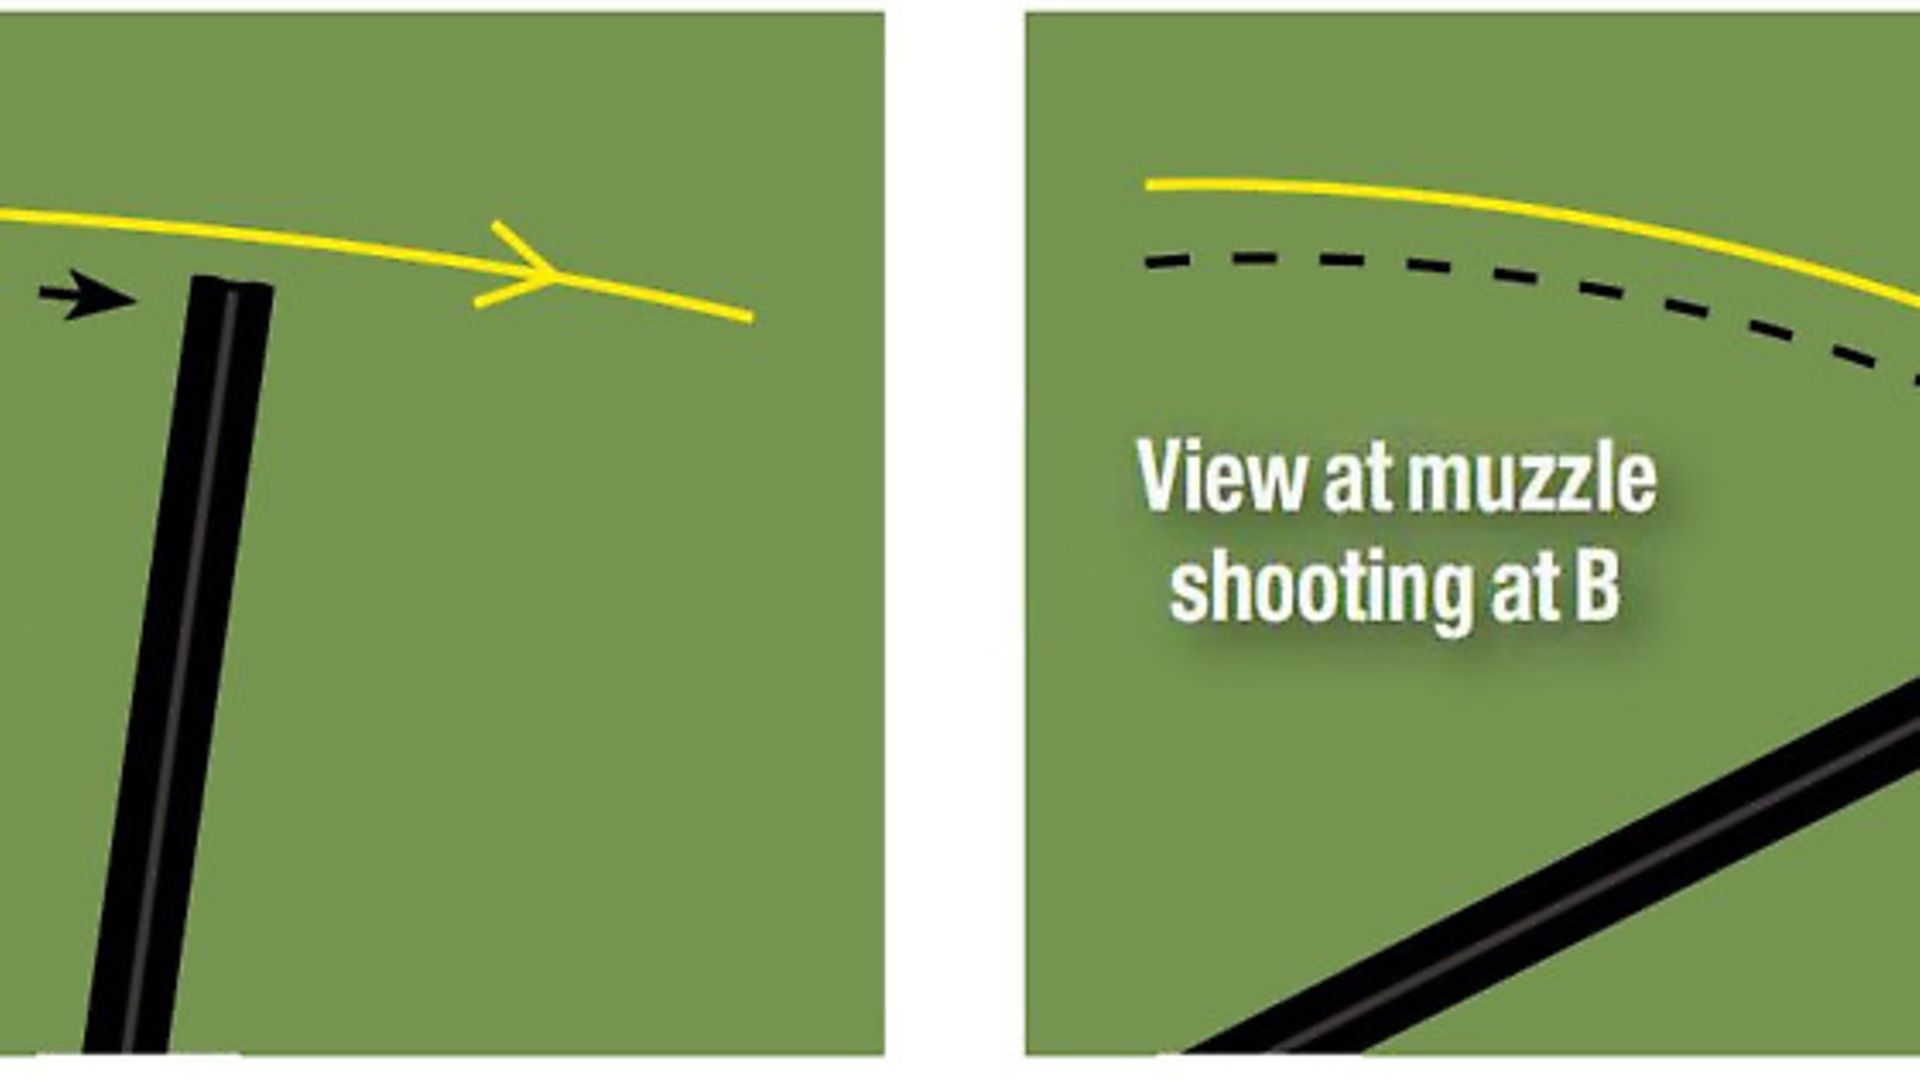
Look at the diagrams. The target is crossing left to right around 40 yards away from the shooter. If you shoot it at position A, you can see from the aerial view that it is at almost its closest point, but it will require a good amount of lead as it is travelling square on to your front. You can also see from the ground view that it is at a fairly flat trajectory, so should, assuming you can see it early enough, be the optimum point at which to shoot it.
Shooting the clay at point B, it is dropping, so you will need to factor that into your lead picture. Because the angle is narrowing, it should in theory need less lead; it is no longer what rifle shooters call ‘full value’. However, because it is further away it may still need considerable lead.
Let’s say we have looked at the clay and decided we can shoot it at A. As a right-handed shooter, we will position our feet at one o’clock and three o’clock with the 12 o’clock position at point A. If you set your feet up at the point at which you see the clay, by the time you shoot it, you will run out of ‘swing’ – one of my least favourite words, especially when accompanied by the word ‘through’! For a right-handed shooter, the bird crossing to the right will always be more difficult as you are turning away from the body and pushing the gun away from the face, which is why foot position is so important. Failure to set up properly will also lead you to ‘roll off’ the line of the bird. For left-handers the right-to-left target presents the same difficulties.
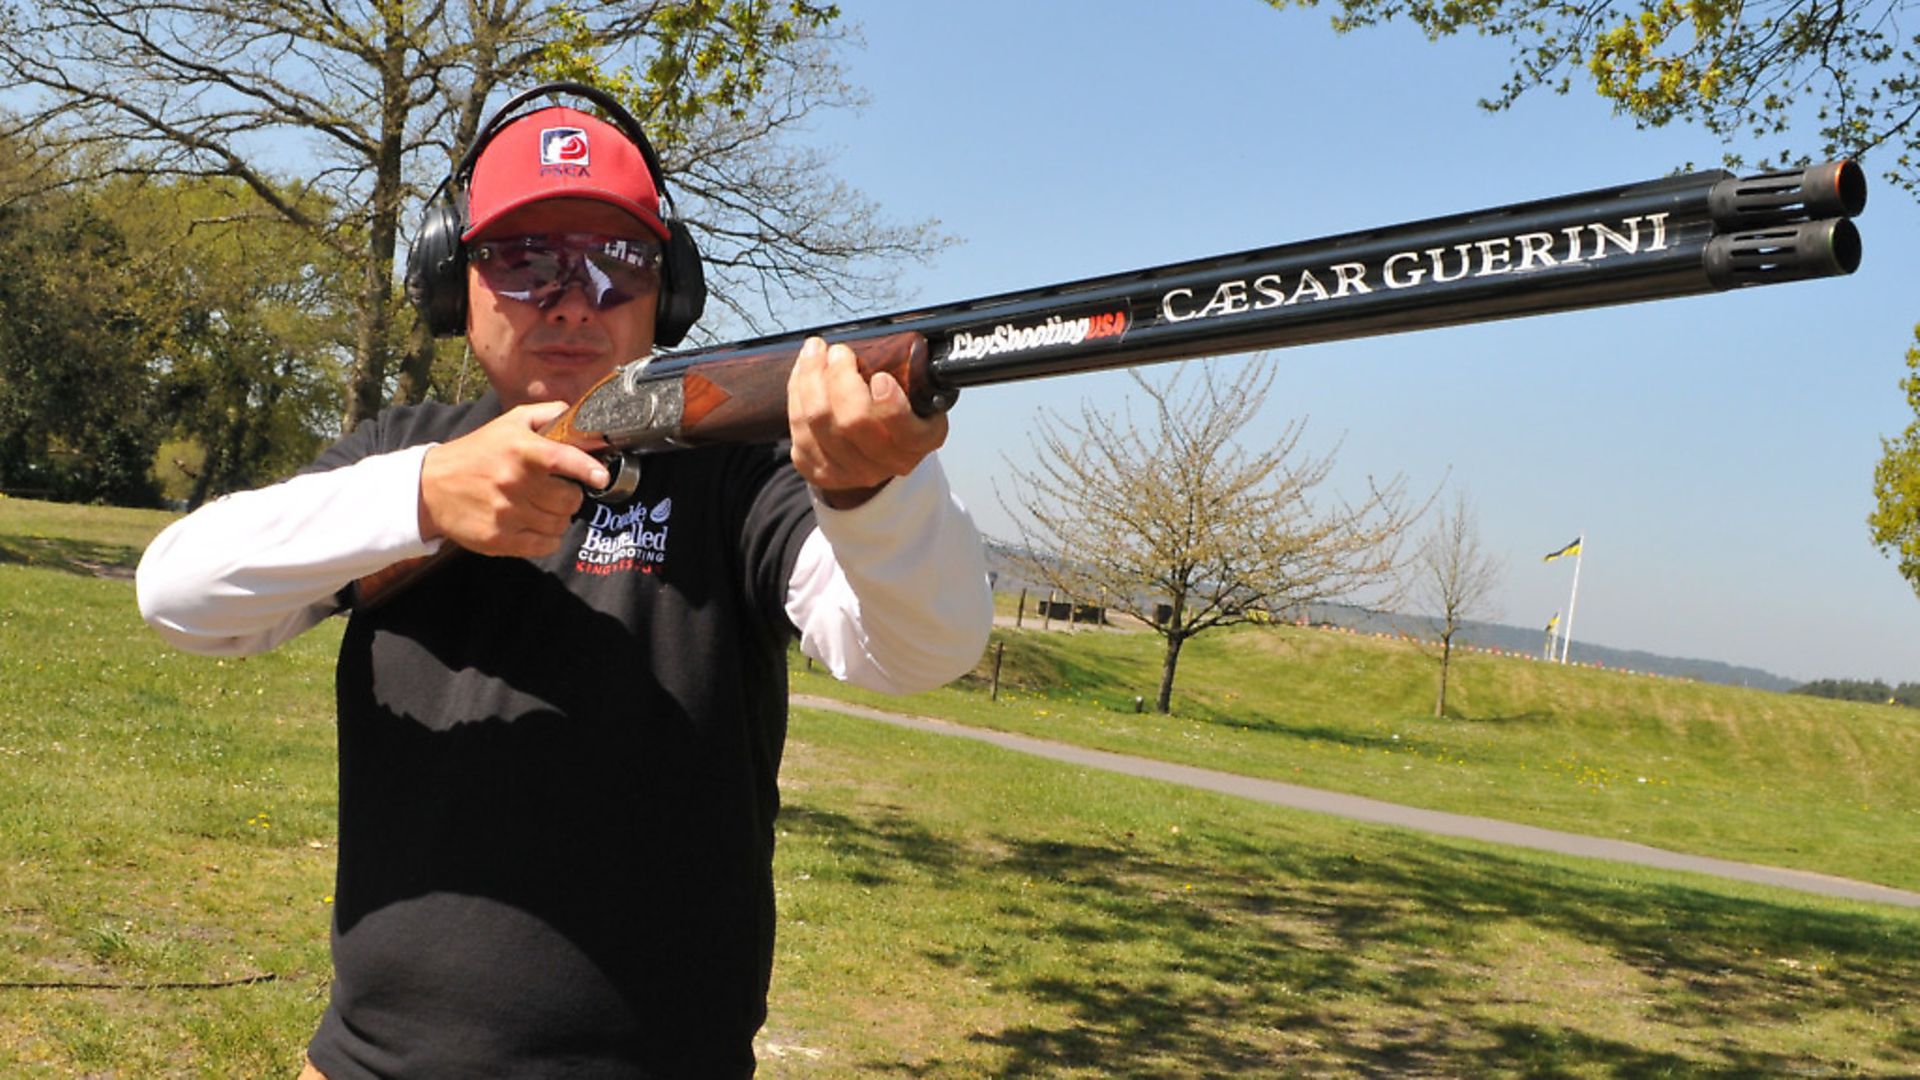
Next, we need to address our hold position – where we will hold the muzzles of the gun when we call for the target. I suggest a point about a third to halfway between where you first see the target clearly and where you intend to kill it. The muzzles should be at a height such that the clay will cross just above them – another reason to pay attention when you are waiting. If they are too low, you will be crossing the line of the clay with a rising gun and will only be able to shoot it at one point. If too high, you will lose sight of the clay behind them, get behind the bird and then have to chase after it.
Having established all of the above, when we call for the bird, we hold at our chosen point, look back to where we will see it and commence the mount only once we have seen it. Resist the temptation to call “pull” and start mounting the gun immediately. You will have to stop the gun, find the clay and get going again – not good!
When you see the clay, push forward with the front hand, moving with or in front of the target depending on your chosen method, maintained lead or Method, eyes focused on the leading edge of the target, the rear hand following the front so that the comb comes into the cheek, the shoulder pushes forward to meet the gun butt and then you obtain the correct lead picture, how far in front you need to be, fire and follow through.
We need to follow through on every shot to some extent, but for a long crosser, this needs to be much more than most shooters realise. Make it a part of your practice routine to deliberately build in an extra-long follow through. That way, when you are focused on the shot in competition, it will happen subconsciously.
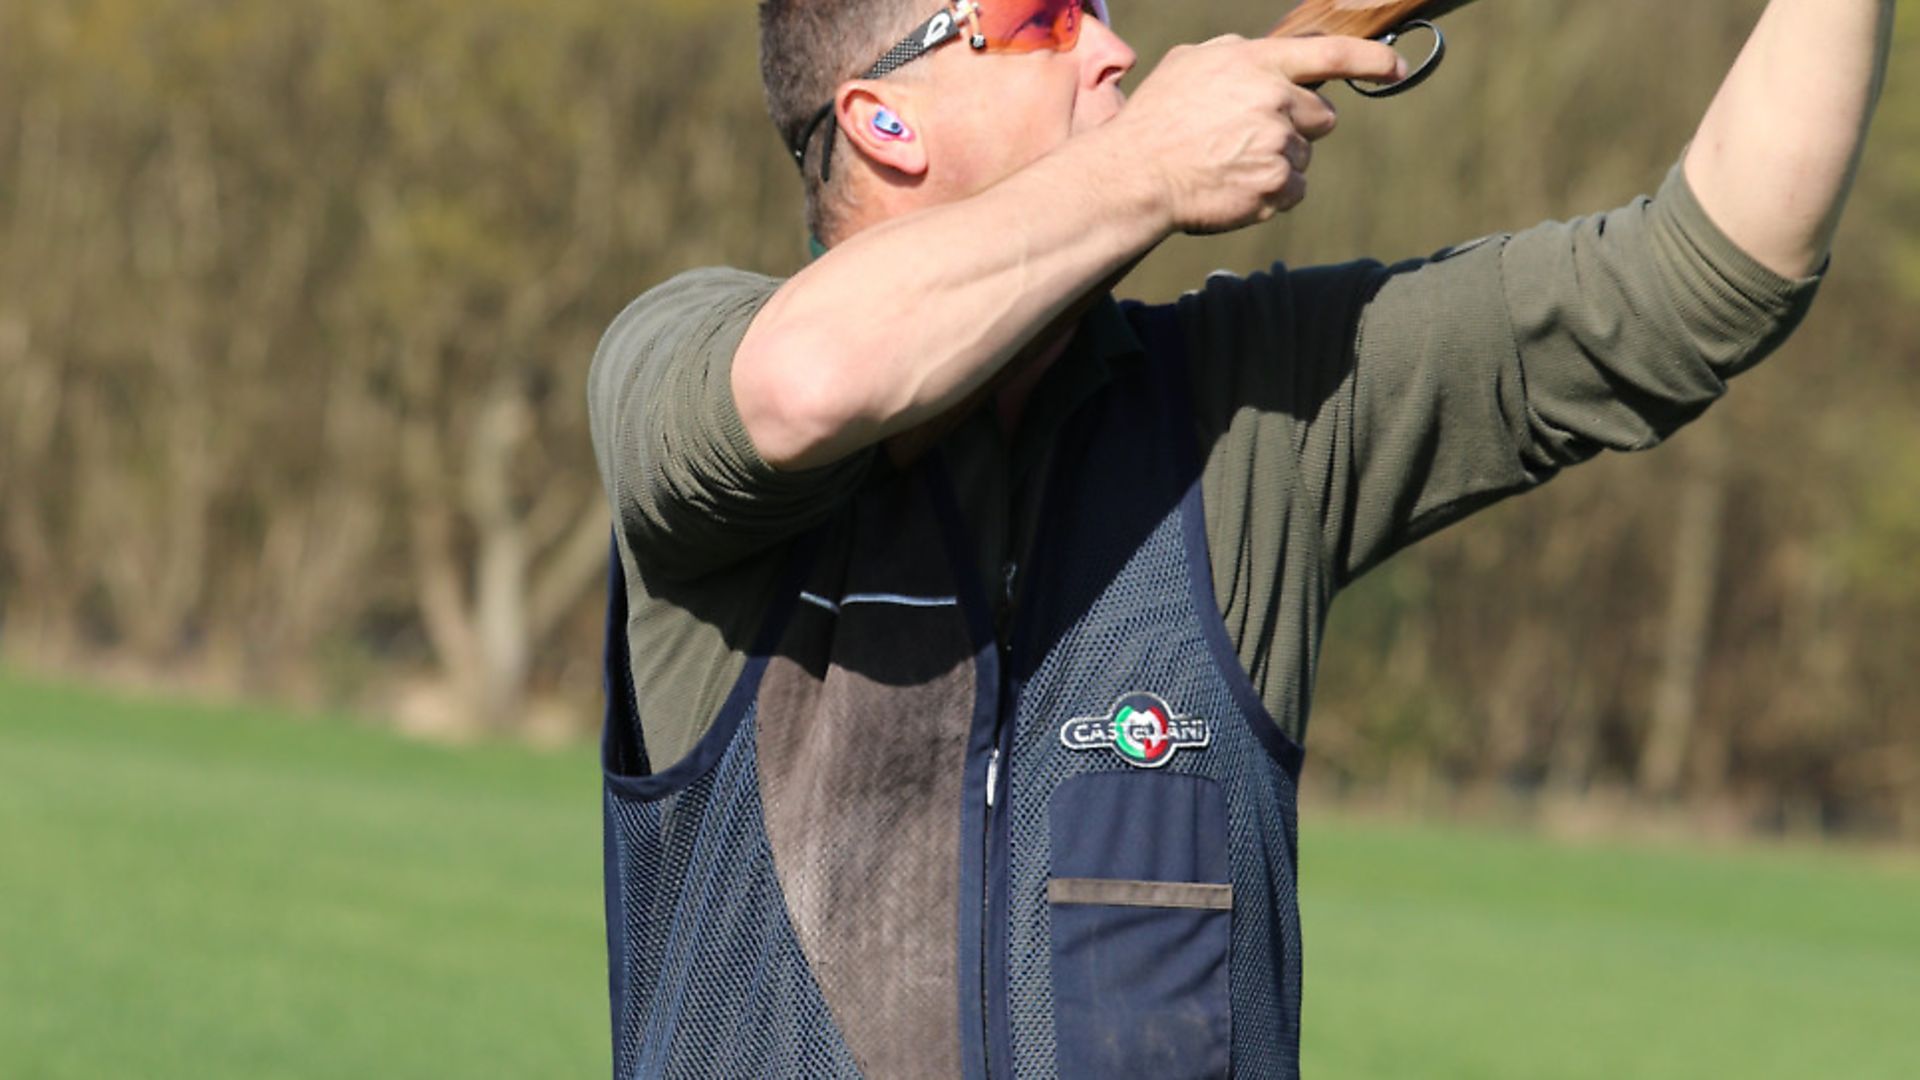
Follow through means keeping your head firmly on the stock of the gun after you have pulled the trigger, staying focused on the remnants of the target for at least a couple or three metres. If you don’t, you will be able to see easily from the position of your raised head, looking over the stationary barrels, the target sailing on untouched.
To shoot at point B, we will need to hold our muzzles further along the flight line and a little lower. As the clay will be dropping more, working out the lead to give it is also tougher. I like to stand well behind the cage and use my left index finger to move with a few clays, pull in front and get the lead picture that way.
Game and pigeon shooters do not know where exactly their birds will appear from, but if you are flighting, you should have a reasonably consistent line in front of you. Address your feet and body position to that, bearing in mind if you face a little too far to the right, it makes that side easier and turning to the left, into the body, is a more natural movement.
Once on the peg, game shooters can fairly quickly establish where the birds are most likely to come from and set up accordingly. Be prepared to reorientate yourself as the drive progresses. When the wind is wrong and those curling pheasants are flying along and above the treetops out in front of you, not driven over the Guns, if you know what to do, you can have a great time!

