The fine art of chequering
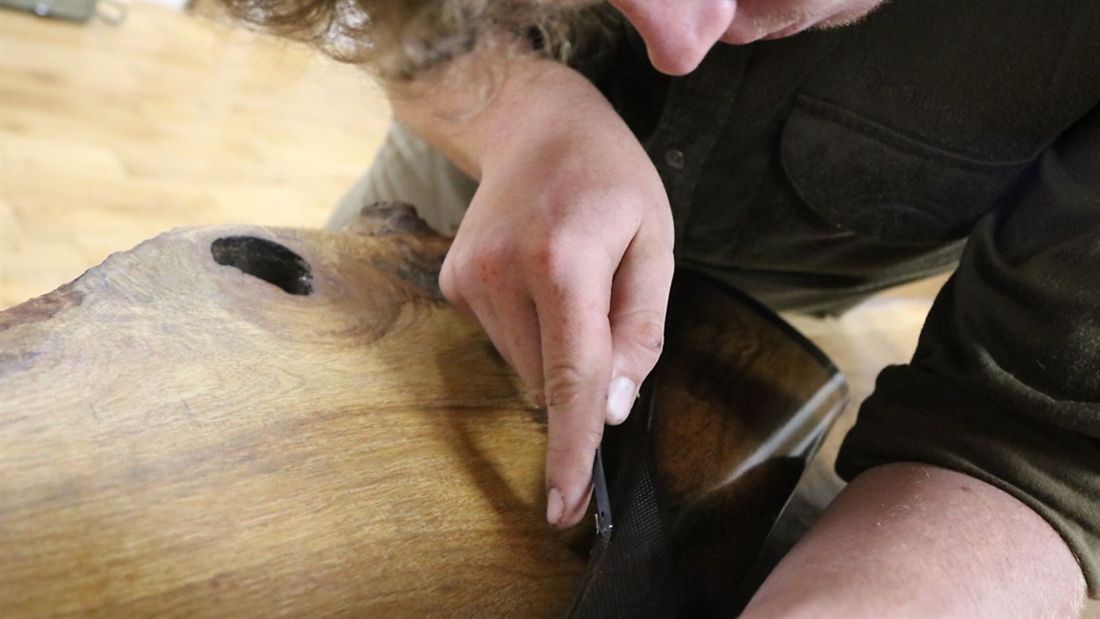
Do you know the process involved in chequering a gun? What are the merits of hand-chequering versus laser-cut chequering? The Botley Mills Gunshop boys reveal all, including a how-to guide!
Try as I might, I cannot find any confirmation of the spelling of a word I use on an almost hourly basis! Checkering, or chequering? As far as I can make out, ‘chequering’ is the correct British spelling, although various sources seem to dispute this in favour of ‘checkering’. I prefer the ‘qu’ spelling; it spells out and reads with a much higher level of satisfaction than the ‘ck’ option.
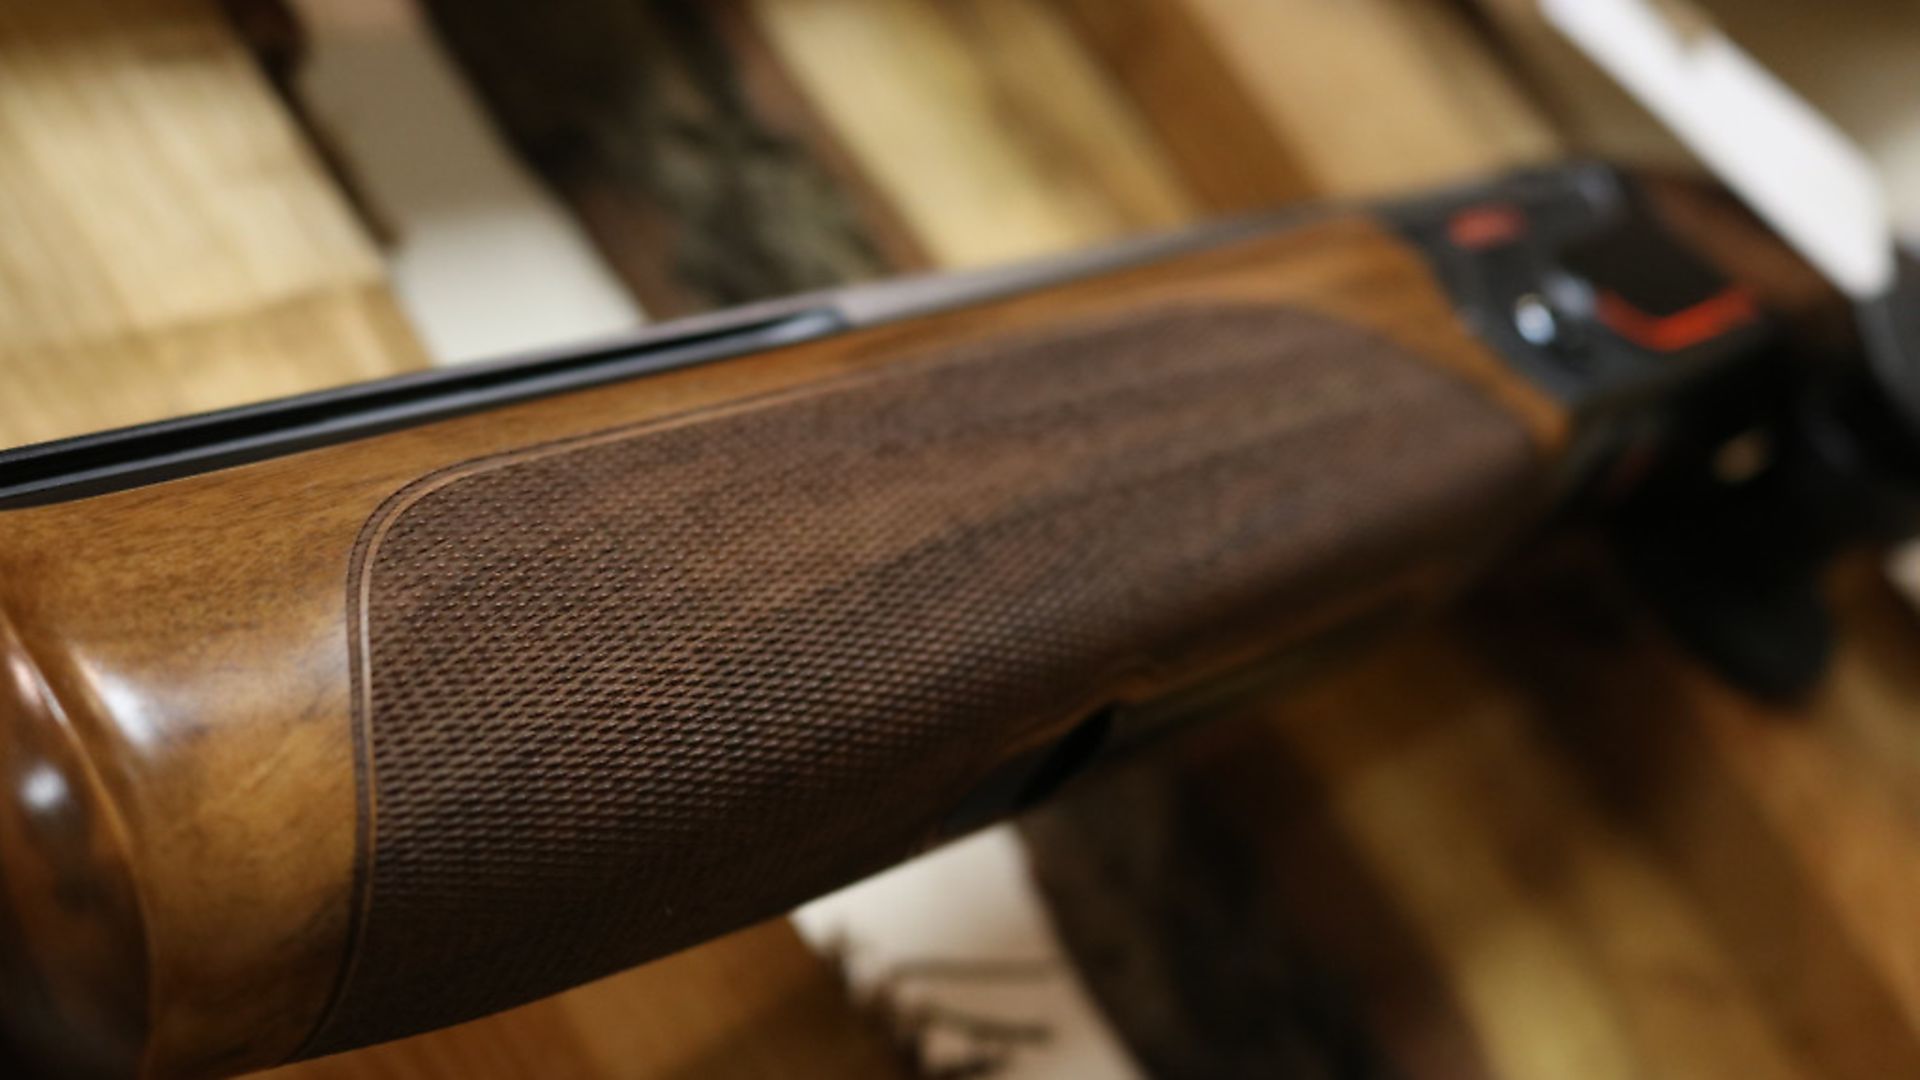
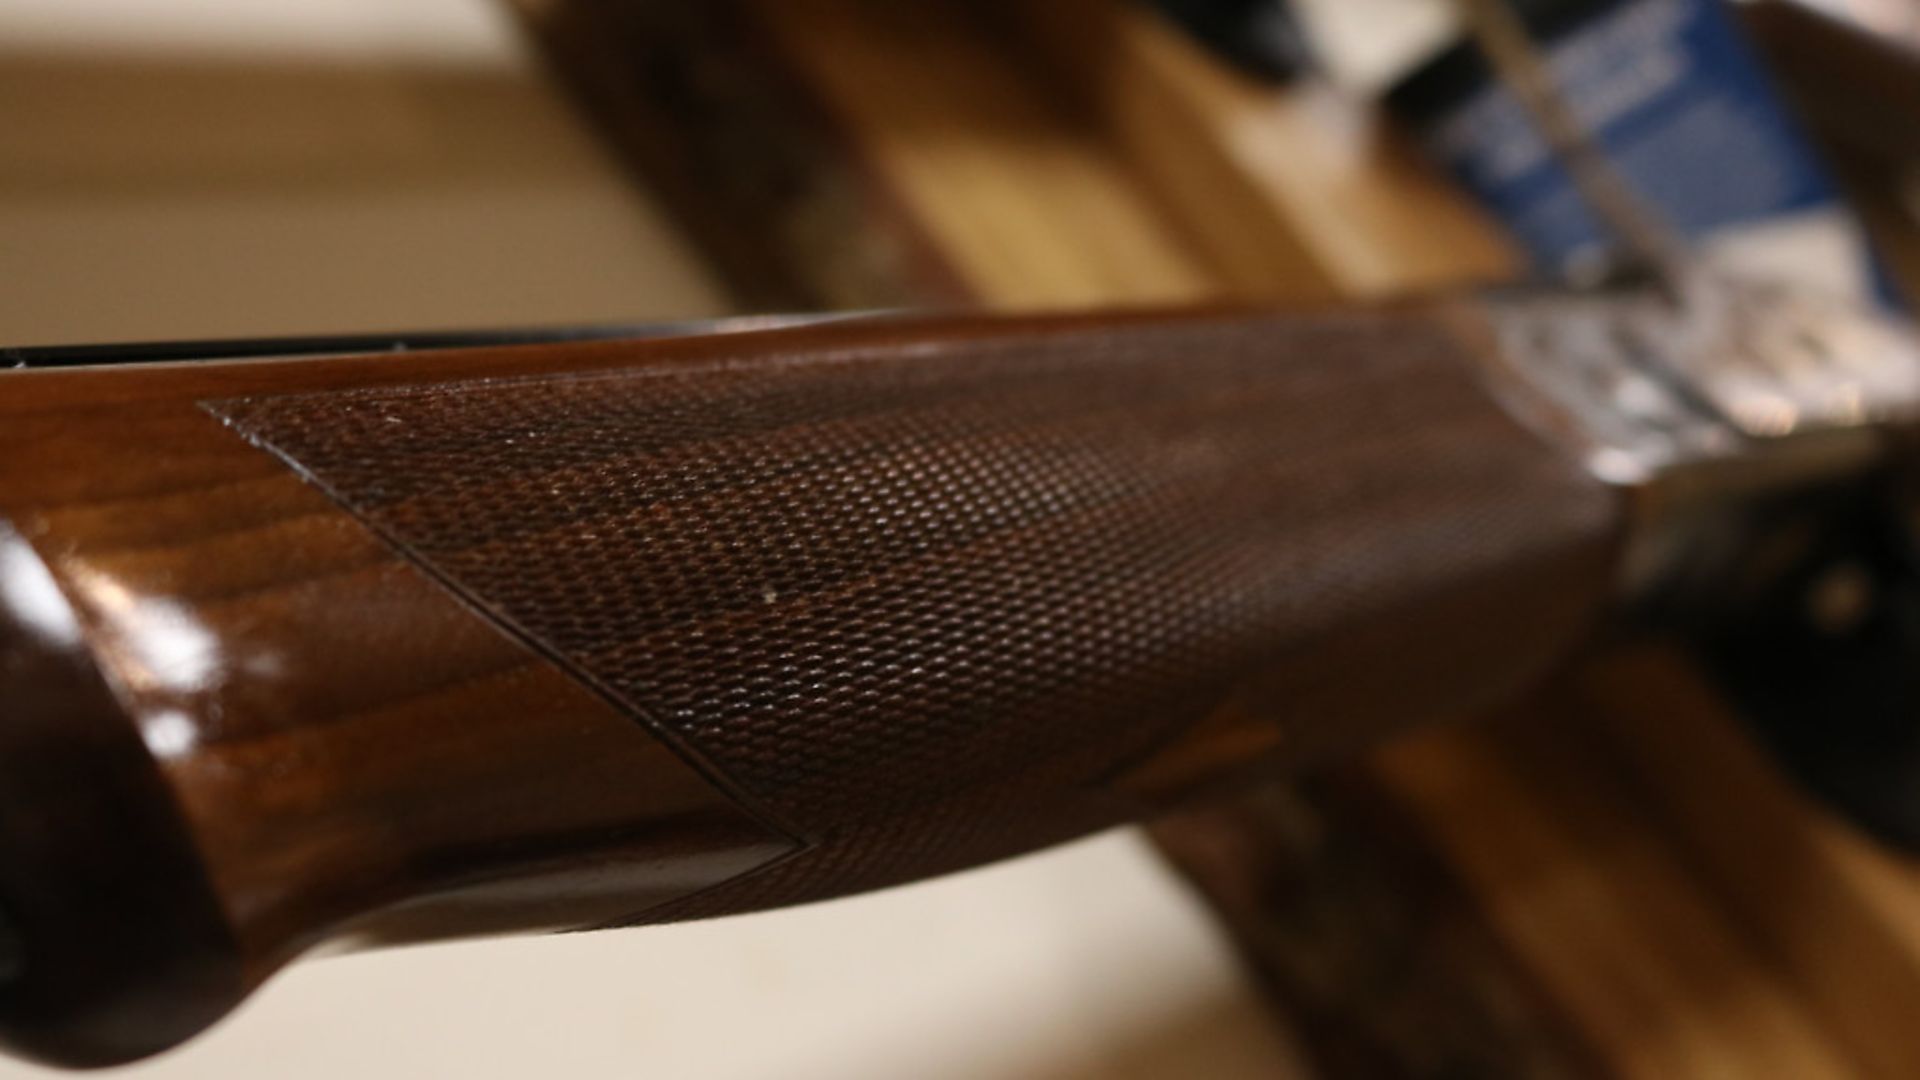
Despite the spelling, the fact remains the same – chequering is the formation of little square diamonds (or more increasingly, any shape that gives you some grip) on the parts of a gun to which your hands connect.
‘PROPER’ CHEQUERING
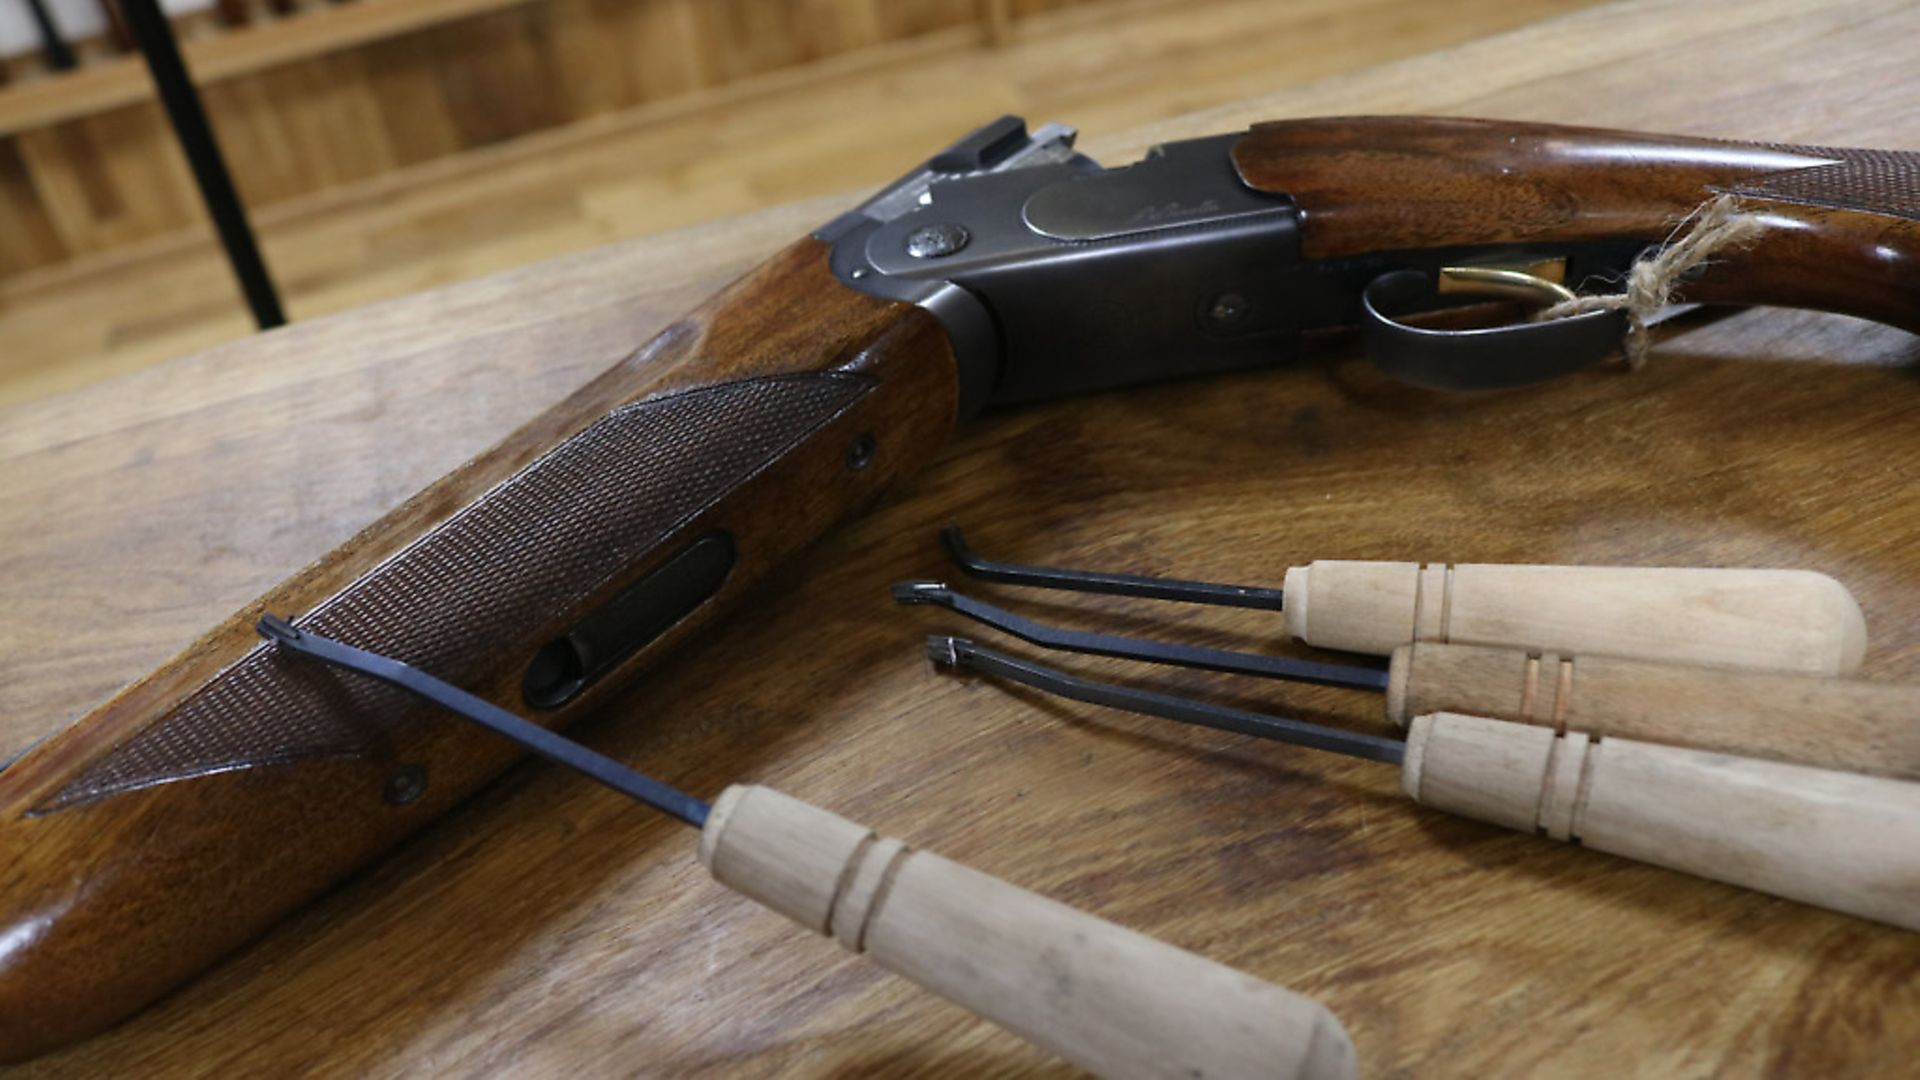
By ‘proper’ I mean the truest type of chequering, which is little diamonds cut into wood by hand. This is an art form in itself, and in its purest, most exquisite format can make a gun truly spectacular.The concept is simple:
1. Buy or make chequering tools. There is limited availability of off-the-shelf tools, with only one or two manufacturers on hand. The tools are actually of a very good quality, but the ability to obtain the necessary tool for the job from the UK can be difficult. This, along with the occasional need for a tool that simply doesn’t exist off-the-shelf, leaves us with the option of making our own tools. This is simply done – as long as the required tools and necessary ability are available. Selecting the required metal and shaping it into a chequering tool can be rather entertaining, and as these tools last a fair while, it is a worthwhile investment to the workshop tool stock. The final option is for a more modern approach, that of the rotary chequering cutter; this is something that I am not familiar with in use, but have witnessed being used. They produce results extremely fast with a satisfactory, if not a touch coarse, finish.
2. Decide on a pattern. For all of the overly flamboyant designs in the world, there is someone who will love them. Personally, I don’t think that you can beat a nice simple pattern with some sharp, clear lines and edges. Overly fancy chequering, often mixed with carved borders, is an art, but serves no real purpose other than to look fancy and break your heart when one day, rather inevitably, an accident happens.
3. Decide on the line density. Chequering is measured in lines per inch (LPI), meaning the amount of cut lines inside of an inch. The range is obviously limitless, with most guns being 16-32 LPI, but much more commonly 22-28. There are positives and negatives to all densities: the coarser cuts, such as 16-18, offer fantastic grip but can be overly rough to the touch and a little crude to the eye; the superfine 34 LPI guns look absolutely fantastic, although the shallow cuts fill quickly with mud, dust and sweat which can set like concrete. Then there is flat point – a type of chequering that doesn’t bring your diamonds to a point – which is very unfashionable nowadays but does allow you the pleasure of seeing your wood grain through the cuts, and you can’t break off any points because there aren’t any there to snap off! Personally, I think 24 LPI is adequate in all departments – it looks good, isn’t too fragile, and feels good. Plus, as practical as flat point is, it just doesn’t do it for me on a pistol-grip stock.
4. Mark your pattern. Make sure it’s even and sensible-looking – which is harder than it seems. Once you cut, you can’t uncut, so make sure you are happy. Then, lightly cut your borders. Pushing your way through the wood on this first set of cuts can be rather enjoyable, as your planning starts to become reality. Some like to pre-cut their lines with a scalpel blade; this can help prevent the cutter from skipping its way across the stock leaving a nice set of scars in its wake. With practice and attention this can be avoided entirely, but there is no harm in being cautious.
5. Make sure the lines are straight. Cutting straight lines across curved material is easier said than done!
6. Cut and concentrate. Once you have the initial lines cut it’s time to fill in the gaps. Concentration is key; slipping is very bad, in fact the cardinal sin, so knowing the limits of your concentration span is important.
7. Finish up. Once the main part of the pattern is cut a finishing cutter is run through. This is a superfine cutter, in slightly wider angle than before, that smoothes the inner surface of the cuts and sharpens the points. Sit back and look at your work. Have a cup of tea, leave it for a day, come back to it with another cup of tea. In this time you will clock any issues, and anything that didn’t bother you before will now bother you immensely, and you can rectify the issue.
That may have been the vaguest ‘how-to’ possible! It’s such a skill, requiring so much practice, that trying to write ‘A Guide To Chequering’ in this many words would be an insult to the true masters of the art. The key is to practise, first on flat surfaces, learning the tools and how they cut, and then on a curve, and see how difficult it then becomes!
Of course, opportunities to chequer a stock from scratch come few and far between. What we find ourselves doing much more commonly is re-cutting old or worn chequering. This is a slightly different process, which can actually be vastly harder. Especially considering the sweat/mud/dust ‘cement’ I mentioned earlier. In superfine patterns this can be one of the most mentally exhausting jobs going, and is one that is best dipped in and out of, or perhaps better not started! Of course, the option to erase what is there and start again is available, but most people like to keep their guns as original as possible, so re-cutting remains the bane of our existence!
LASER-CUT CHEQUERING
There are very few makers of mass-produced guns that still use hand-cut chequering (Browning/Miroku come to mind), as most have moved on to the laser-cut option.
This allows for greater speed and accuracy, with a fantastic array of patterns that can be replicated again and again and again. However, if you pick up a laser-cut gun, they lack the same feel that anything handmade gives you. Not only that, but the practical ability of the laser-cut chequering doesn’t quite stand up to its hand-cut cousin. This is because, while pushing the cutters through the wood, you also condense the wood in the chequering, not only with the force of the cutter but with the dust that the cutter creates. This leaves a denser, harder point in the chequering that out-looks and outlasts the laser-cut option, which often leaves a very open grain that can be susceptible to issues.
Machines can make exquisite stocks, solid actions and extremely true barrels, but in my humble opinion, there is no replacement for old-fashioned, handcrafted chequering.


