★ Win a Schöffel Country shooting coat for everyone in your syndicate worth up to £6,000! Enter here ★
Gundog training progression: Introducing another dummy
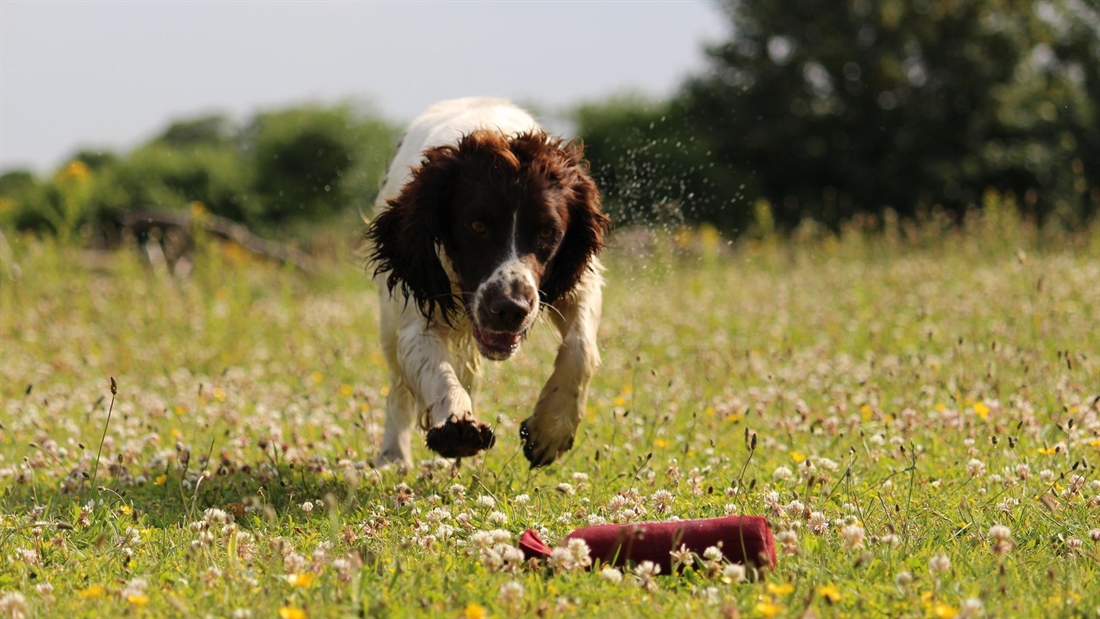
Howard Kirby talks us through a strategy to move your dog’s training forwards in a structured manner; here, when introducing more dummies to your retrieving work
In most aspects of life, making a plan is accepted to be a good start point. And in my opinion gundog training lends itself very nicely to this approach. Outline plans or more detailed thinking will never be a waste of time. If the plan is well informed and carefully thought through, it can really help us with direction and expectations. However, one of your skills as a dog trainer is the ability to recognise and cope with the fact that even the best laid plans don’t always pan out the way we had hoped. Being flexible will be essential.
As a general rule of thumb, our gundog training plans show layered up and progressive training. Each training objective should be carefully introduced to a dog, starting with the simplest form of the exercise. Not until this first layer has been thoroughly established and understood is it appropriate to move forward or make things more complex. Proofing and consolidation will often be prudent before, raising the bar.
A trainer’s carefully considered decisions as to how and when a dog is ready to move forward will be significant to successful progress; success leads to success, avoiding the need for uncertainty, confusion or correction. Easy to write down, much harder to get right, but a strategy that should be uppermost in the trainer’s mind.
The second dummy
With progression in mind, I’d like to explore the significance, processes and some of the techniques that I like to consider when schooling our dogs as we move from having one dummy to two or more on the ground. In my mind, throwing out a second dummy should be considered a really important milestone in a youngster’s development and one that requires carefully considered assessment.
So how do we know if the dog is ready to introduce the second dummy? The dog should have reached a good standard of obedience and be looking to the handler for instruction. It will need to be able to demonstrate the following obedience behaviours: heelwork, sit, stay, steadiness to thrown dummies, recall and be able to show a really clean marked and memory retrieve.
Regular readers will know that our training system also insists the dog has been taught to target a hoop or placeboard. If your dog has been taught to target correctly, developing new behaviour will be much easier for the dog to learn. I’m making a big deal about being up to this standard simply because of the subsequent problems that will almost certainly present themselves if things aren’t done correctly and in the correct sequence.
Getting it right
Having proofed all of the behaviours listed above, we make the next step using one of our purpose-built retrieving corridors. These corridors help us to reduce the likelihood of a retrieve going wrong. About 1m wide and 20m long, each corridor is fenced on all sides with stock fence.
As an extra bonus, we have a small entrance gate that is fitted halfway along the corridor. We can use this gate to close off the corridor and reduce the length by half. I appreciate that not everyone has this facility, but we have had several clients that have made their own, using flexi-netting and electric fence posts to construct a simple, relatively cheap and temporary training corridor.
Where a retrieving corridor is not available, a fence line or wall can be used to restrict one side of the exercise. The use of a retrieving corridor is of course the belt and braces approach. There will be no substitute for ensuring that the dog has been correctly schooled to return to the handler with a retrieve.
The 180˚ split retrieve
As mentioned above, introducing the second dummy is best done in a retrieving corridor. With or without this, we can use the 180˚ split to maximise the chances of success. Remember, we are trying to set up exercises that ensure the dog is successful, which of course gives reward, enjoyment and avoids the need for any correction. I know this seems obvious, but it’s so easy to turn training sessions into a really negative experience for the dog.
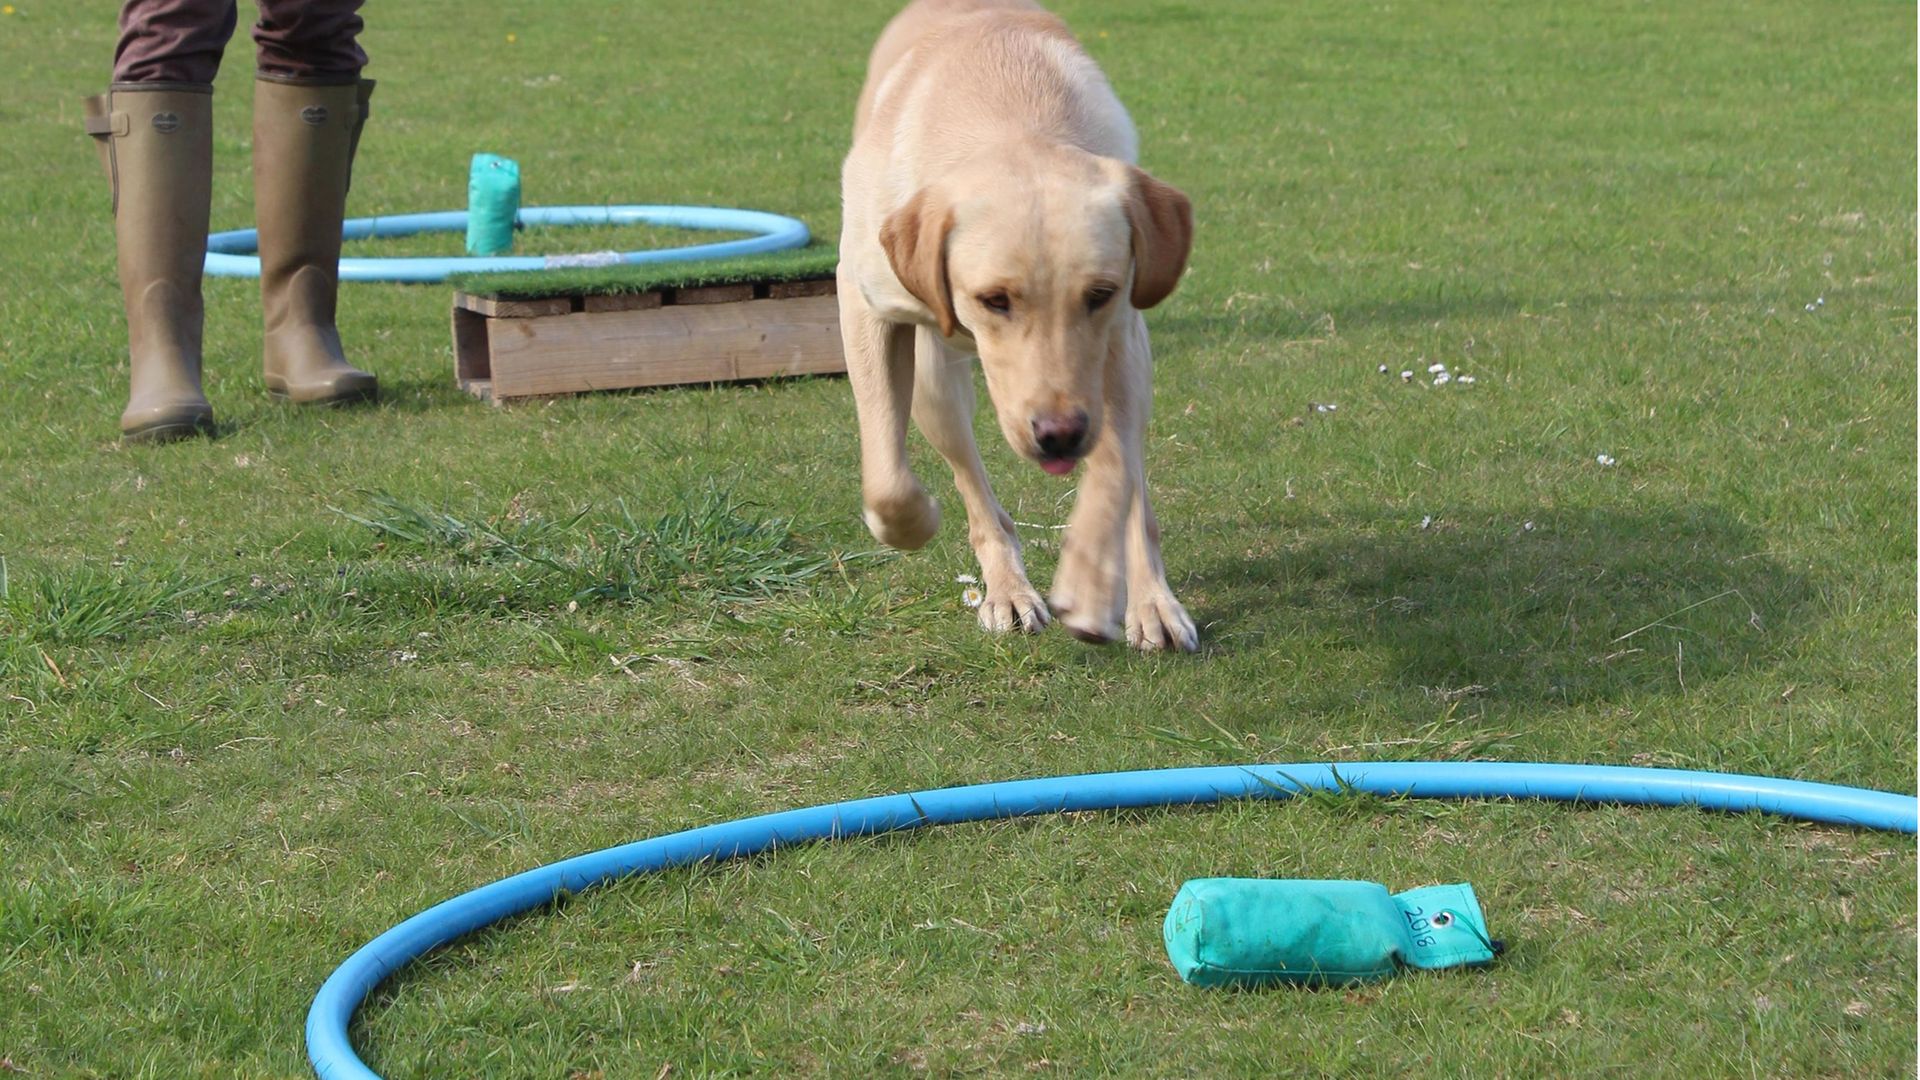
Start by positioning the dog at heel, ideally sat in a hoop or on a place board. Quietly throw out a dummy along your retrieving corridor or alongside a fence line. Now give a Leave That command and turn the dog through 180 degrees. I prefer to turn into the dog, as this helps to ensure that there is no misunderstanding and reduces the risk of a run-in. Something that I probably should have mentioned before, is that in earlier training we will have practiced left and right about turns or pirouettes as part of heelwork and memory retrieve exercises.
Now, and with our backs to the first dummy down, we can throw out a second dummy. This needs to be thrown, straight out, ensuring that the two dummies are now 180˚ apart. Once again issue a quiet but clear Leave That command, and turn to face the first dummy down.
Throughout all of these movements it’s essential that you are reading your dog’s body language and mindset. Quite simply, the dog’s head, eyes and body should be focused onto the dummy we require to be retrieved. I hope by now you are able to realise that the behaviours and understanding that we need from the dog will all have been learnt thoroughly in earlier training. Any weakness will stick out like a sore thumb at this point.
With the dog now fully focused on the first dummy we can give the Fetch command. Straight out and straight back, delivering to hand. Most dummy-driven dogs will already have their minds on the second dummy. If not managed properly, poor delivery to hand, running through or around you are the likely problems that will arise.
Assuming all has gone to plan, the first dummy is now securely in your hand and the dog is sat in front of you. For these early retrieves, don’t swing him around you into the finish position, instead keep him in the sit, sat directly in front of you, now quietly reverse your way out to the second dummy, this must be picked by you, the handler. This is really important. We don’t want to build an expectation in the dog that he is going to get this second retrieve. Once you have collected the dummy, return to the dog and quietly praise him. My advice is that you continue to establish this understanding, occasionally aligning the dog and giving him the second retrieve.
Upping the ante
Development in this exercise comes by increasing distances, throwing dummies so that they fall into cover and out of sight. Of course moving out of the retrieving corridor or away from fences will also further serve to proof understanding.
Being able to successfully complete this exercise with a young dog is worthy of celebration and will qualify your skills as a reward-based, positive-reinforcing dog trainer. I hope this article helps you to understand or remind yourself of the importance of carefully planned, structured and layered up training.
Enjoy your dogs and keeeep training.
Related Articles
Get the latest news delivered direct to your door
Subscribe to Sporting Gun
Subscribe to Sporting Gun magazine and immerse yourself in the world of clay, game and rough shooting. As the leading monthly publication for passionate shooters at all levels, Sporting Gun delivers expert advice, practical tips and in-depth reviews to enhance your skills and enjoyment of the sport.
With features ranging from gundog training to pigeon shooting, and wildfowling to equipment recommendations, you’ll gain valuable insights from professional shooters and industry experts. A subscription not only saves you money on the cover price but also includes £2 million Public Liability Insurance, covering the use of shotguns, rifles and airguns for both recreational and professional use.
