The countdown is on for The British Shooting Show – book tickets online today and save on gate price!
Gundog training – taking direction
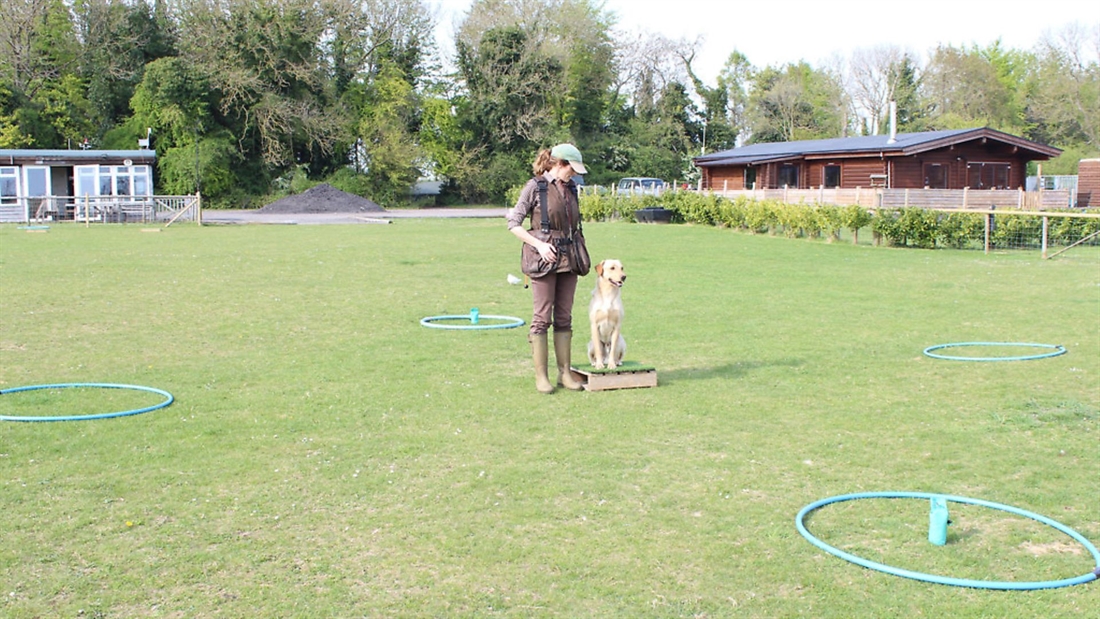
Howard Kirby teaches us the beginnings of the clock face technique, together with the use of retrieving corridors, to help young gundogs learn to take direction
“Stop right there… you gotta know right now… before you go any further you need to hear me..!”
These are some lyrics that the rockers among you will recognise as being off MeatLoaf’s Bat out of Hell album. I’ve stolen and tweaked them a little. Why? You might well ask! Well, these are words that I’d like to say to my dogs each time I blow the Stop whistle at them.
In last month’s article, we talked about using the Hunt whistle to encourage our dogs to get their noses down and hold an area. This time, I’m going to take a look at training a youngster to take direction.
Just to recap, our training plan has seen our youngster learn to come, sit, stay, focus, walk to heel and retrieve to hand during early training. We’ve gently encouraged the dog to confidently take straight lines through the use of marks, memories, memory blinds and blind retrieves. Throughout the programme, through various exercises, the dog has been taught to sit when it hears the single peep of the whistle.
Fundamentally, it’s this ‘Stop’, or ‘hey look at me’ whistle that will be crucial if we are going to be able to stop the dog mid-action and ask it to take direction. Early basic training will be all about gently coaxing the dog to want to work with you to get prey in its mouth (the dummy). If you fail to understand and establish this, you will always struggle to form the partnership that will be required of a top-flight handler and dog. It’s important to appreciate that, although we have an understanding of the Stop whistle at close range, it’s likely that there will be considerably more to teach the dog before long-distance stops can be reliably achieved.
The clock face
It might help you to think about directional training through the use of an imaginary clock face. Put yourself in the centre of this virtual clock. It’s useful to physically mark one out. You could use five hoops or marker poles. We’re going to focus on four points: 12…3…6…and 9 o’clock.
Initially, I like to see young dogs being trained to work from the centre of the clock. Gradually, build the dog’s understanding to retrieve individual dummies from a ‘Send away’ – this allows an opportunity to school the dog to understand alignment and that they should take a straight line out to the dummy that they are aimed at, ignoring all others.
Start with single dummies, let’s call this first one the 12 o’clock. Now we can add a second dummy. We are going to place these two dummies 180º apart. I’m going to leave you hanging there a minute while you figure out where we’re going to place it. Most of you will be thinking 6 o’clock. If you came to a different answer, the rest of this article is going to be difficult for you. Might I suggest you ask your children to help. There I go again, teasing you, I’m sorry….if you remember, my New Year’s resolution was to be nice, all of the time.
All joking aside, don’t underestimate the significance of this second dummy. Bringing a second dummy into the mix is one of the most significant stages in a young dog’s development. This is a real game-changing moment and one that we need to ensure is done properly. Thinking on my feet, I think we should probably take a moment to really think about this and perhaps temporarily abandon any thoughts of building a full clock face in your training field. Let’s talk about the Retrieving Corridor.
Retrieving corridor
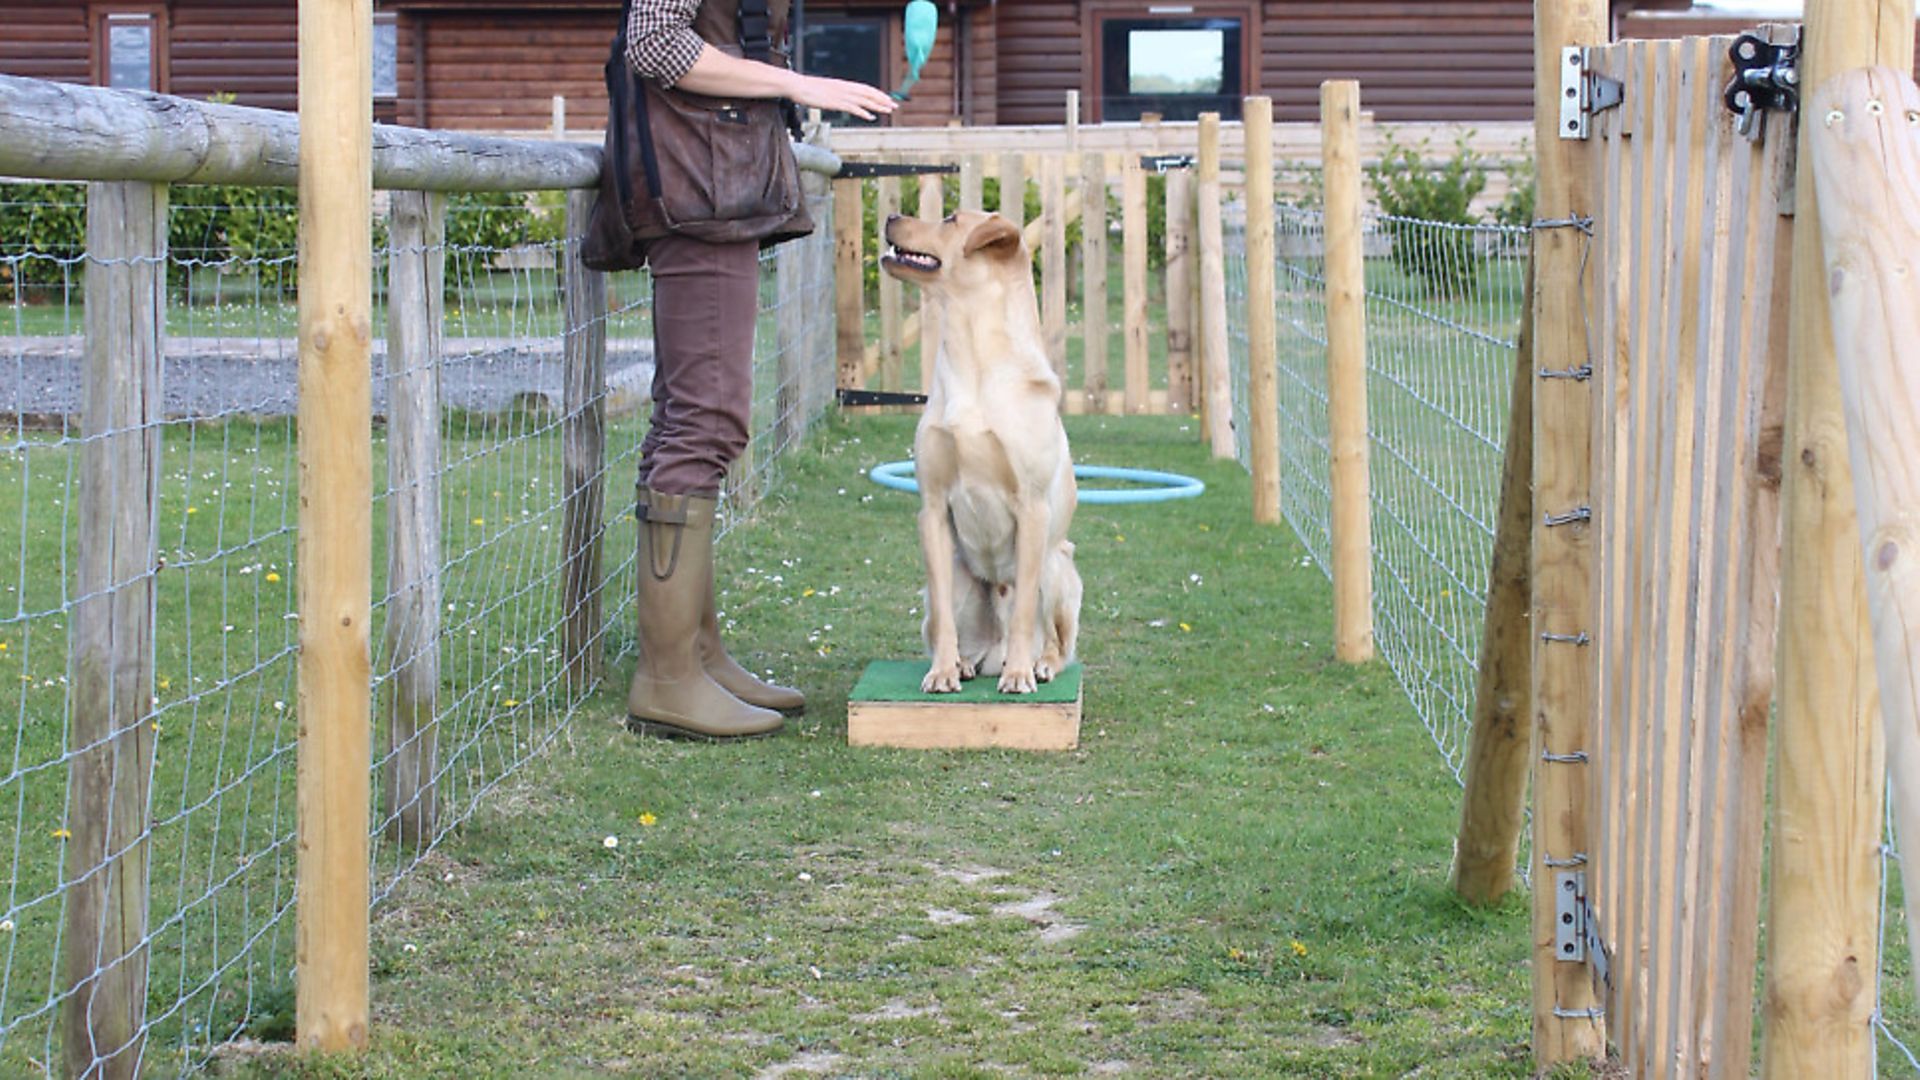
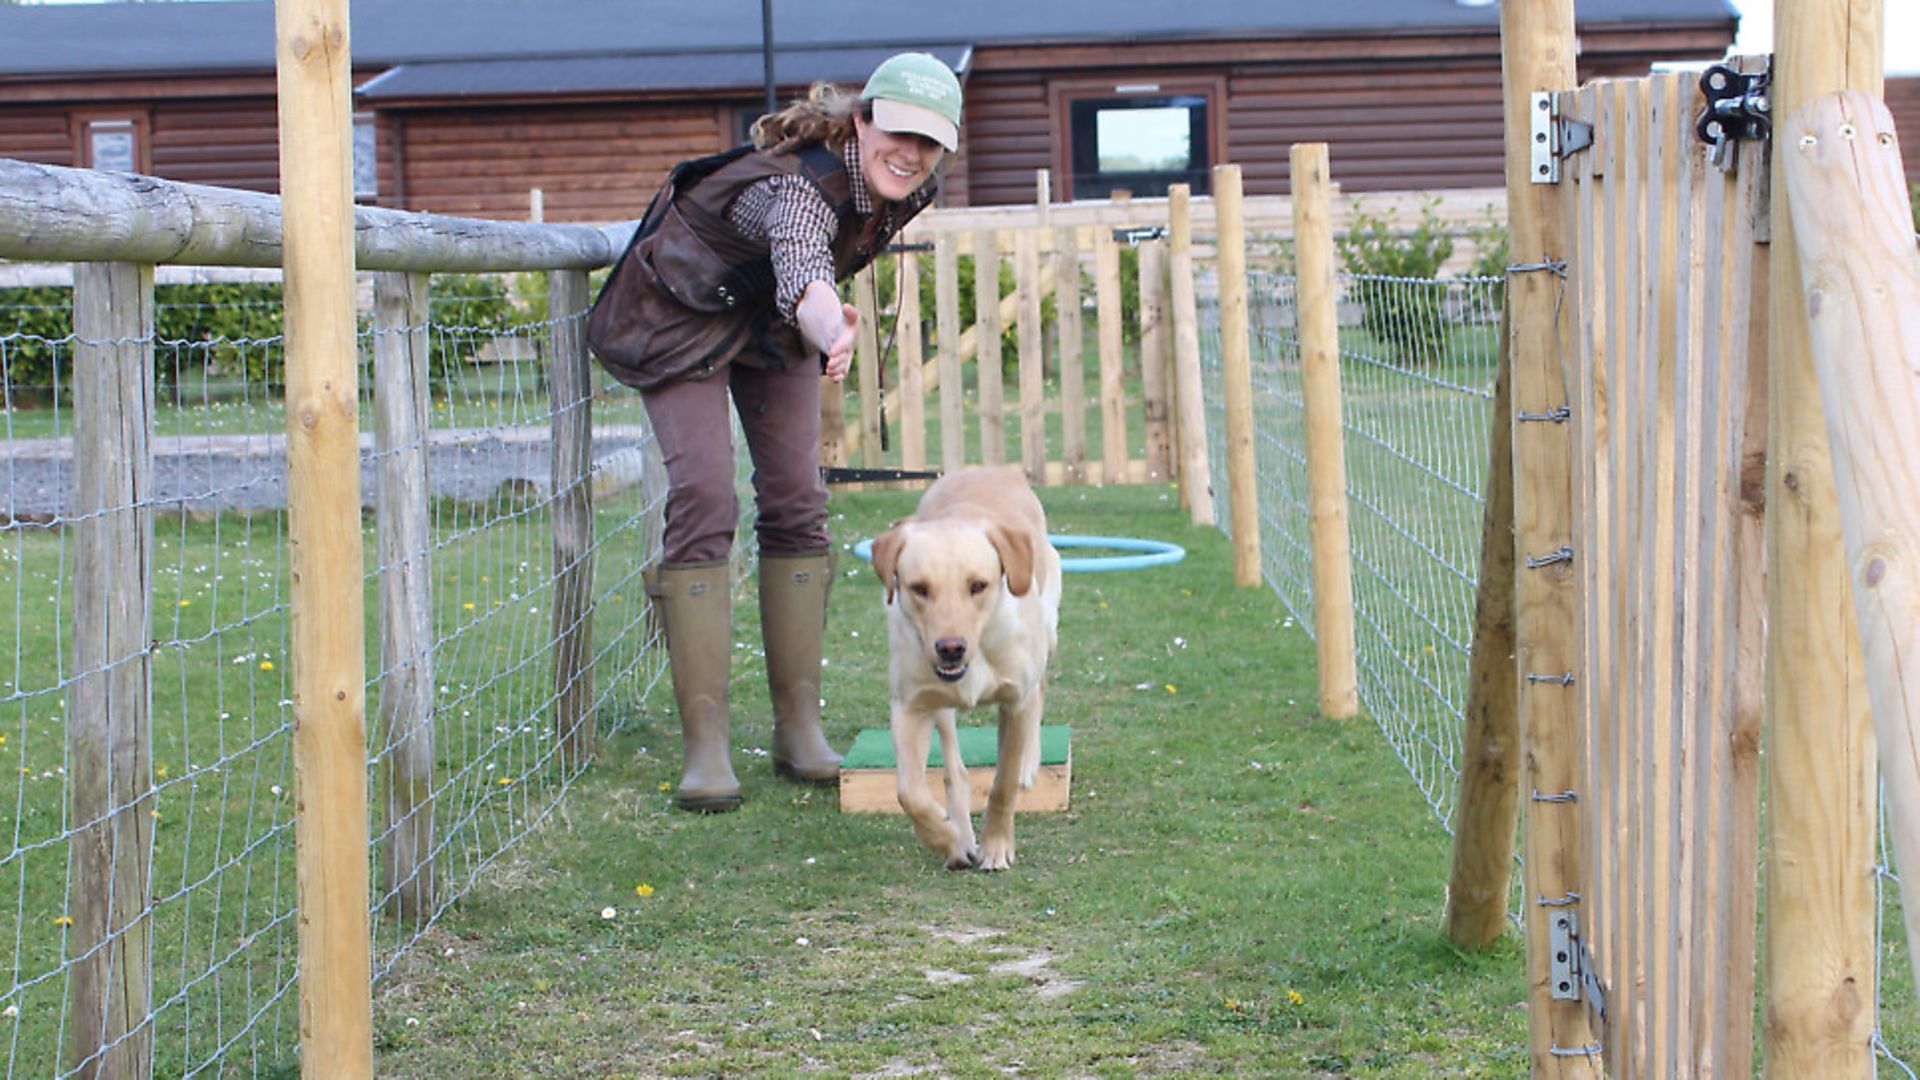
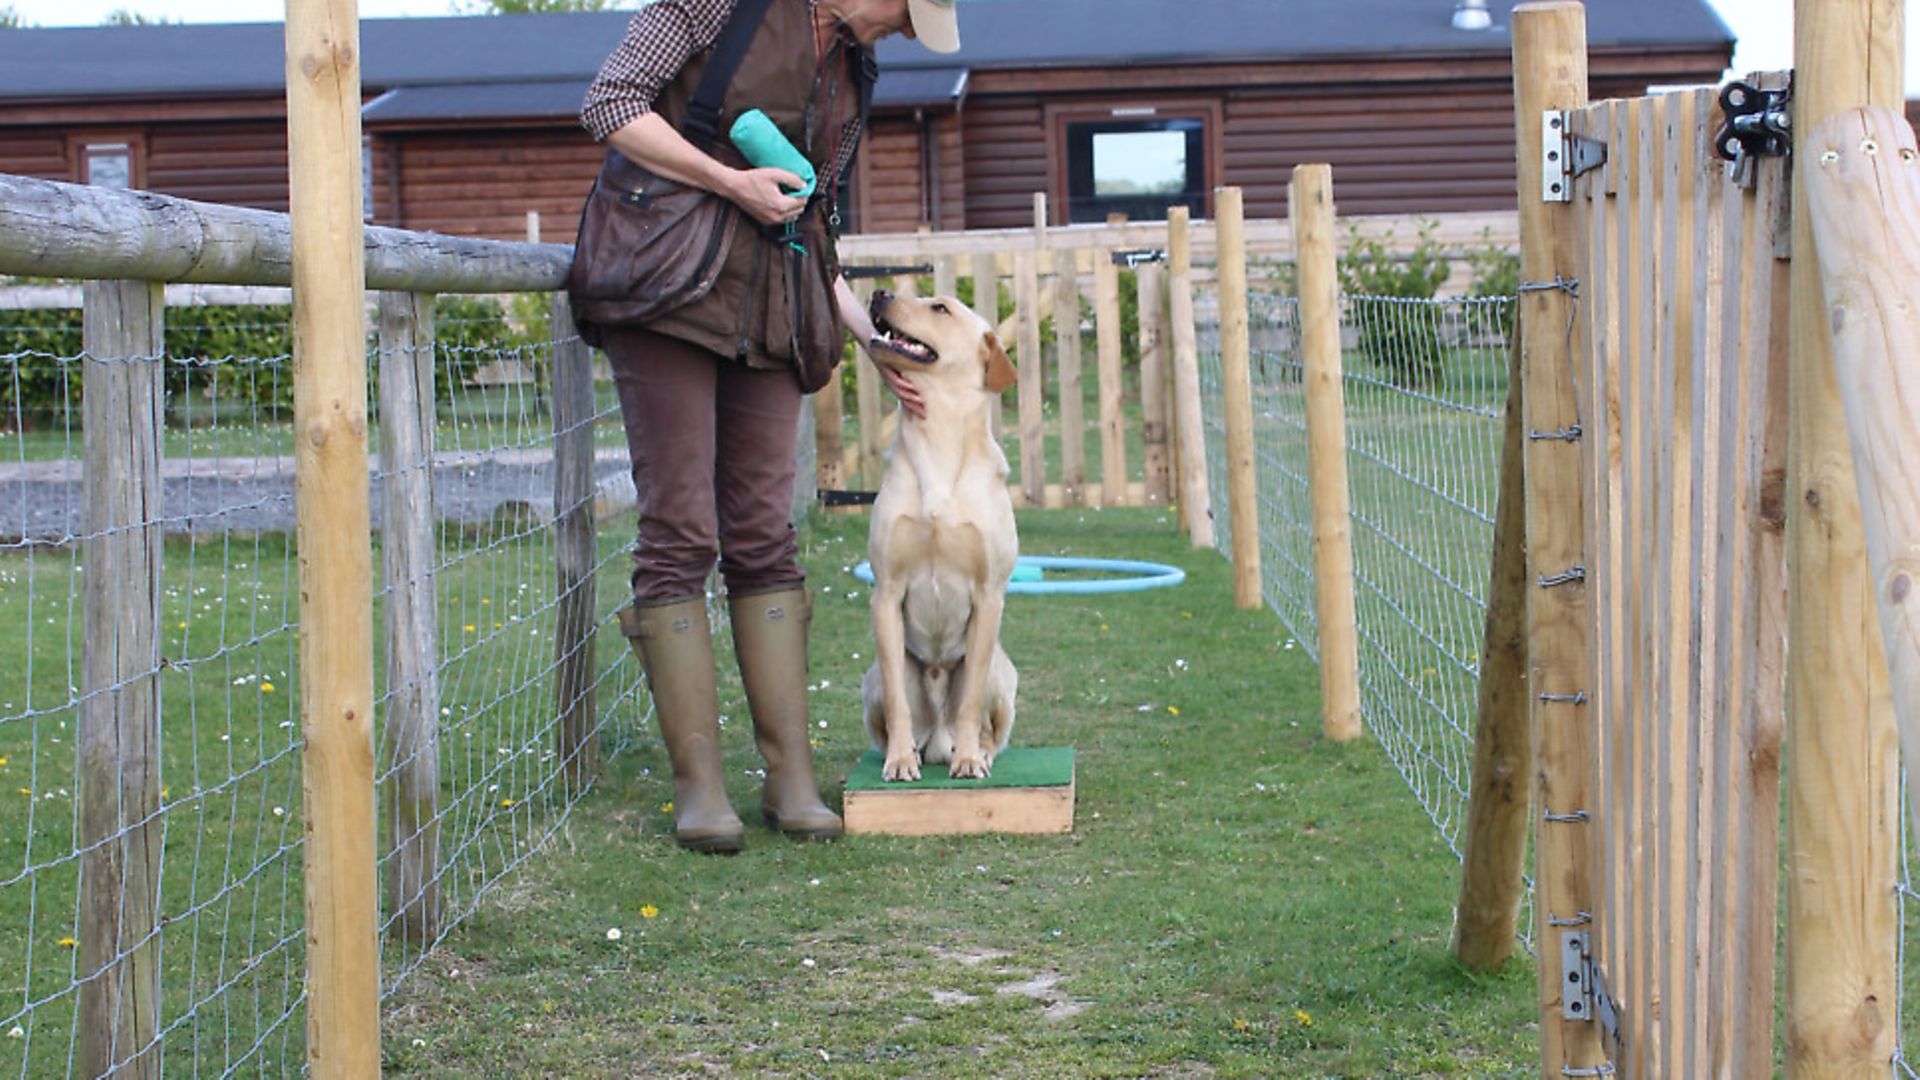
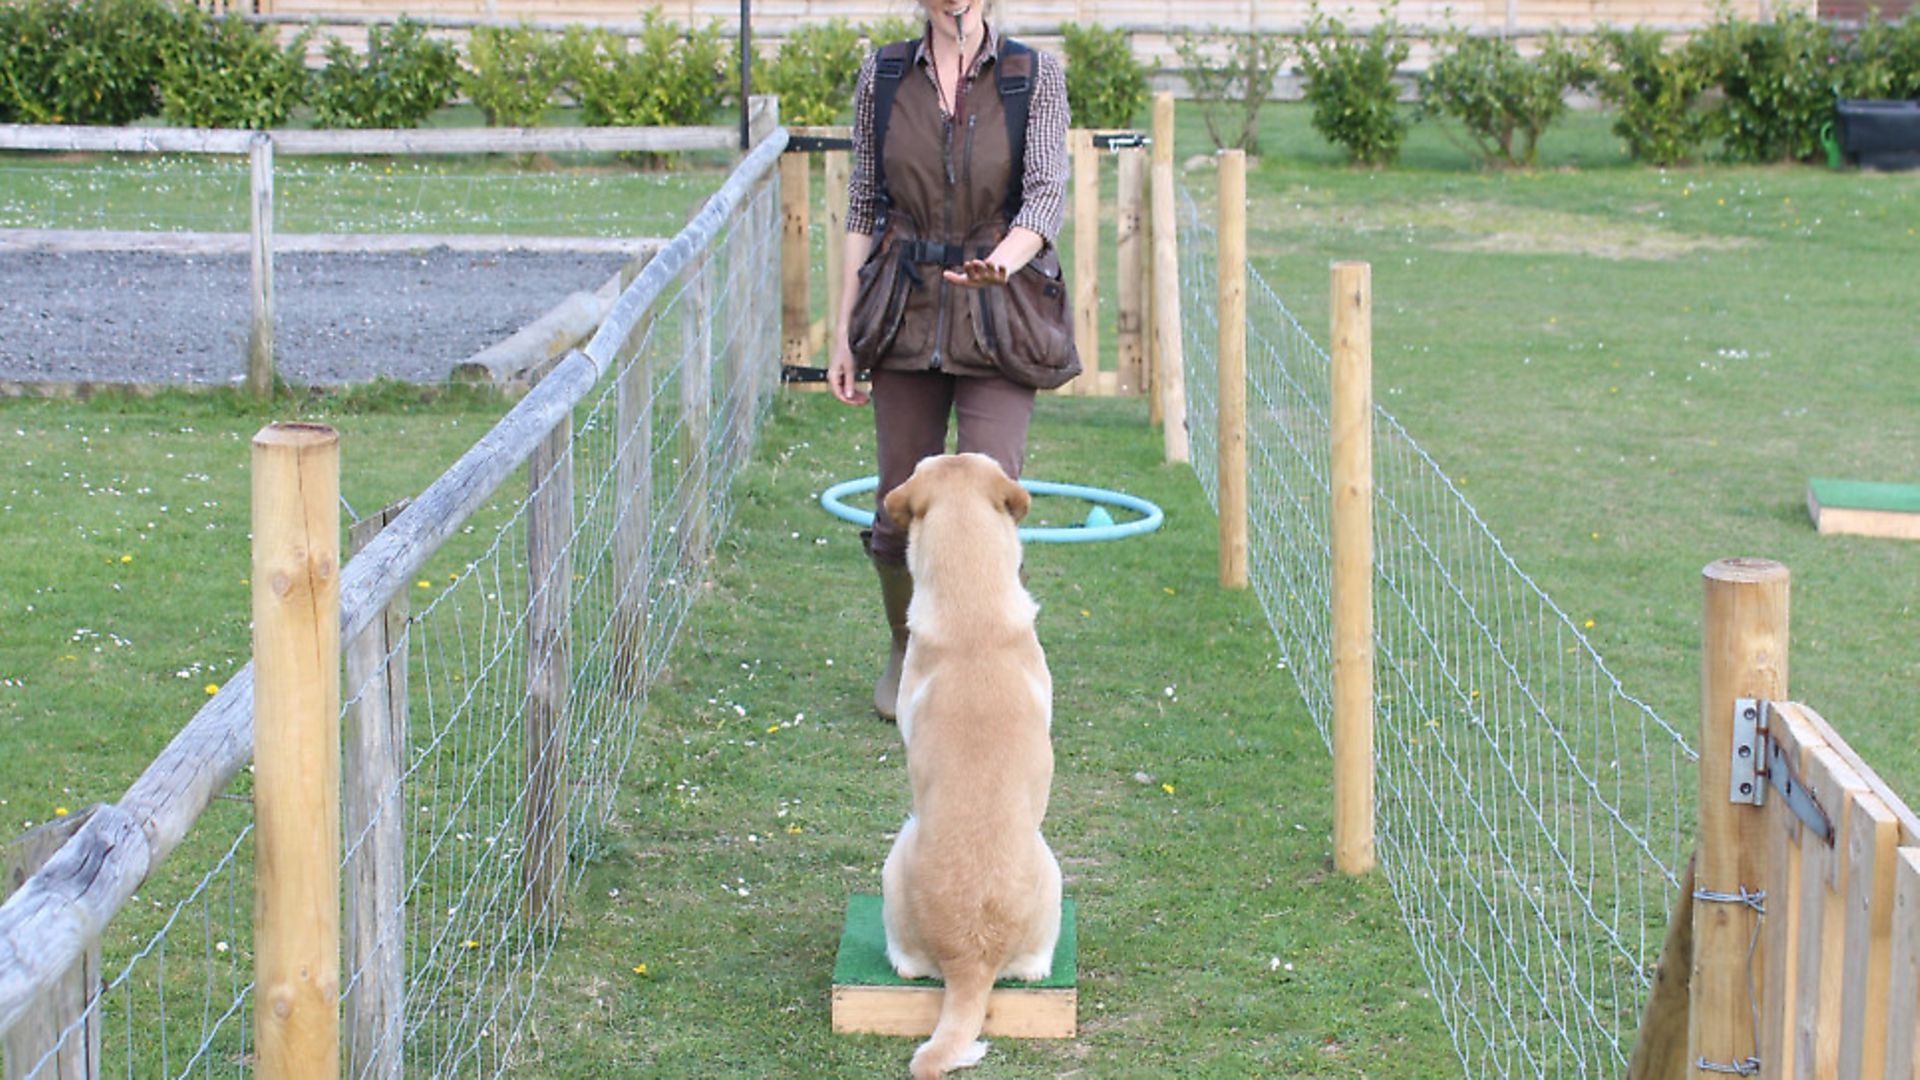
Here at Mullenscote, we have built an outdoor training area with eight individual retrieving corridors in it. We have been training dog handlers for long enough now to understand that the retrieving corridors will help all concerned to head off the inevitable problems that surface the moment that a 6 o’clock (the distraction dummy) is dropped onto the park.
A well-engineered corridor, whether purpose-built, a hallway or passageway, can smooth the transition. It also means that we can have eight dogs practising retrieving exercises without the chaos that would otherwise ensue.
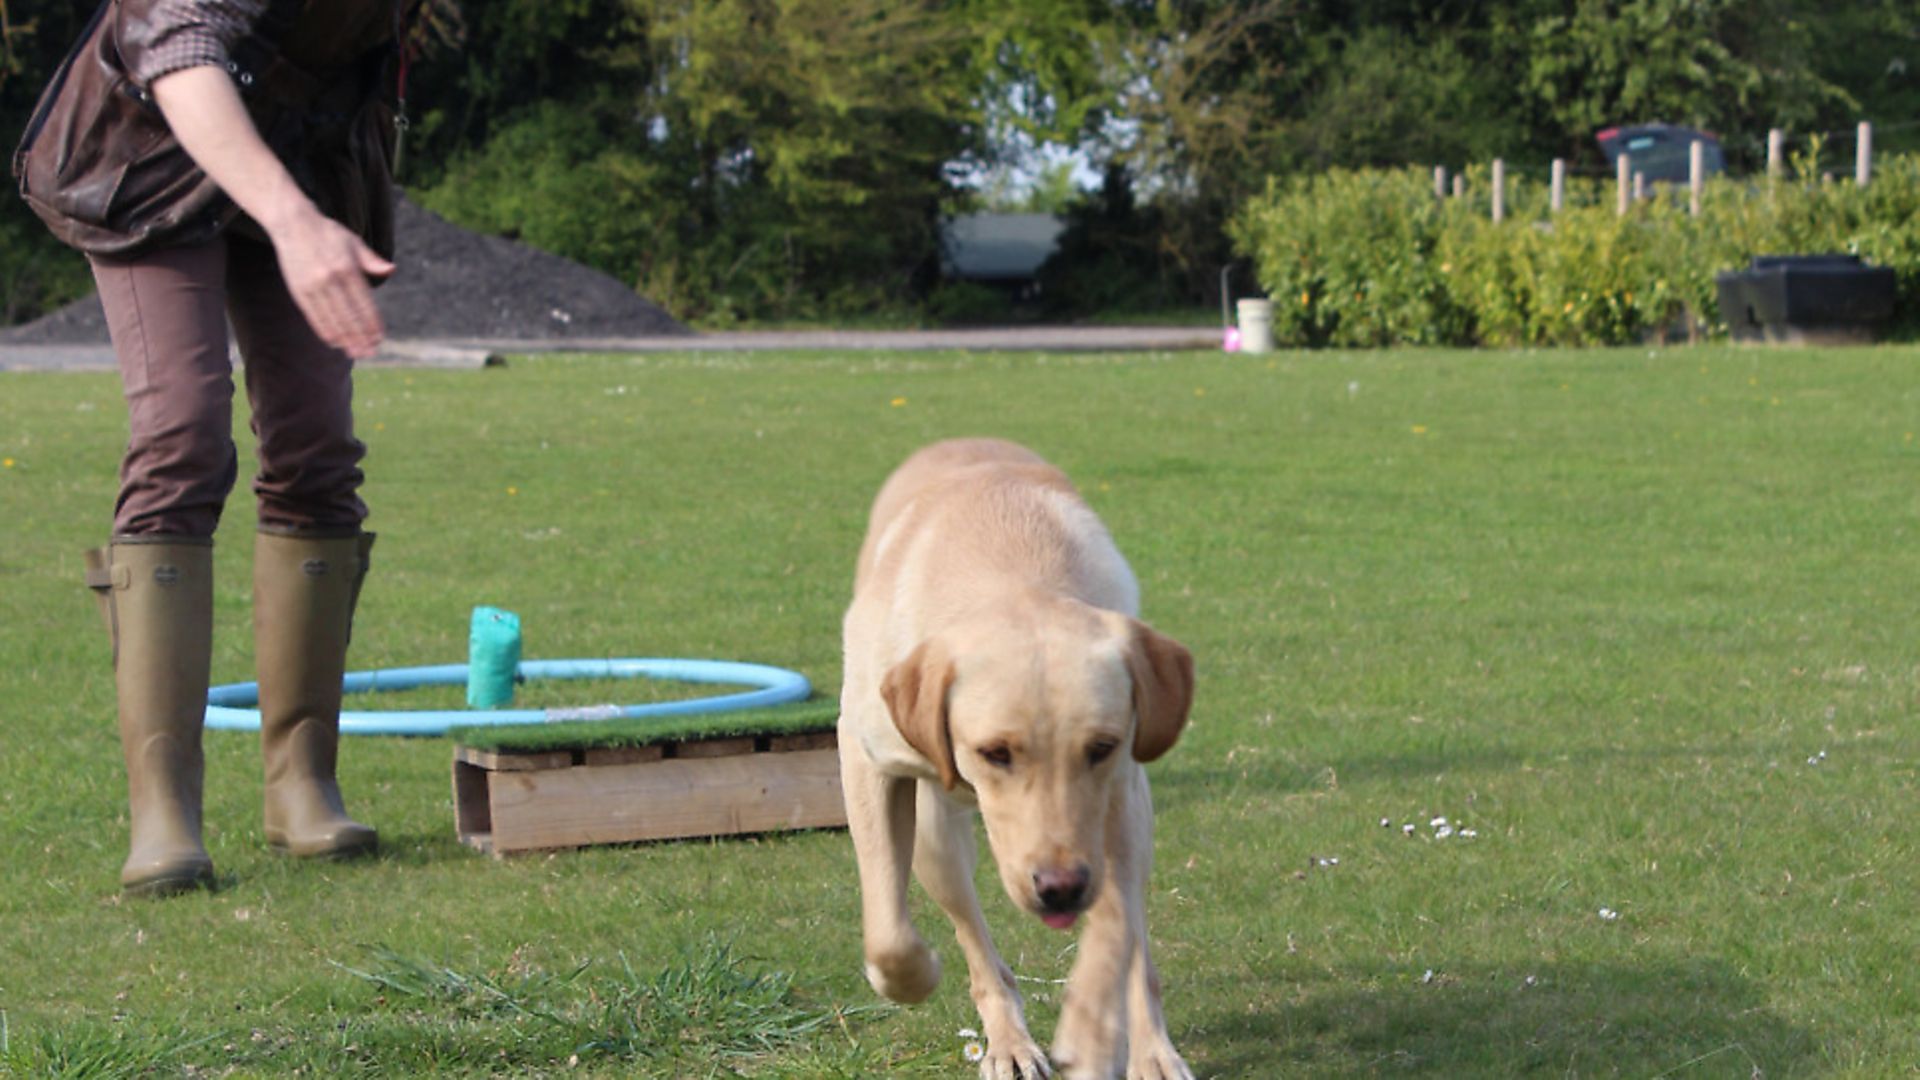
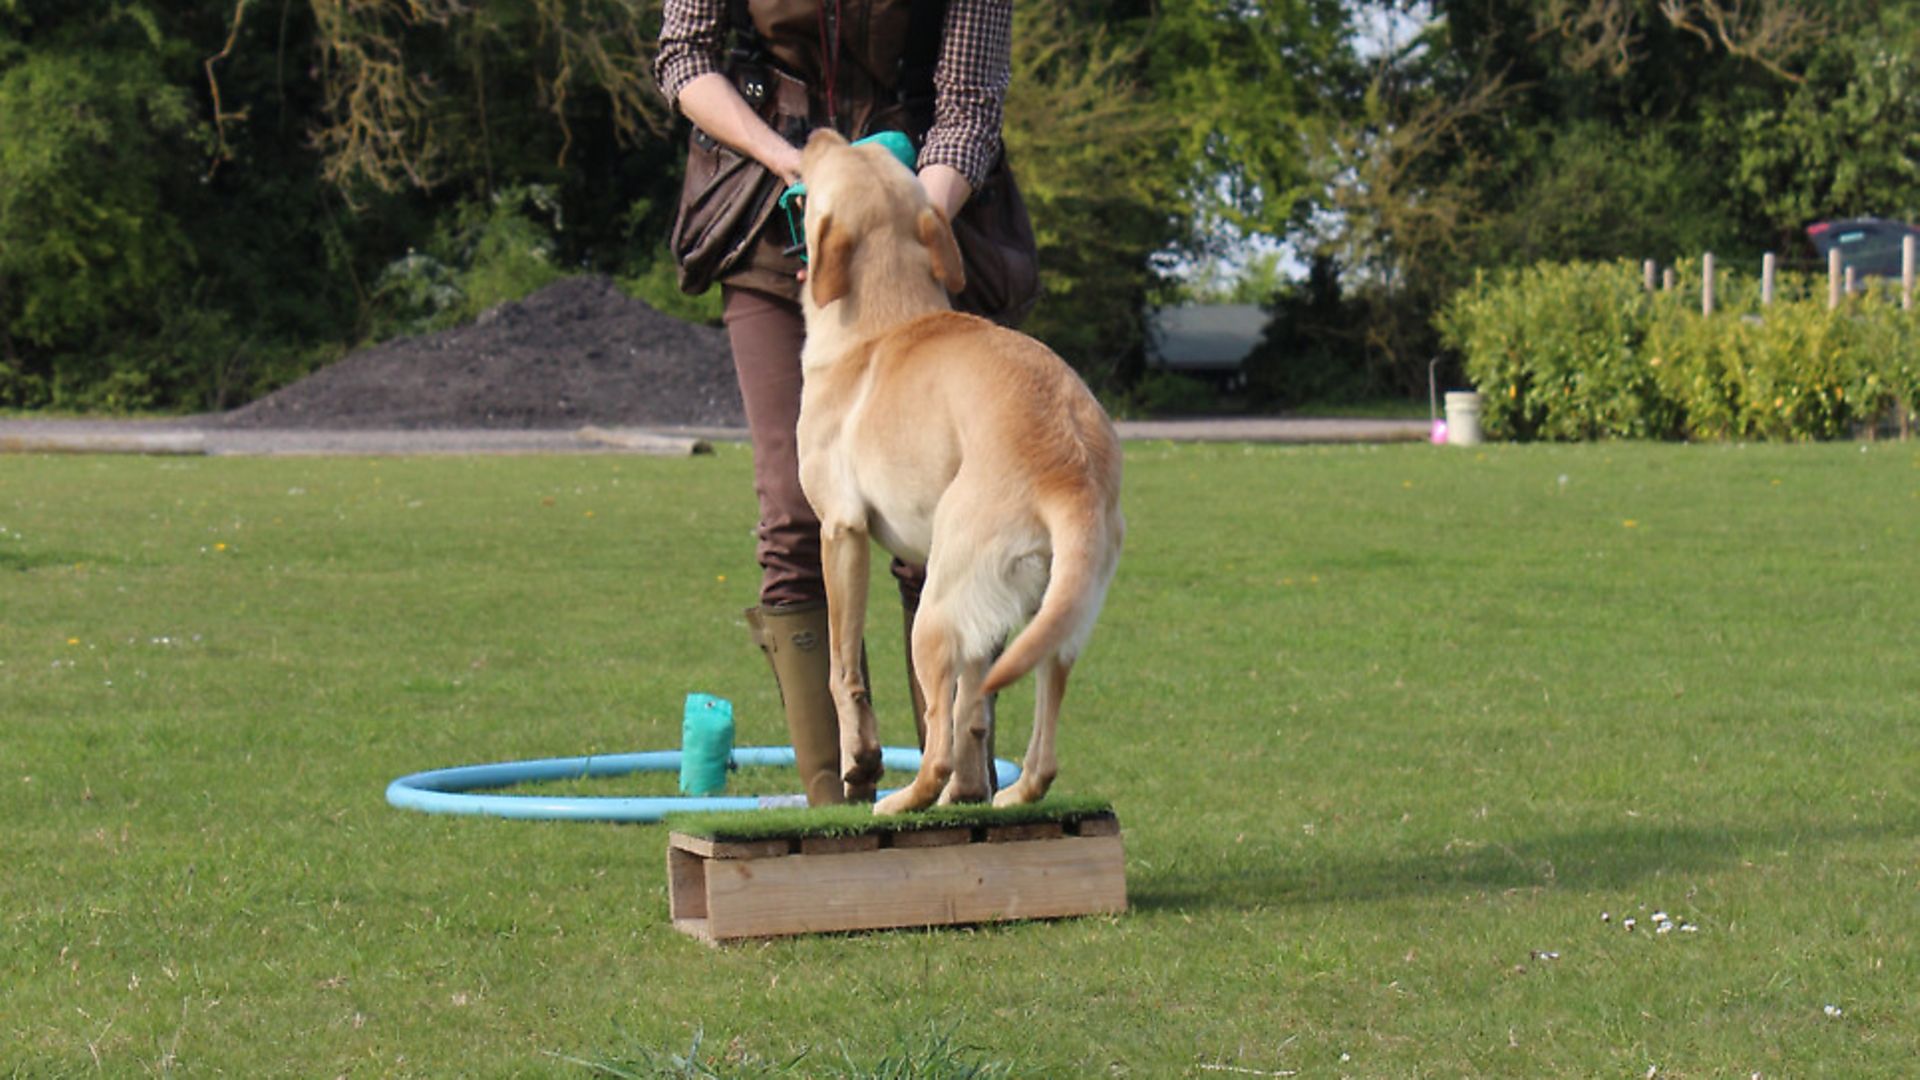
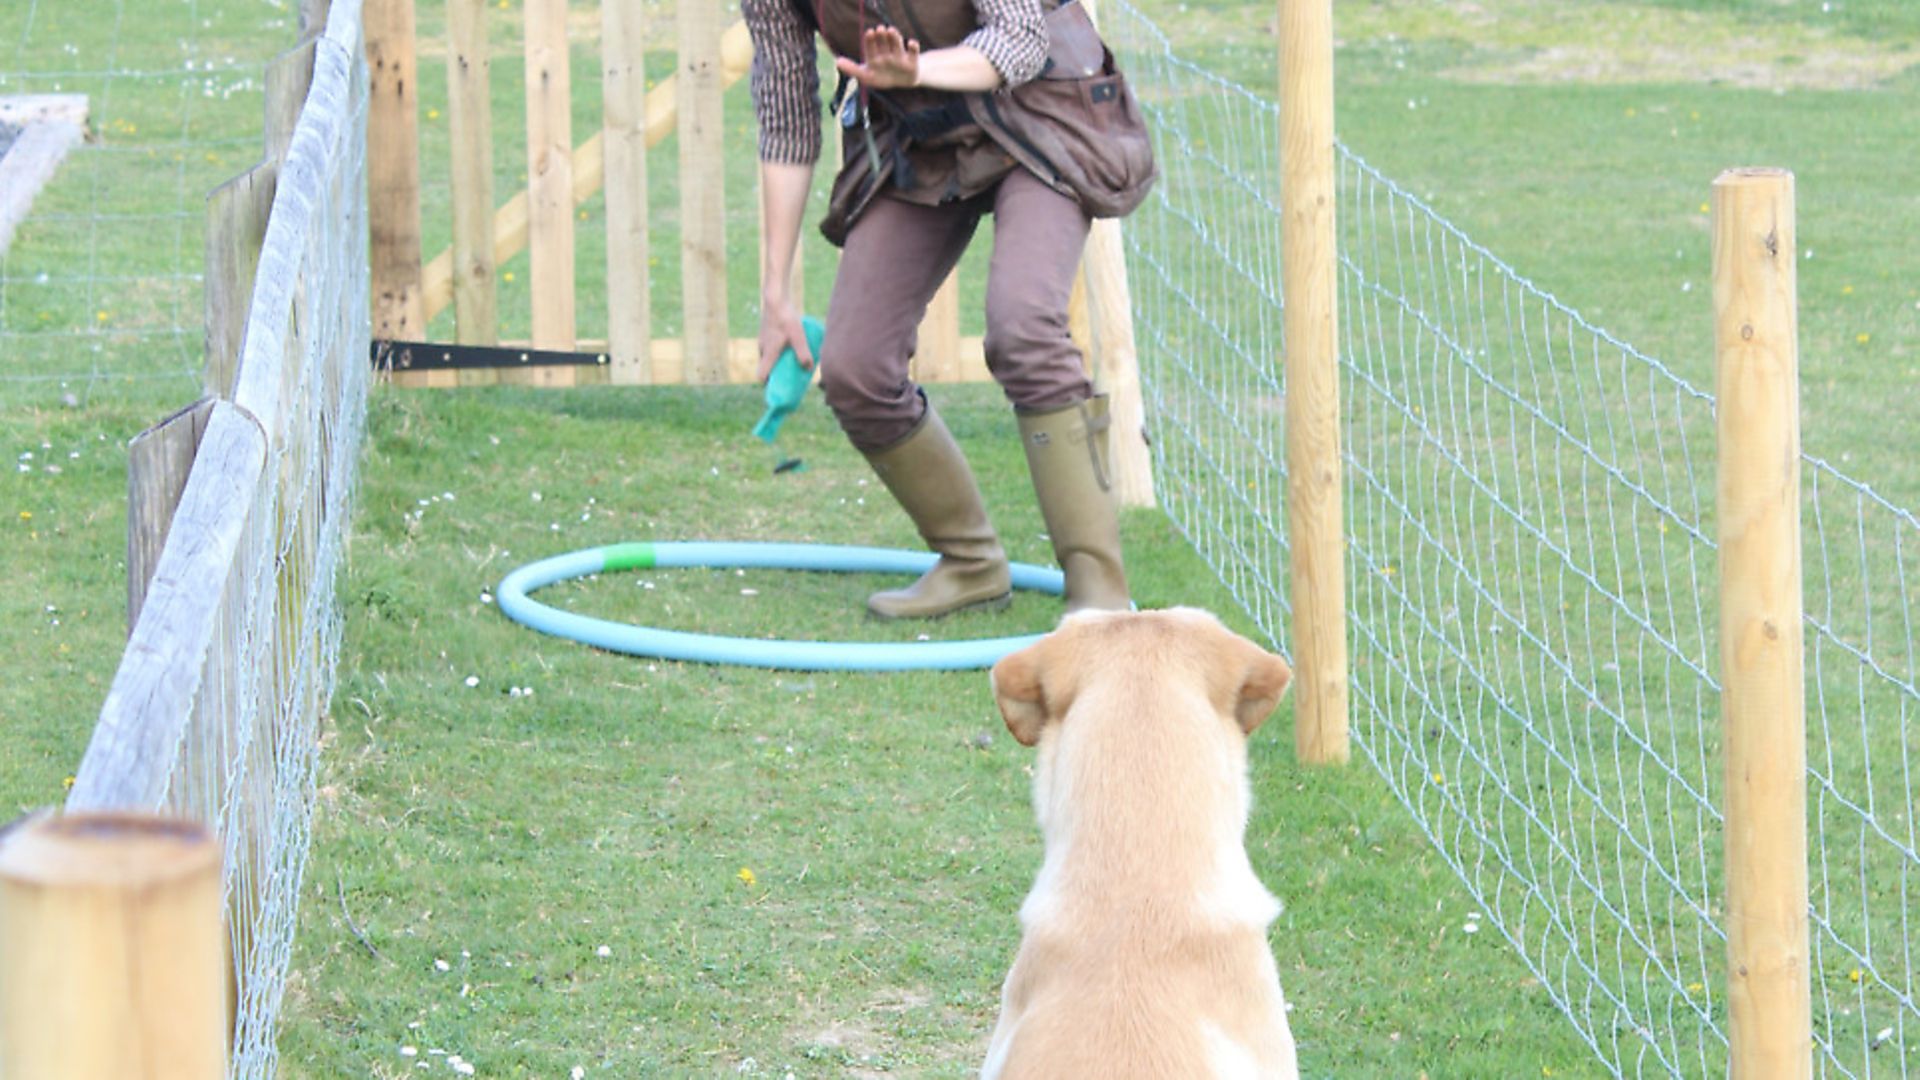
Position yourself, your dog, and ideally a target hoop or placeboard centrally in the corridor. Sit the dog alongside you at heel, now throw a dummy up the corridor. Ensure the dog sits steady to this dummy. Now comes the tricky bit. We need to get the dog to turn itself around – left about turn, keeping the dog at heel. Now that you have turned through 180°, throw the second dummy down the corridor to 6 o’clock. This is the distraction dummy and the one that we don’t want the dog to pick. Once again, left about turn, align the dog and send it to retrieve the 12 o’clock or first dummy down.
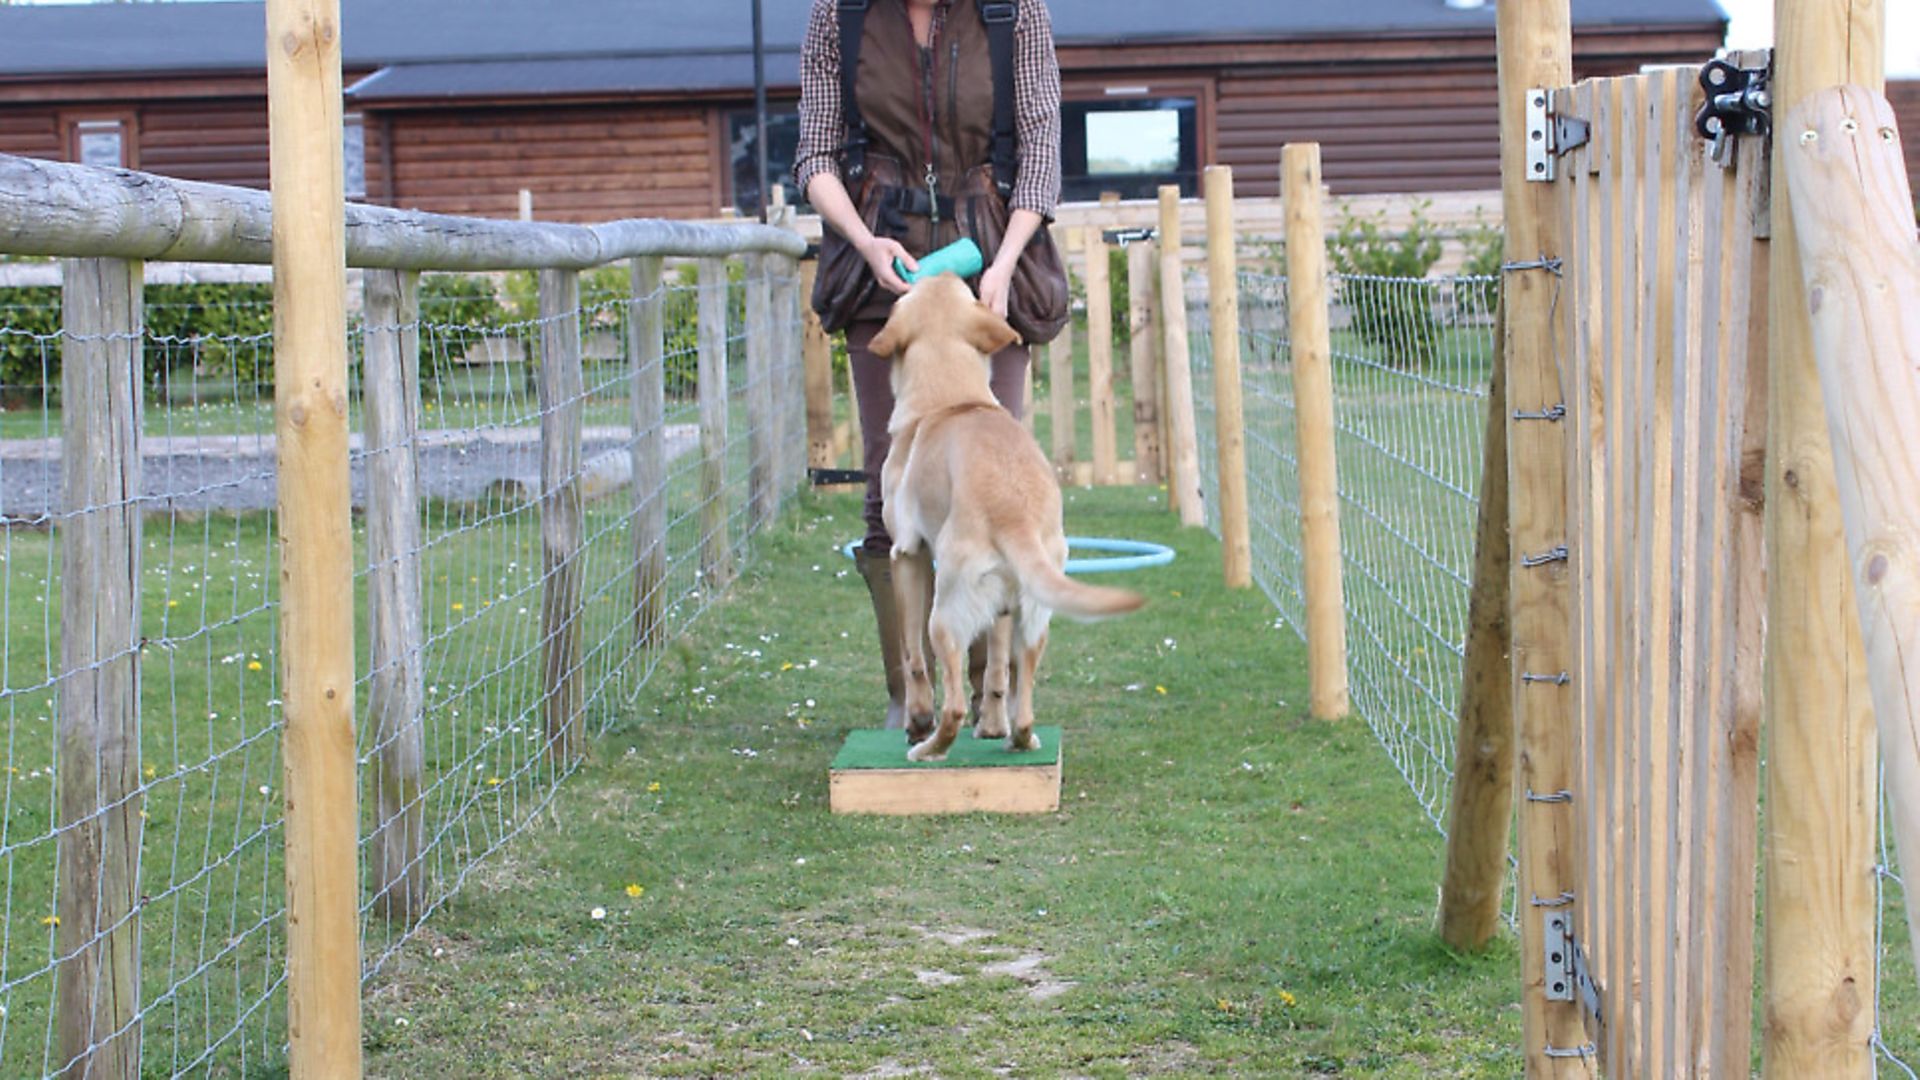
If you have chosen to take advice and use a retrieving corridor, you will be in a strong position to ensure that the dog offers you a really nice retrieve and delivery to hand without any fuss or conflict. The corridor will serve to guide the dog out and back.
Your job is to ensure you block the dog’s access to the dummy that’s behind you. As it turns to return to you, quietly but with a little more encouragement than normal, ensure you keep the dog focused on you and the target hoop or board. A strong retriever might well be thinking that they would like to get the second dummy; you need to ensure that the dog learns that it is not allowed to get involved with that second dummy.
Once you have the first dummy to hand, continue to block the dog’s passage to the second dummy. Use body language and the Sit/ Stay command to keep the dog sat quietly. Now reverse away and collect the dummy yourself. Quietly reward the dog for staying put, don’t drop your guard now as the dog will still think that second dummy is there for him to retrieve. If you don’t stay focused, he will race off to find it.
This exercise is all about teaching the dog that the game of retrieving is still great fun, but there are rules to this team game. You’re the captain and it’s you who decides where, when and which dummy is to be retrieved.
As with all the exercises we set when training our dogs, we try to engineer things so that we set the dog up to be successful. You will need to be structured in your approach and clear to the dog as to what it is you require them to do.
Play nicely, have fun and I look forward to building on your success as we continue using a clock face to develop directional commands next month.
Keeeeep training!
Related Articles
Get the latest news delivered direct to your door
Subscribe to Sporting Gun
Subscribe to Sporting Gun magazine and immerse yourself in the world of clay, game and rough shooting. As the leading monthly publication for passionate shooters at all levels, Sporting Gun delivers expert advice, practical tips and in-depth reviews to enhance your skills and enjoyment of the sport.
With features ranging from gundog training to pigeon shooting, and wildfowling to equipment recommendations, you’ll gain valuable insights from professional shooters and industry experts. A subscription not only saves you money on the cover price but also includes £2 million Public Liability Insurance, covering the use of shotguns, rifles and airguns for both recreational and professional use.
