★ Win a Schöffel Country shooting coat for everyone in your syndicate worth up to £6,000! Enter here ★
How to: positively introduce gun shot to gundogs
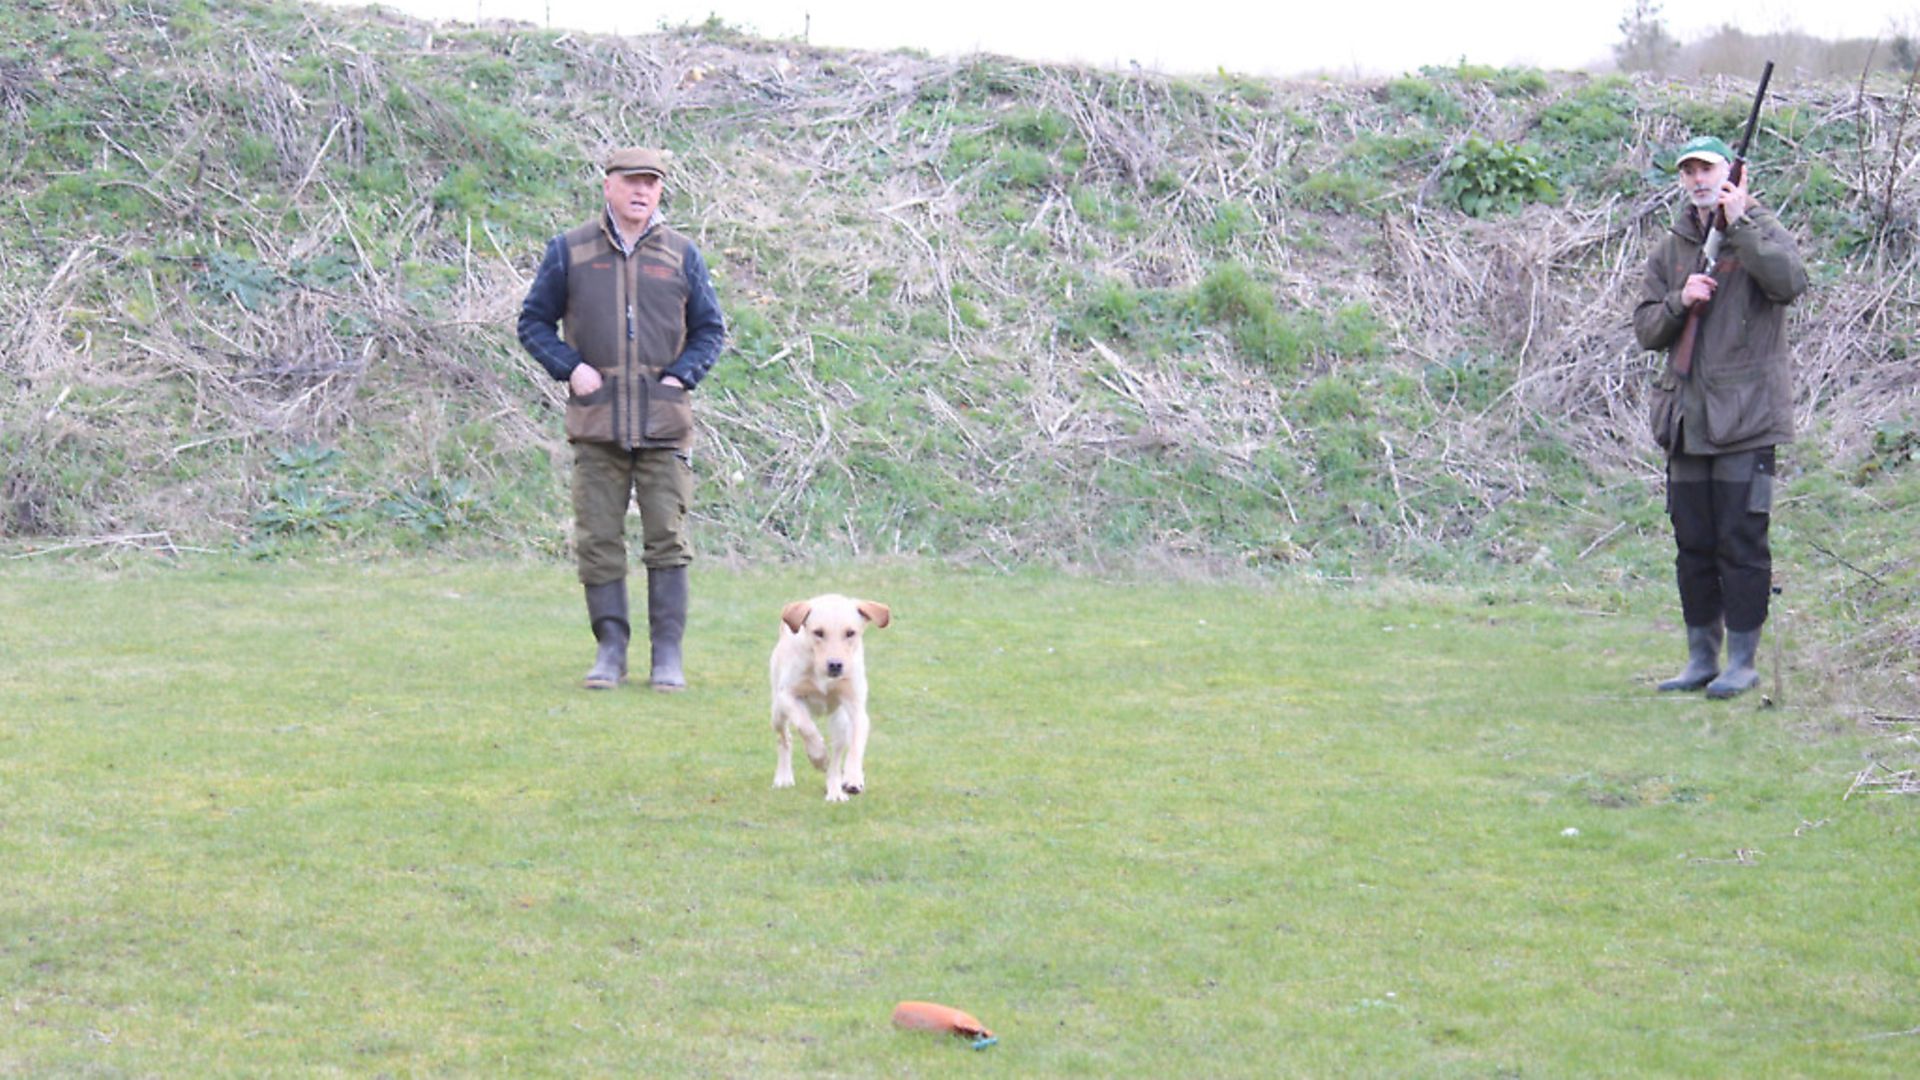
Gundog trainer Howard Kirby explains how to correctly introduce gunfire to a gundog and ensure a lifelong positive association with the gun
In previous articles, we have taken a look at encouraging our young gundogs to accurately mark the ‘fall’ of a dummy or game. Once in the shooting field, the ability to do this will be inextricably linked to the dog’s understanding of the Gun, both shooter and machine.
An experienced dog will immediately be aware of the sight, sound and presence of a gun, understanding that this combination is a part of the pack – an essential part of the hunting team. If you stand back and watch a dog hunting, it will react with anticipation and excitement to all of the cues given off by hunters as they prepare to take a shot. The closing, click of the safety catch and the mounting of a gun to the shoulder will prompt a learned response – hopefully a positive one. Unfortunately, if you meet a gun-shy dog, you may well see a very negative and fearful reaction to all of the above. While some dogs are perhaps predisposed to being noise-averse, this fear will have been caused by a loud bang that was probably avoidable. Clearly, we need to introduce our young dogs to the gun carefully! Here at Lains Shooting School and Mullenscote Dog Training Centre, our dogs hear the constant noise of gunfire in the background. While this is helpful, it is not enough to enable a dog to understand what a gun does and how it will bring him reward. It’s essential we go out of our way to show the dog exactly what the gun brings to the party.
The gun Stage one
For the gun owners among you, I recommend that you carry a gun during training, with either dummies or food. The dog will then get used to seeing the gun while having a good time!
I’m training a particularly shy springer at the moment and she is best described as being ‘frightened of her own shadow’. I know for sure that she will view the gun with suspicion and should I accidentally clout her with it, she will start off thinking that it’s something to be scared of. With Hillie, I need to ensure I’ve done all of the basics, including sit, stay and finish. I want to get her a little more organised before carrying a gun or stick as she is all around me at the moment and would definitely run into anything that I’m carrying.
Stage two
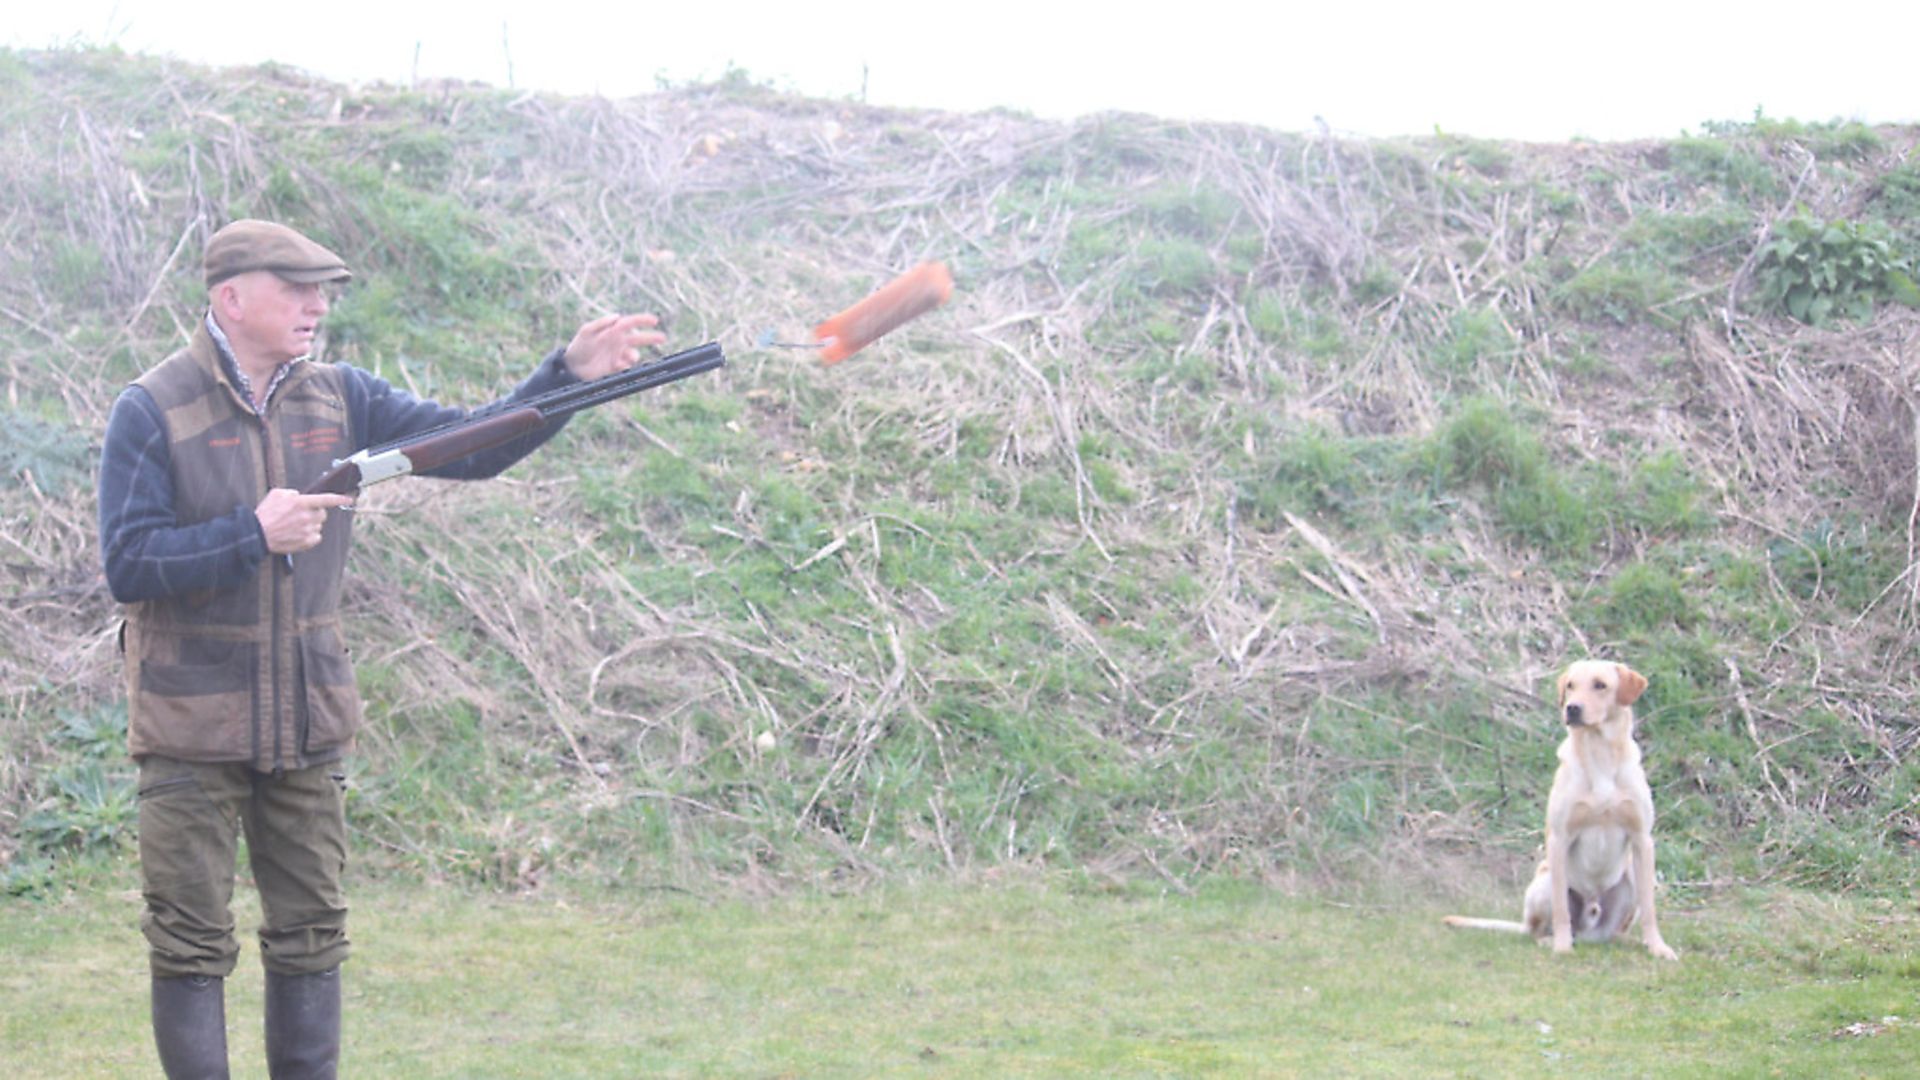
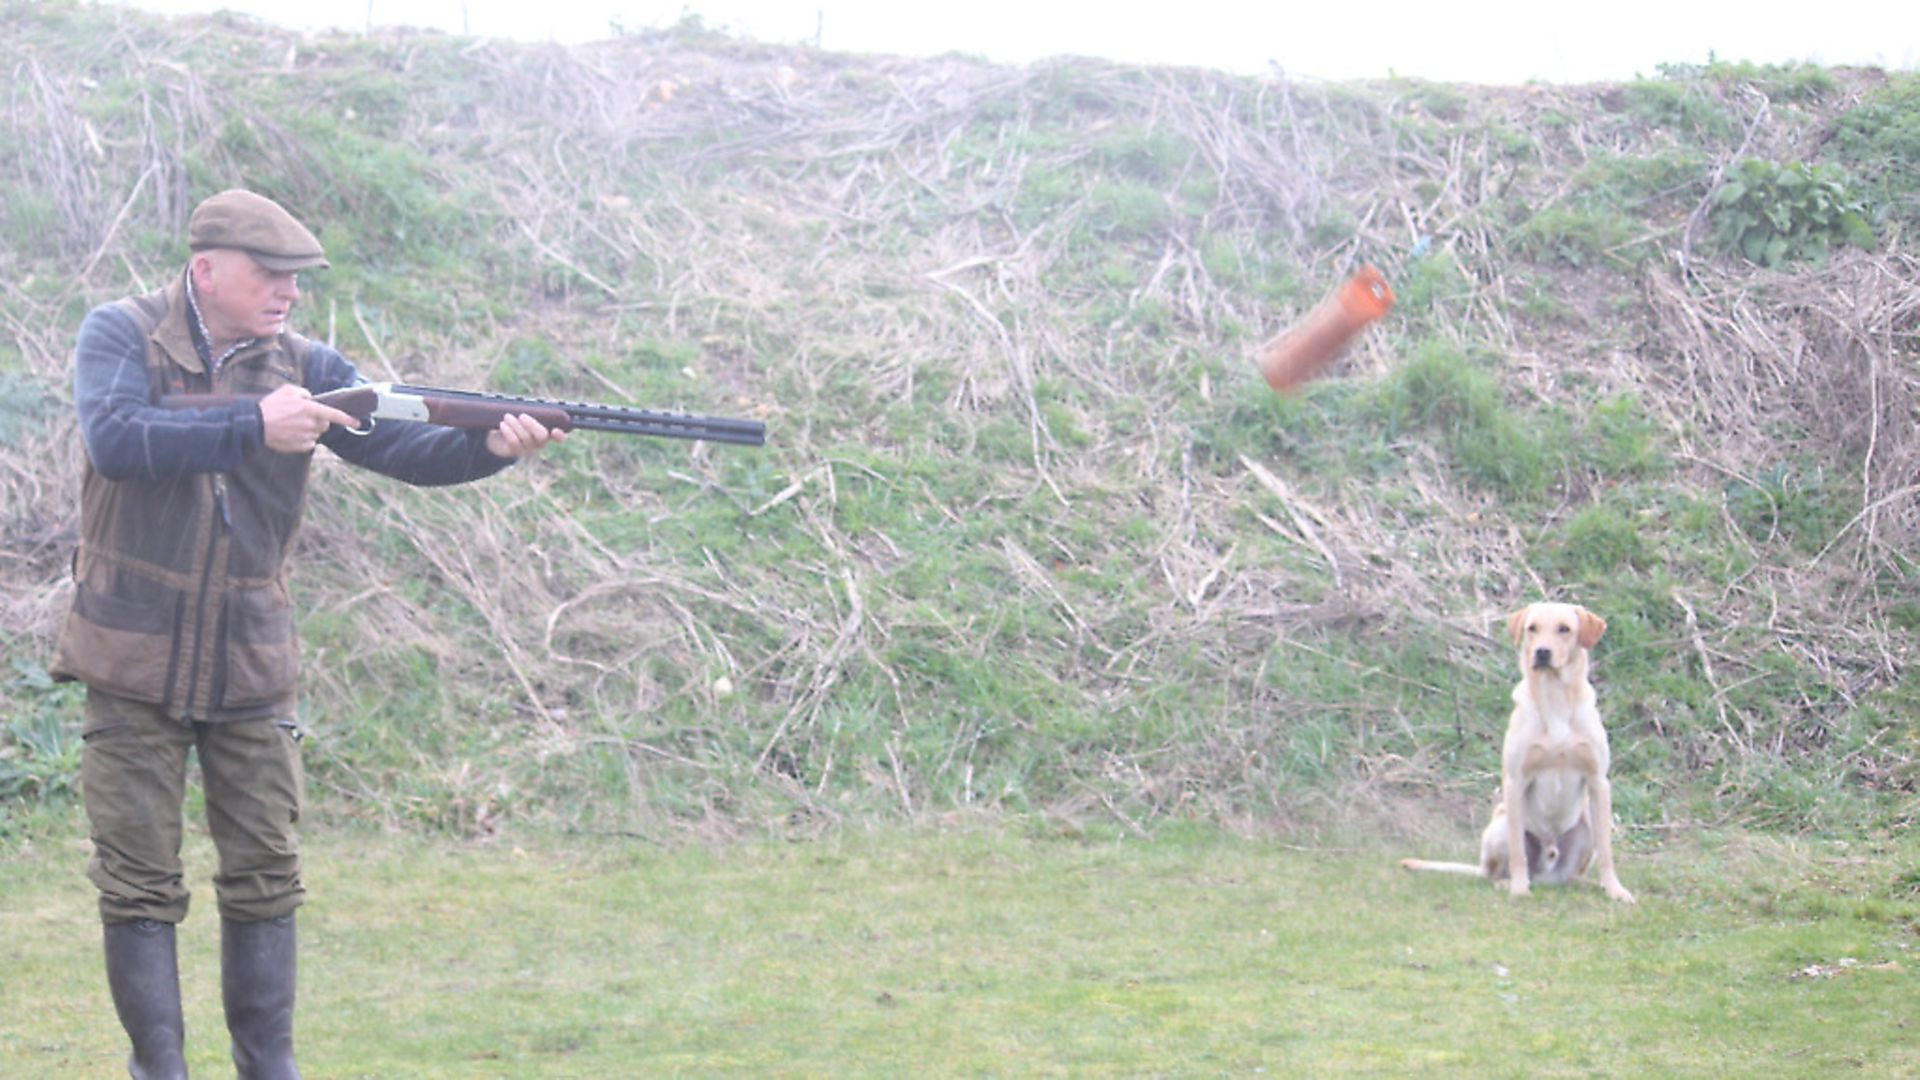
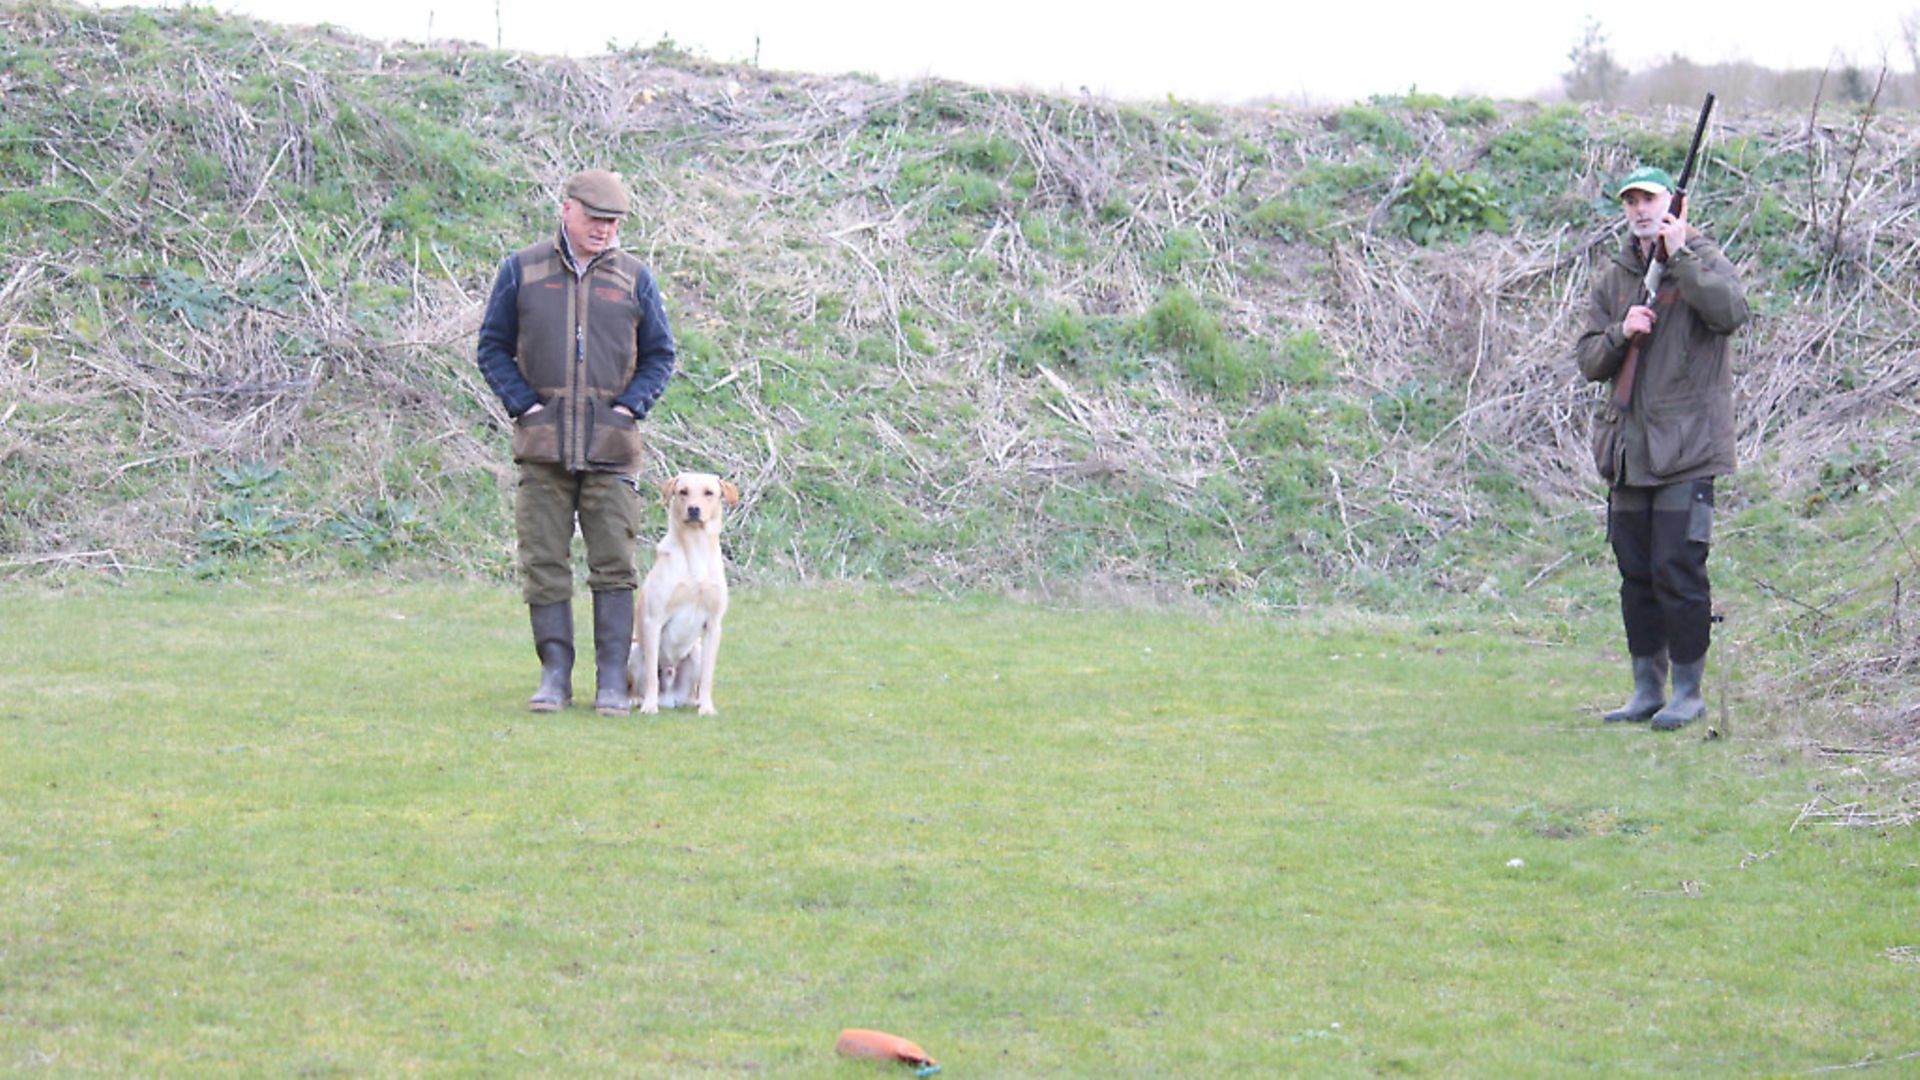
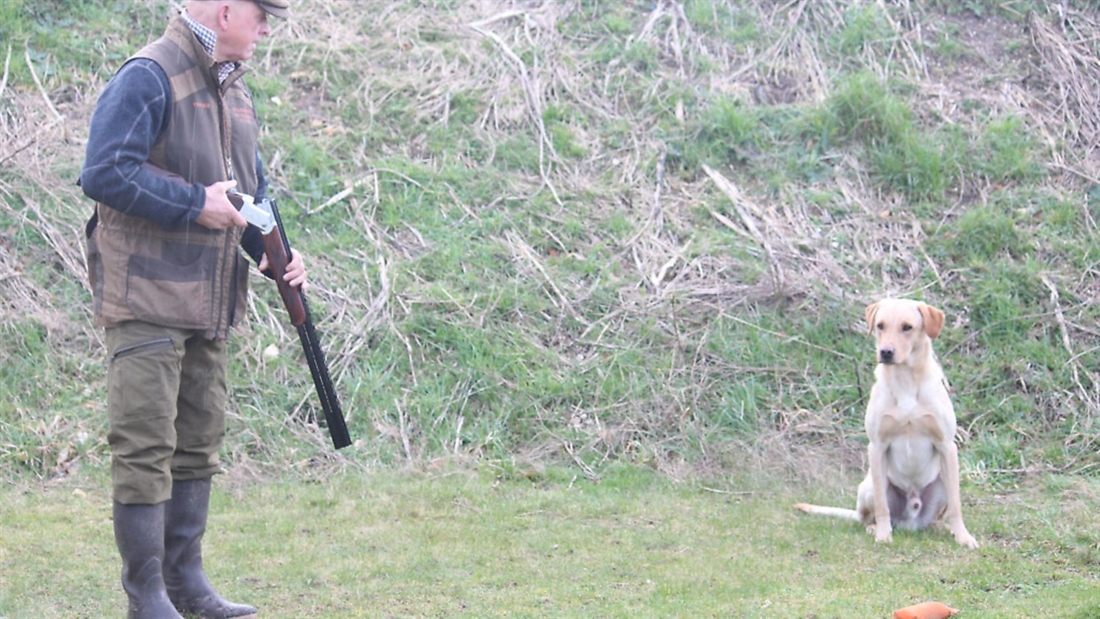
Once the dog will sit and stay, you can step away, gently close the gun, push the safety catch forward, throw a dummy and pretend to shoot at it, (just in case there’s any misunderstanding I mean the dummy, not the dog!). It’s absolutely essential that the dog is allowed to see this set of actions as this will give it a much better understanding of what’s going on.
The bang Stage one
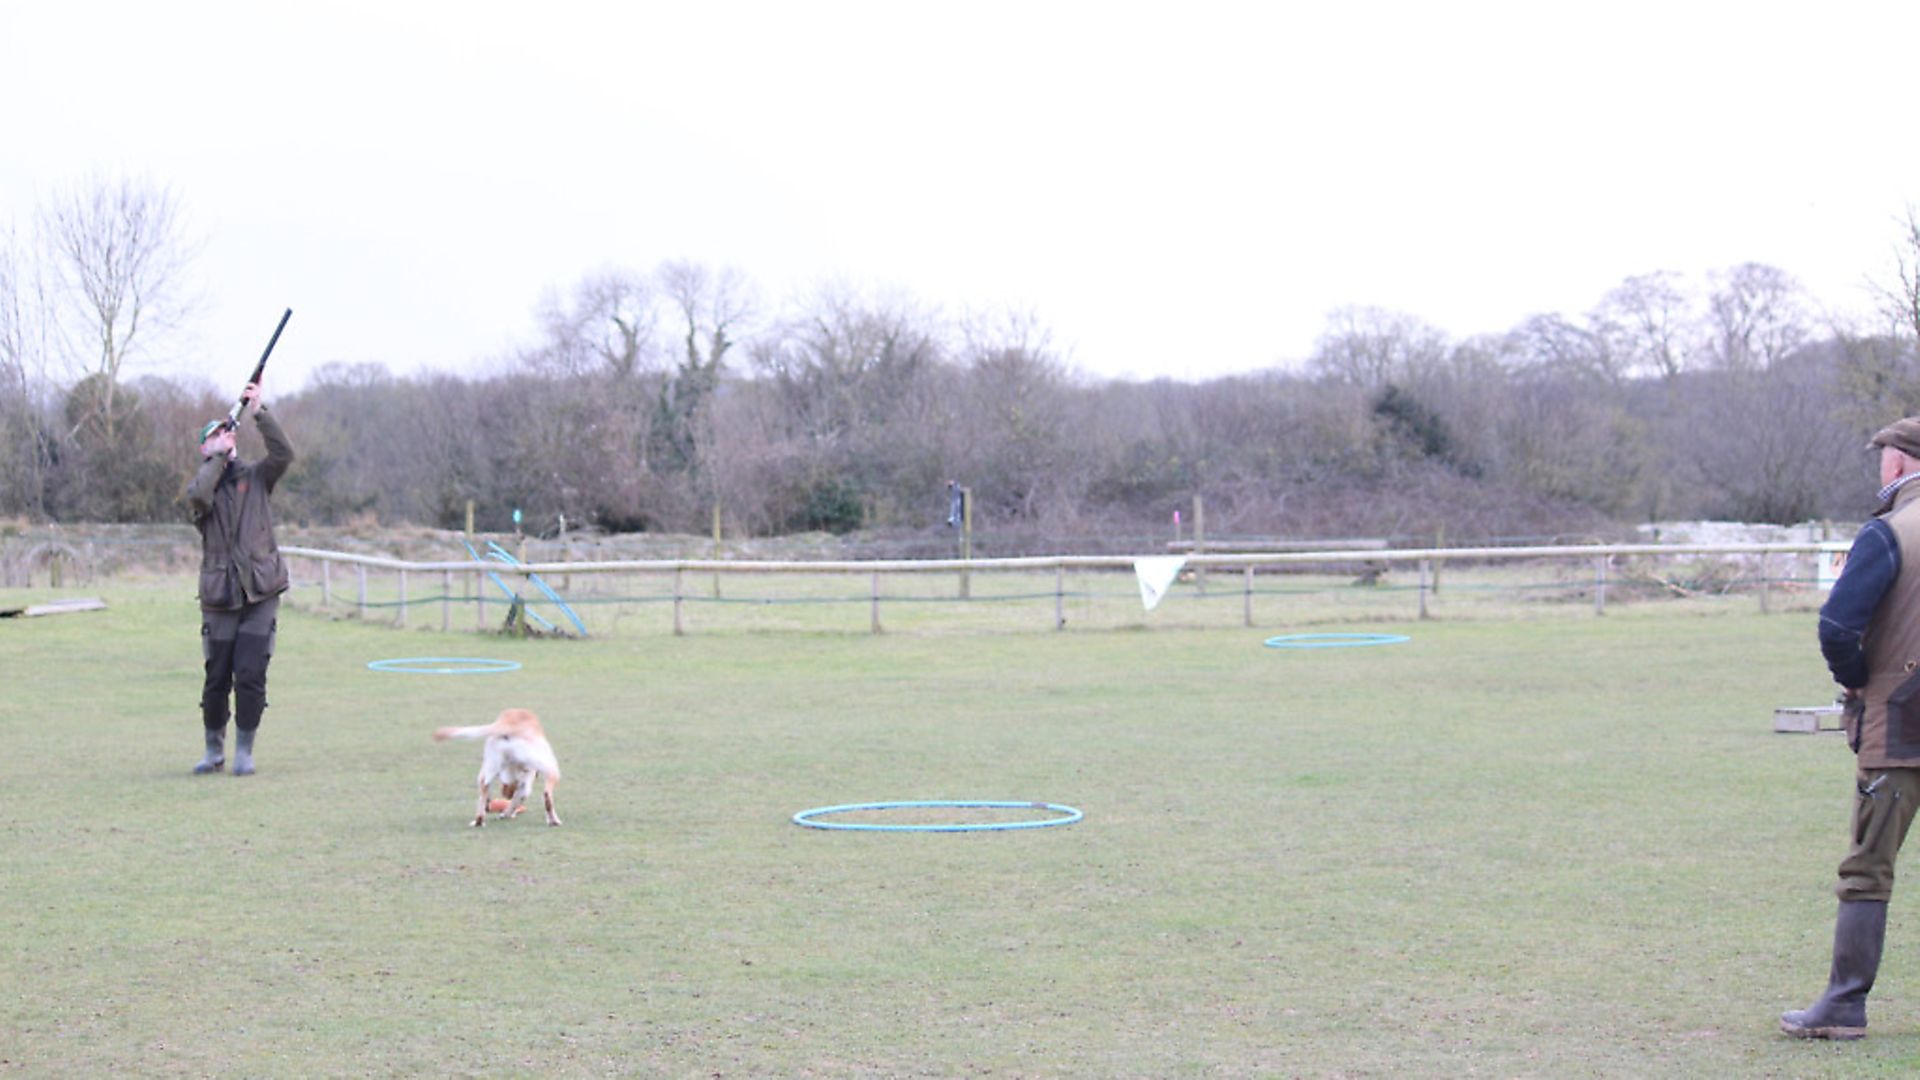
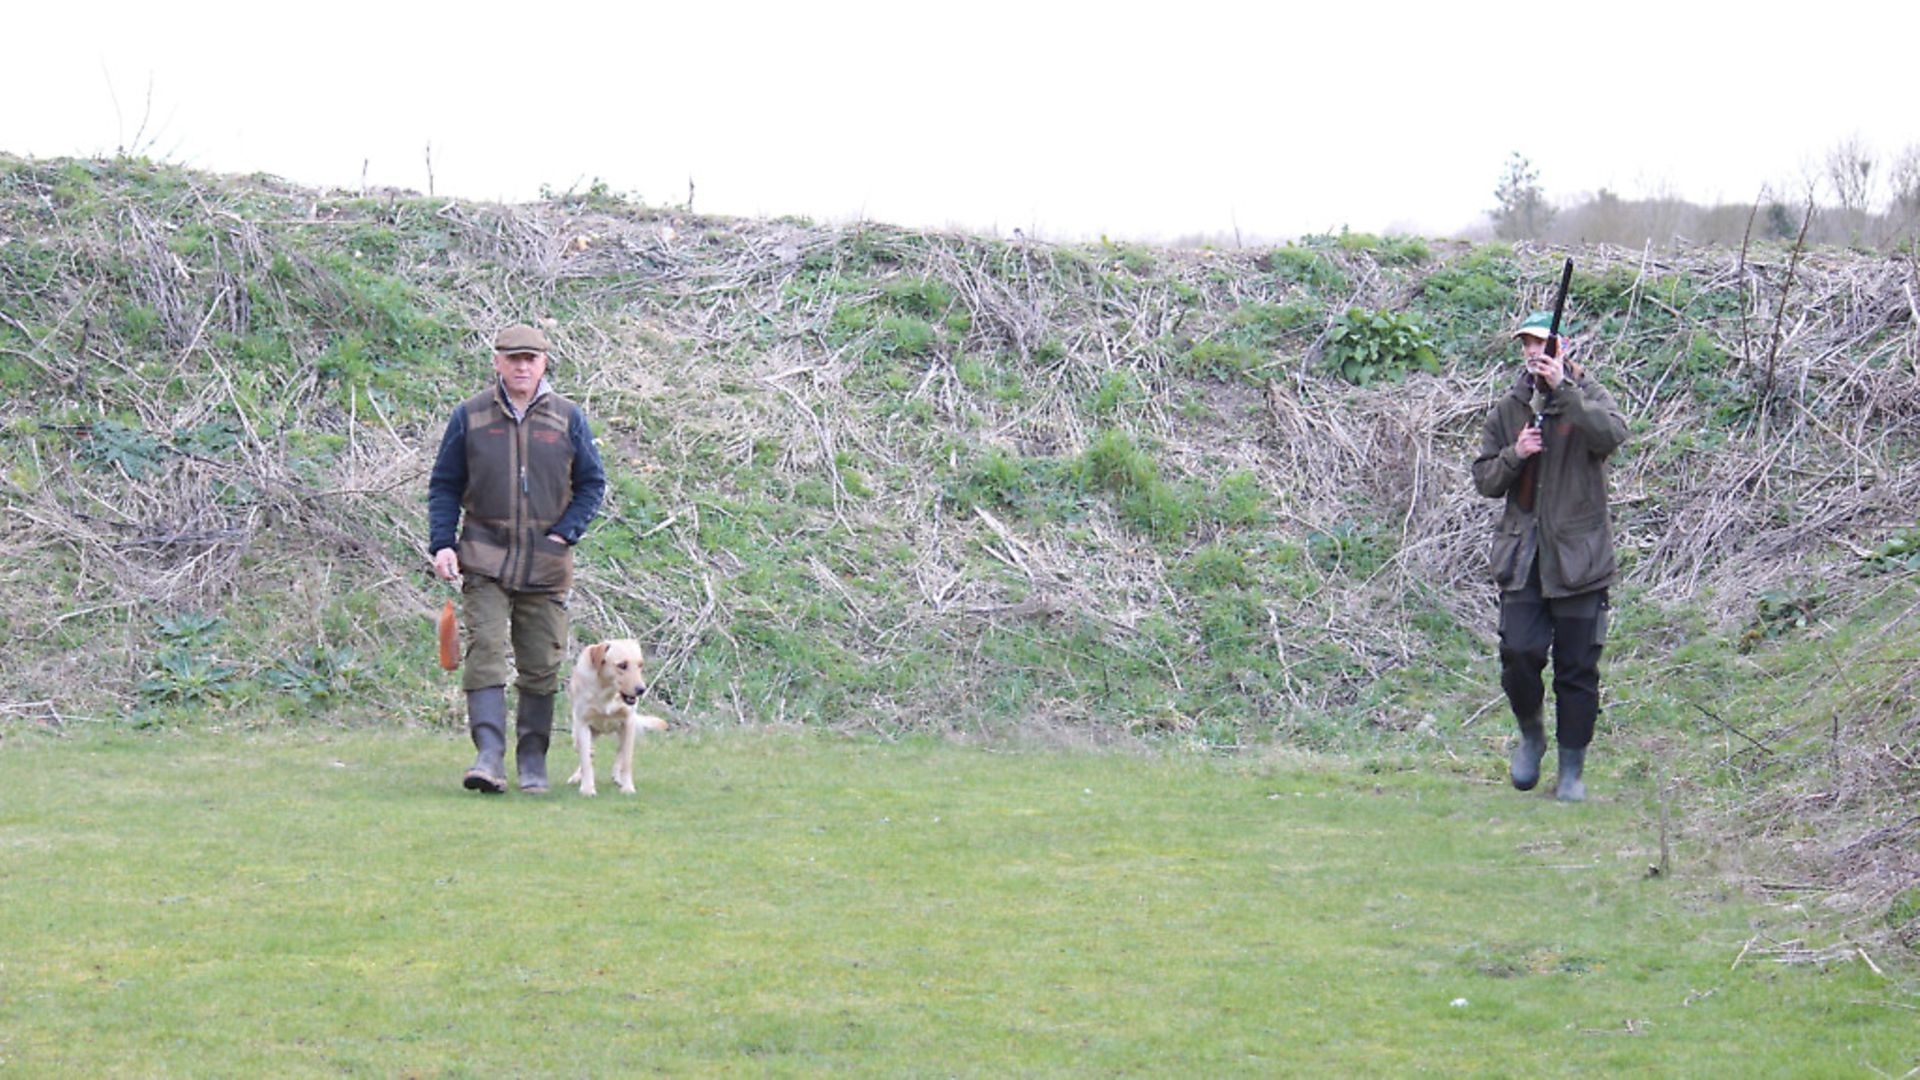
The best way to introduce the actual bang of a gun is during a high-energy retrieving session. You’ll need a training partner to assist you. Erring on the side of caution, we use a low noise ‘blank’ and send the assistant with gun and blanks out across our training field. Ensure that they stand about 100 yards (big paces) away. Now we sit the dog up so that he is facing the person carrying the gun. Throw a dummy out towards your assistant and send the dog to retrieve it. While the dog is charging out towards the dummy, the gun can be pointed away from the dog and fired.
Stage two
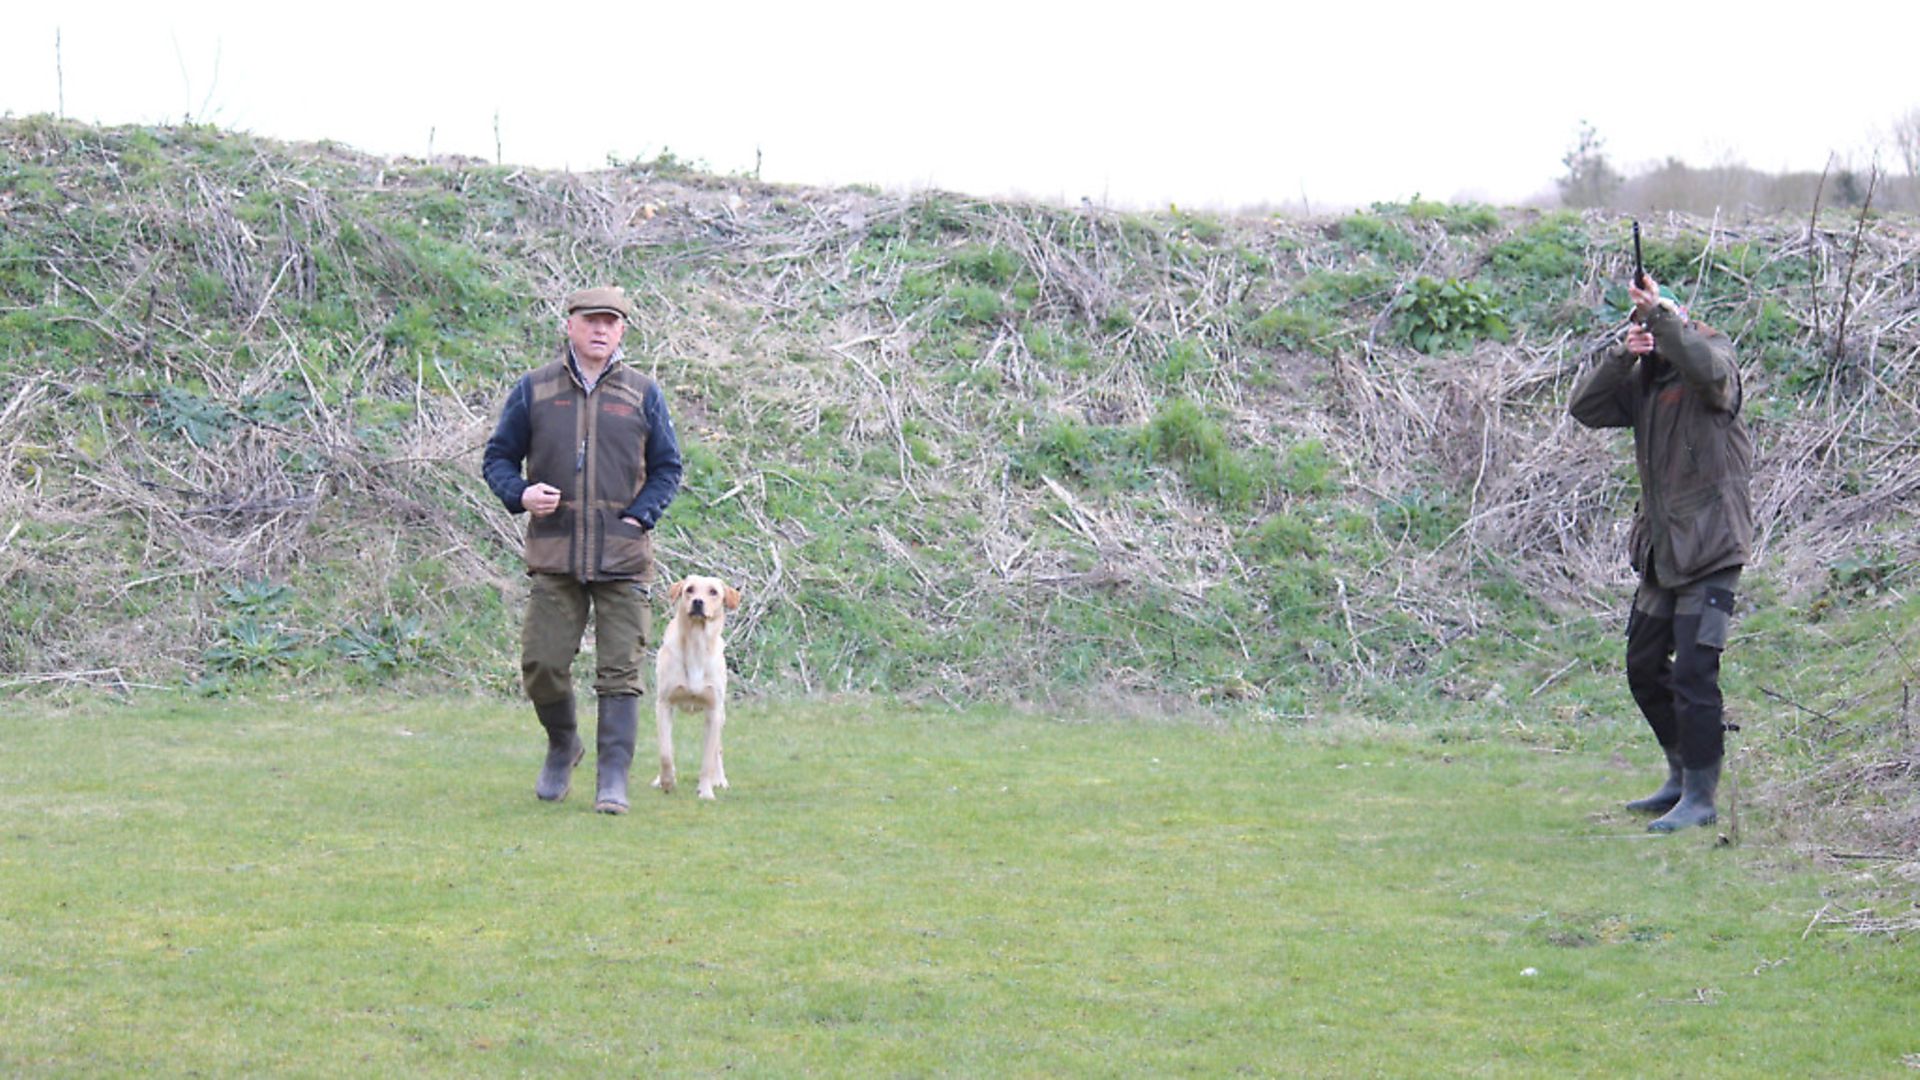
Do this three times over three sessions and then you can get the assistant to fire the gun at a 45° angle towards the dog as he makes the retrieve. This change in direction of fire will make a significant difference to the level of noise and is an important consideration (pic overleaf).
Stage three
Clearly, our objective is to ensure that the background noise of the gun is negated by the excitement of the retrieve. It’s important to understand that the dog is yet to have made the association with a gun shot that we wish for him to have. It’s now time to fire the shot and throw the dummy. At this early stage, send the dog out almost straight away. We want the dog to associate the gun shot with the fall of a dummy. Remember that this has been engineered to give the dog both an audio and visual experience.
Stage four
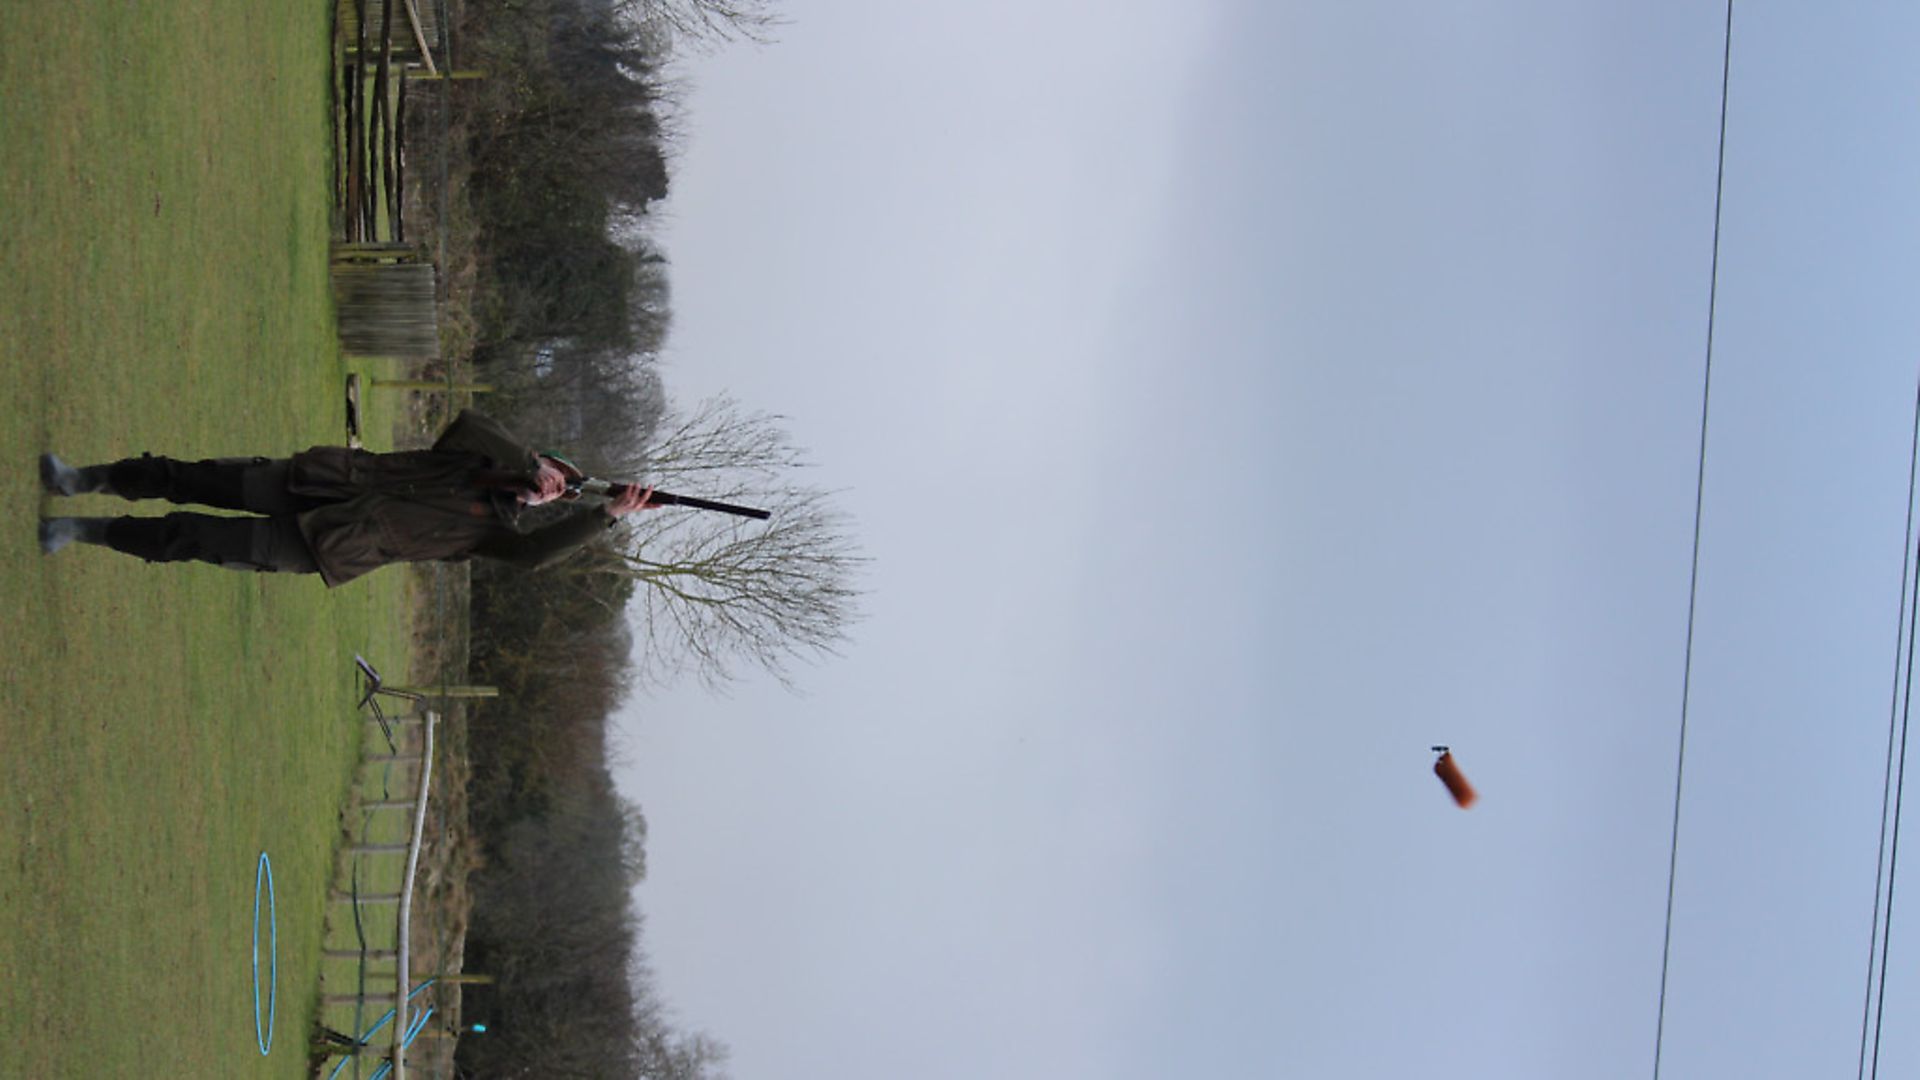
Raising the bar once again, we can now ask the assistant to throw the dummy high into the air and once again simulate and fire a shot. Without sounding too patronising, this is quite a tricky manoeuvre and a second assistant to throw the dummy will be helpful.
I forgot to mention that we should be ensuring that the dummy is easily and quickly located during this early training. We use an area of mown grass and a white dummy that is easily seen. If you have been following my instructions to the letter, the dummy will land some 80m from the dog. It’s essential that the dog is experienced enough to retrieve from that far out. Of course, the second assistant can stand nearer to the dog, which allows for a shorter retrieve. We are deliberately engineering a sequenced set of exercises to show the dog how a gun shot will bring reward. Once established, it’s important that the dog learns to be steady, sitting and marking to shot. With retrievers, we can continue with a similar exercise, only now the dog can be walking at heel as the gun is fired. For spaniels, HPRs, and the pointers and setters, the dog will need to drop while hunting.
To achieve this, a second Gun is required. Place the Guns either side of the dog and handler, forming what is known in shooting as ‘the line’. The spacing between the handler and the Guns will differ between the breed groups. Guns will need to be within 5m or 10m for spaniels, whereas they might be 150m to the right and left for the pointers and setters. Dogs should be encouraged to hunt to their Guns, quartering methodically with pace and style.
Introducing gun shot to a young dog should be enjoyable for all involved. If we school the dog correctly, it will learn to work with and for the Guns and handler. This teamwork (or packwork) enhances the chances of success for everyone involved, both dogs and humans alike. This is logical, easily understood and allows our dogs to learn with confidence.
Introducing gunshot is one of the few elements of dog training that you cannot afford to get wrong. If you frighten the dog, it will be termed as being ‘gun shy.’ This will restrict and limit what you can do with your dog in the field. For you, this will be frustrating and inconvenient. For your dog, the one who has placed their trust in you, it is terrifying and leads to fear and mistrust. Let’s get it right! Keeeeep Training!
Related Articles
Get the latest news delivered direct to your door
Subscribe to Sporting Gun
Subscribe to Sporting Gun magazine and immerse yourself in the world of clay, game and rough shooting. As the leading monthly publication for passionate shooters at all levels, Sporting Gun delivers expert advice, practical tips and in-depth reviews to enhance your skills and enjoyment of the sport.
With features ranging from gundog training to pigeon shooting, and wildfowling to equipment recommendations, you’ll gain valuable insights from professional shooters and industry experts. A subscription not only saves you money on the cover price but also includes £2 million Public Liability Insurance, covering the use of shotguns, rifles and airguns for both recreational and professional use.
