★ Win a Schöffel Country shooting coat for everyone in your syndicate worth up to £6,000! Enter here ★
How to: use the ‘stop whistle’ at distance

Gundog trainer Howard Kirby teaches us how to start using the stop whistle at distance, taking your stop whistle training to the next level!
Over the past couple of months, we have focused on the Stop whistle, its importance, and some ideas and techniques to use when training our dogs.
In this article, I’m going to stay with the Stop whistle and move on to consider its use as we continue with our training. We are going to base this article on the assumption that your dog has been thoroughly trained to understand the basics of the Stop whistle. Here’s a little checklist to tick off:
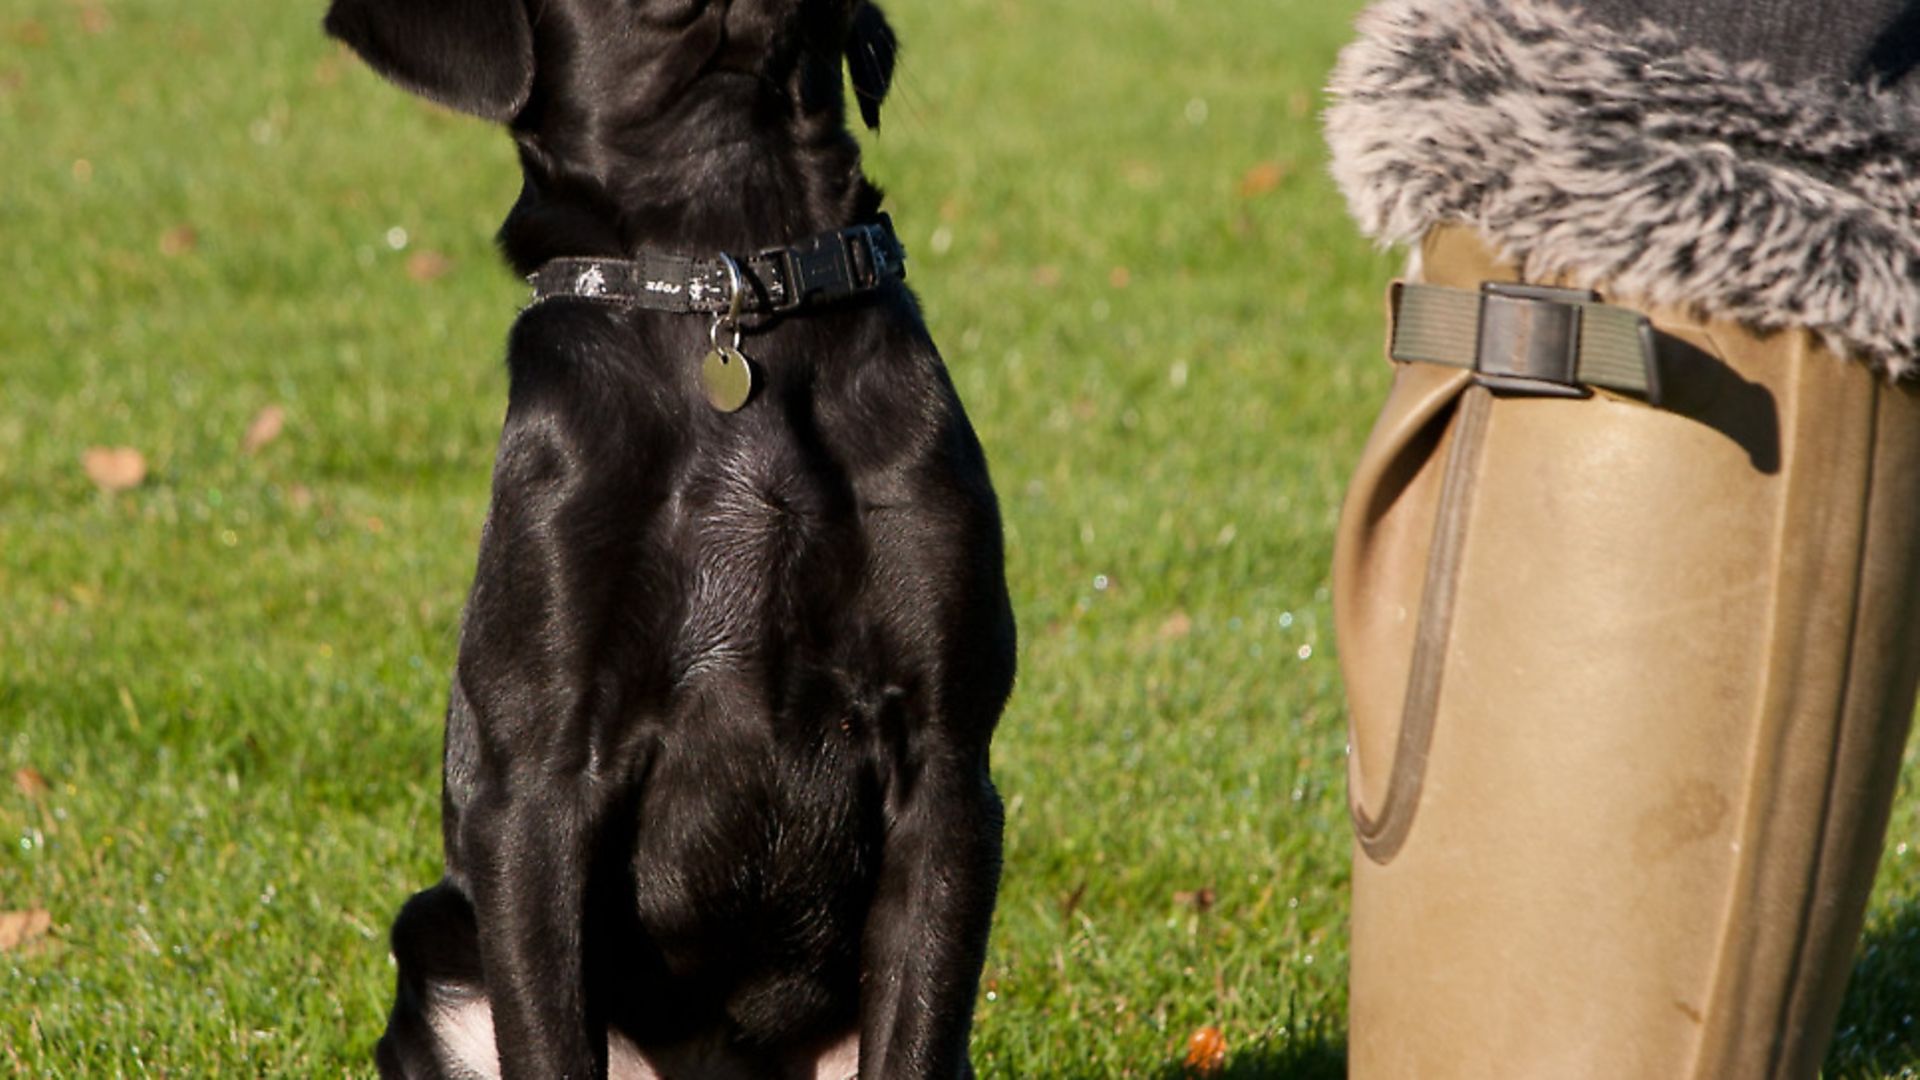
1. Walk at heel. Blow Stop whistle quietly. Dog should sit immediately to whistle.
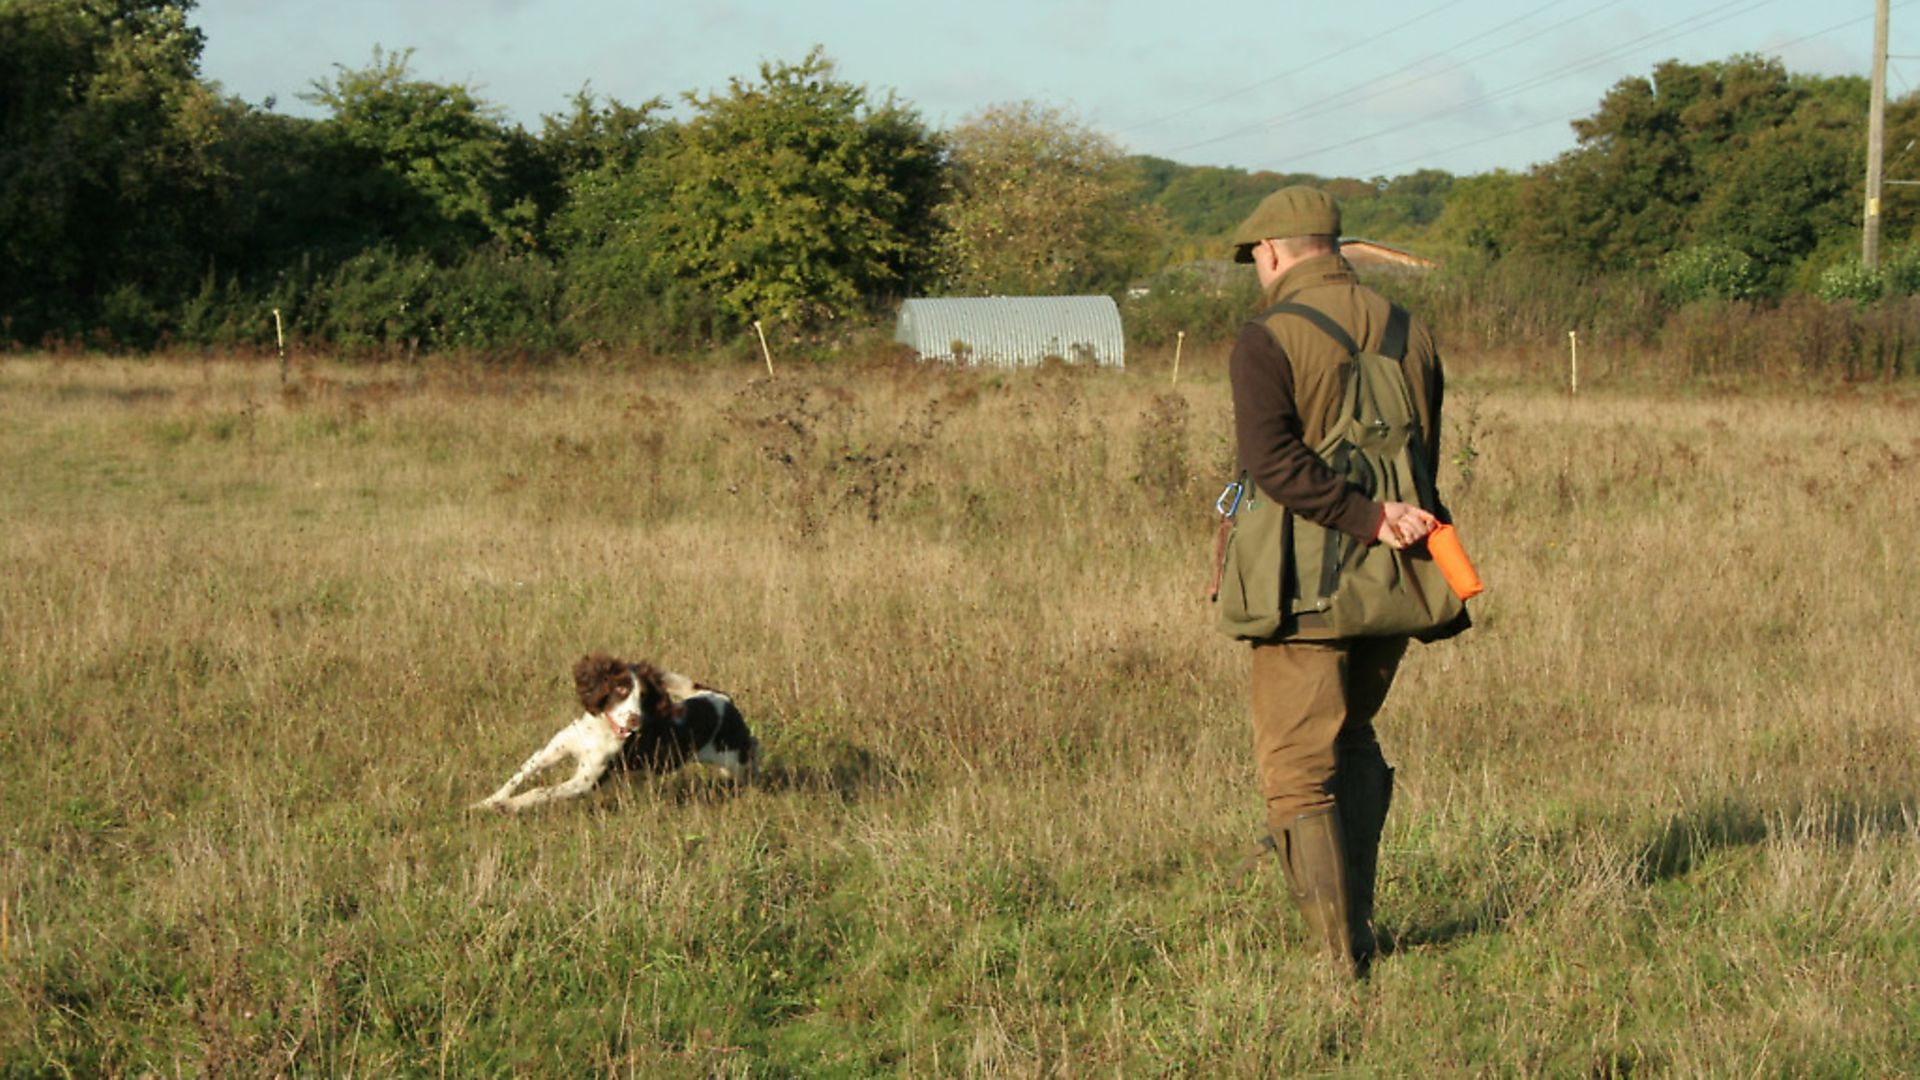
2. Sit the dog in front of you about 20 big paces. Throw a dummy behind it. Recall on whistle. Blow Stop whistle. Dog should stop immediately. Reward by sending it back to make the retrieve.
3. Sit the dog 50m in front of you. Recall. Stop on the whistle when it’s halfway to you. Immediately throw a dummy out to the dog’s right and left and then send for either dummy.
4. Railway track exercise (see last month’s Sporting Shooter).
5. While hunting just a few metres out in front of you, blow the Stop whistle and simultaneously throw out a dummy. Once dog has sat, throw out a second distraction and send dog for the first dummy down.
If you can happily tick off this list with confidence, we are ready to move on to the next level.
‘Grown up’ sitting to the whistle
Now we’ve taught the dog to stop on the whistle at close range, it’s essential we keep him on side as we move into more complex exchanges with the dog.
The relationship has been built on trust: “if you listen to me I’ll help you to get prey in your mouth”. In most situations, the Stop whistle will be used to stop the dog and catch his attention. Now we can offer direction to assist the dog to locate the bird or dummy.
The transition from close-range handling to giving direction at 50m and beyond is a sizeable one and will need careful development. It’s not uncommon to see handlers getting frustrated as they stop the dog on the whistle and then give the dog a directional command that is not correctly interpreted. This, of course, usually results in the dog moving in the wrong direction, which often means it is now less likely to make the retrieve. Then comes another blast on the whistle: once again the dog stops, but another misunderstood direction means things go downhill quickly.
Many handlers continue with this futile attempt to keep directing a dog that is already confused and which, if pressed any more, will now offer one of several behaviours. Some valiantly try their best and keep stopping to look at you; some appear to keep hunting but are so worried that they are now just going through the motions and are so overwhelmed that they are no longer functioning and are unlikely to find the bird. The third and boldest just go, “ahhh bu’’er this, I’m done with listening to this idiot,” and go ‘self-employed’, sometimes finding the bird and sometimes disappearing over the horizon.
I’m sure you’ve never had this happen, but for certain all of the above serve only to break down hard-earned trust. So clearly, I’m referring to mistakes that a friend has made (trust me, 30 years in the trade has seen me make every mistake in the book!). Anyway, here are a few ideas to think about!
Get out there and help
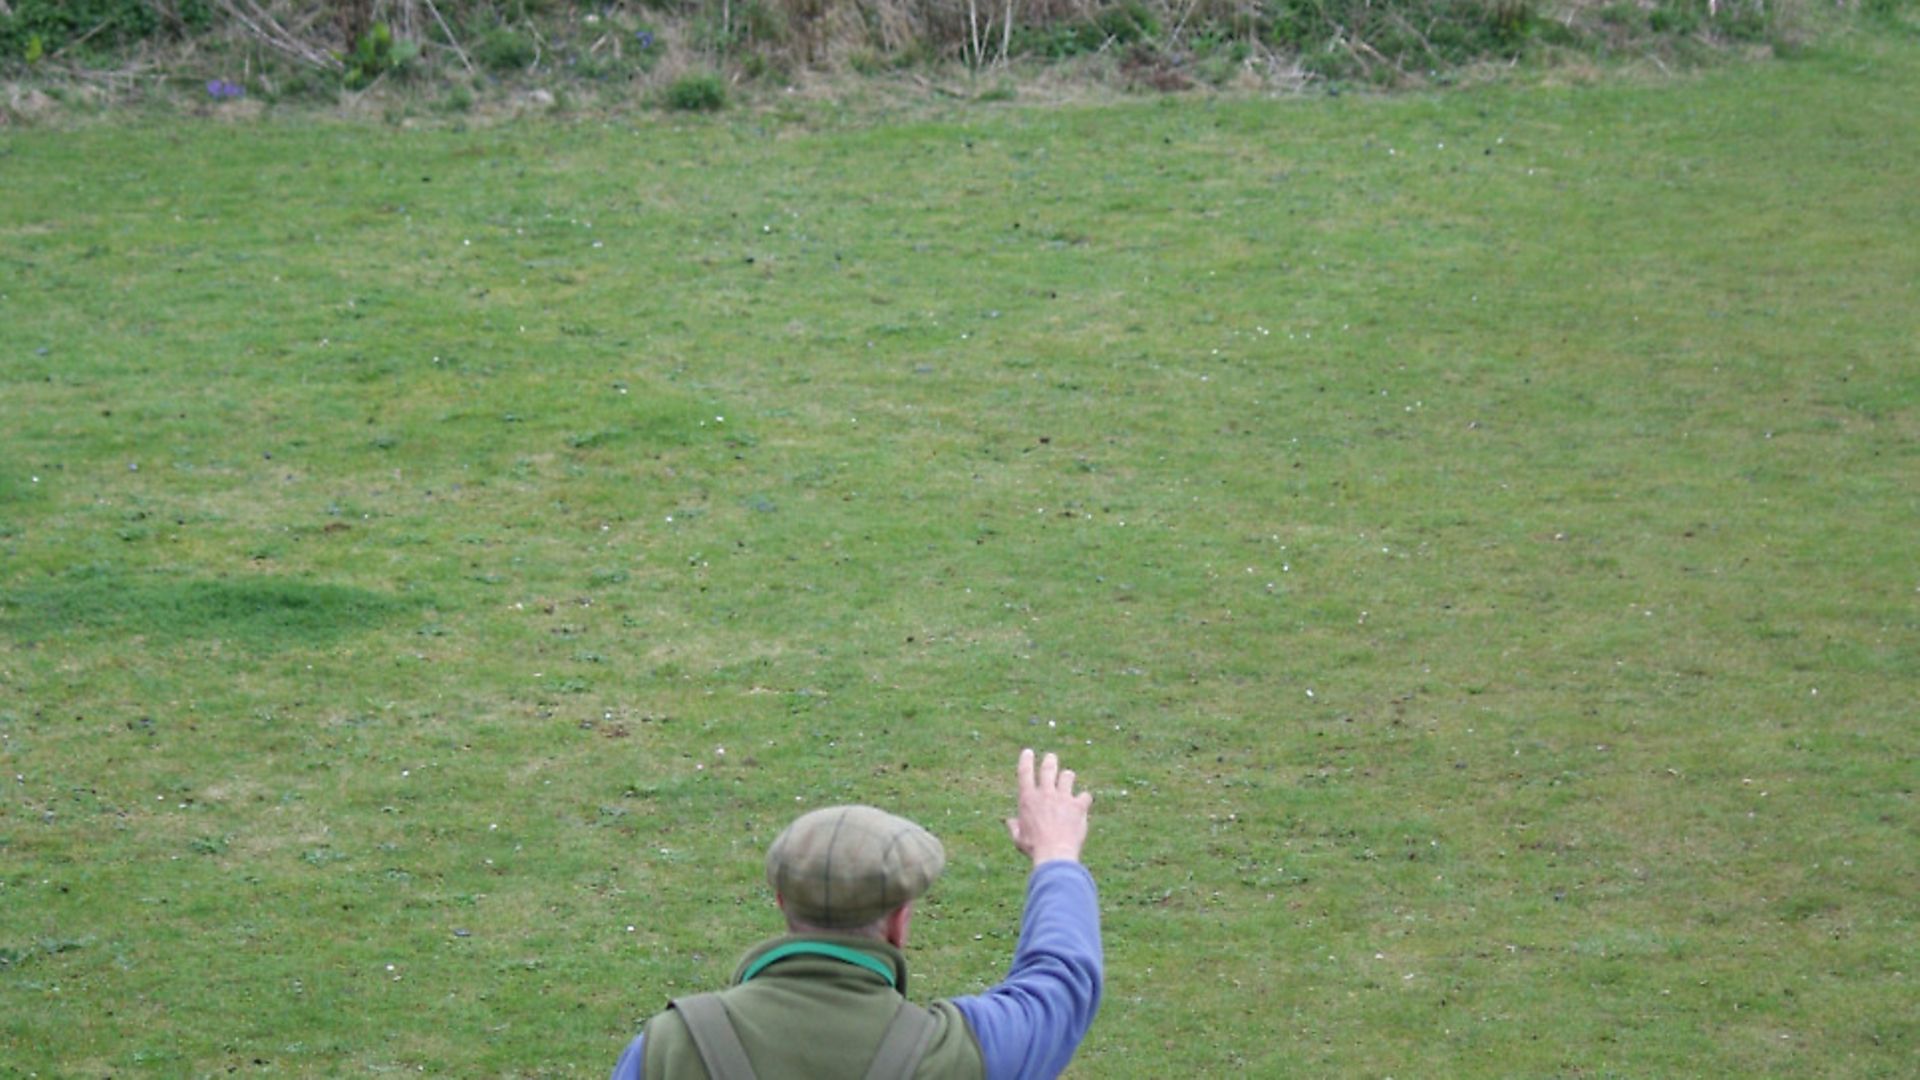
Firstly, in the unlikely event that I’m describing your good self, it would be worth considering some further directional work so that your dog is better equipped to understand any ‘hanky waving arms’ that we expose him to. Exercises that develop left, right and back signals, routinely practised in different covers and environments, are essential. Ensure you are accurate in setting each scenario. Make sure the dog is square onto you and that dummies are placed at right angles for left and right and straight behind him for ‘back’.
From the moment you blow the Stop whistle, you need to ask yourself a few quick questions:
Quick question checklist
1 Where is the bird in relation to the dog? You must be clear as to exactly where the bird is located. Experience will help you with marking and an ability to decipher descriptions like, “you see that green kale stalk just next to the million identical stalks,” offered by well-meaning Guns. Don’t say yes and carry on if you’re not clear. This should be sorted before you hurriedly cast the dog.
2 Are there any factors that might influence what the dog needs from me to get to the area? The wind and scenting conditions will influence your instruction.
3 How am I going to instruct the dog, based on my knowledge and realistic understanding of the dog’s ability? If you think he is going to struggle, I would choose to quietly instruct him to stay seated and now walk out until I’m much closer to the dog and bird. If the retrieve is going to be tricky, I sometimes go to within five metres of the bird before giving the dog a directional command. In most cases, this up close and personal approach means that I have massively increased the likelihood that the dog will go to the fall and make the retrieve off my first cast. This helps to build the dog’s trust and belief that I’m worth listening to.
On many occasions, it won’t be necessary for you to go out and help the dog. A clear directional command will see the dog respond to your instruction and make it look simple.
Effective arm signals
While on the subject of making a retrieve look easy, your dog will need to be able to see you, especially your arms. Dark backgrounds with matching coloured clothing will make it difficult for your dog to see the visual commands you give. I usually roll up the sleeves of my coat to reveal a light-coloured shirt. Others choose a cap or handkerchief, with some using a small white card to great effect.
Recognising that the dog is in need of that bit of extra help is the first thing for a handler to learn. Obviously, we are training to handle at distance and that is clearly our objective. Walking out to assist a dog is not an acceptance of failure and won’t make you less successful.
Furiously blasting the Stop whistle and waving your arms like a demented windmill at a confused dog makes you look considerably less important (I resisted being rude there) and may seriously damage your dog’s long-term performance.
As always, do your best to help the dog to get things right the first time.
Have fun and Keeeep Training!
Related Articles
Get the latest news delivered direct to your door
Subscribe to Sporting Gun
Subscribe to Sporting Gun magazine and immerse yourself in the world of clay, game and rough shooting. As the leading monthly publication for passionate shooters at all levels, Sporting Gun delivers expert advice, practical tips and in-depth reviews to enhance your skills and enjoyment of the sport.
With features ranging from gundog training to pigeon shooting, and wildfowling to equipment recommendations, you’ll gain valuable insights from professional shooters and industry experts. A subscription not only saves you money on the cover price but also includes £2 million Public Liability Insurance, covering the use of shotguns, rifles and airguns for both recreational and professional use.
