Peter Yeats explores the subject of taking elevated shots when air rifle shooting, and explains how he achieves successful shots
 credit: Archant
We’ve all had them. You know, those awkward shots, where a combination of range and angle makes hold-over or hold-under a really difficult judgement. It could be out in the field, or on an HFT course, but it makes the certainty of a clean shot much harder to achieve before committing to, or rejecting, actually taking the shot.
At a shooting range, a properly zeroed air rifle, knowledge of target distance, and sound technique, will enable you to place shots with great accuracy. Such a setting will result in an entirely predictable trajectory and aiming point so there’s little difficulty in placing the cross-hair accurately and squeezing off a successful shot.
 credit: Archant
UNRELIABLE
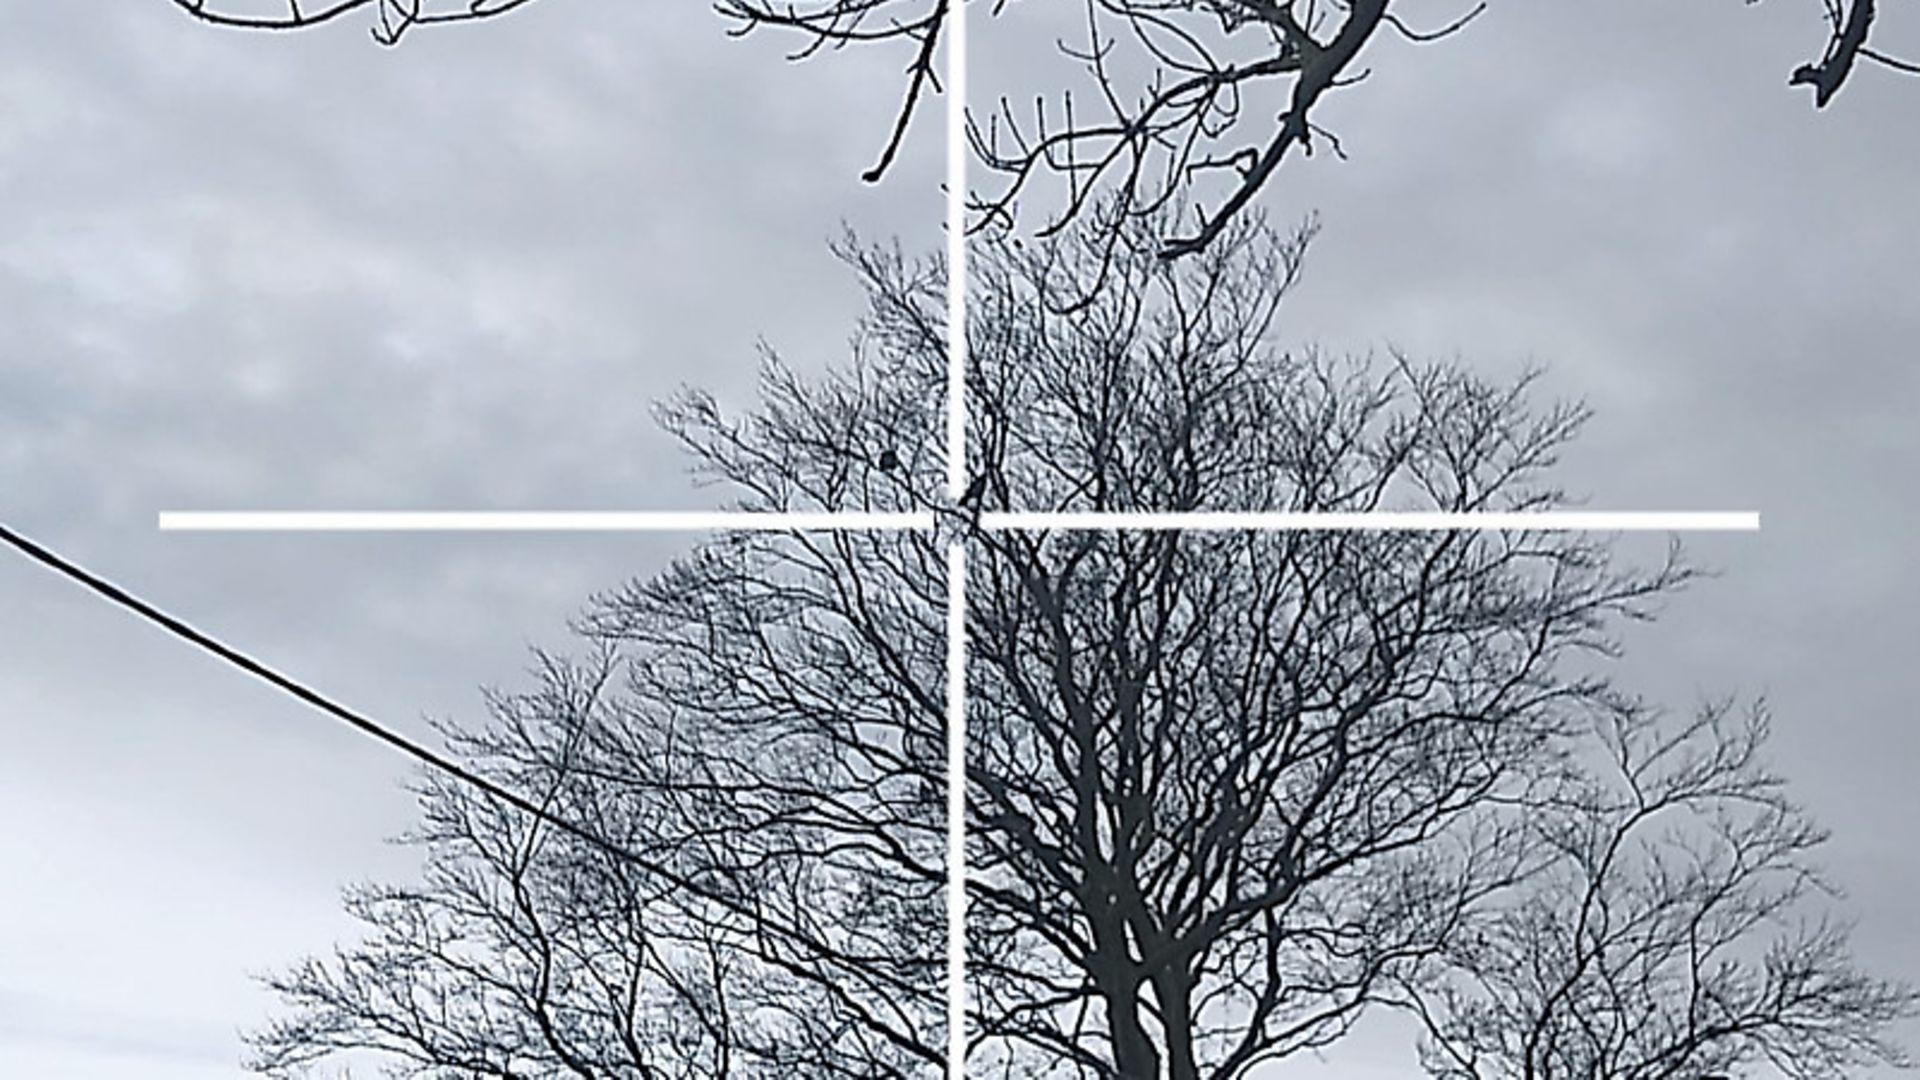
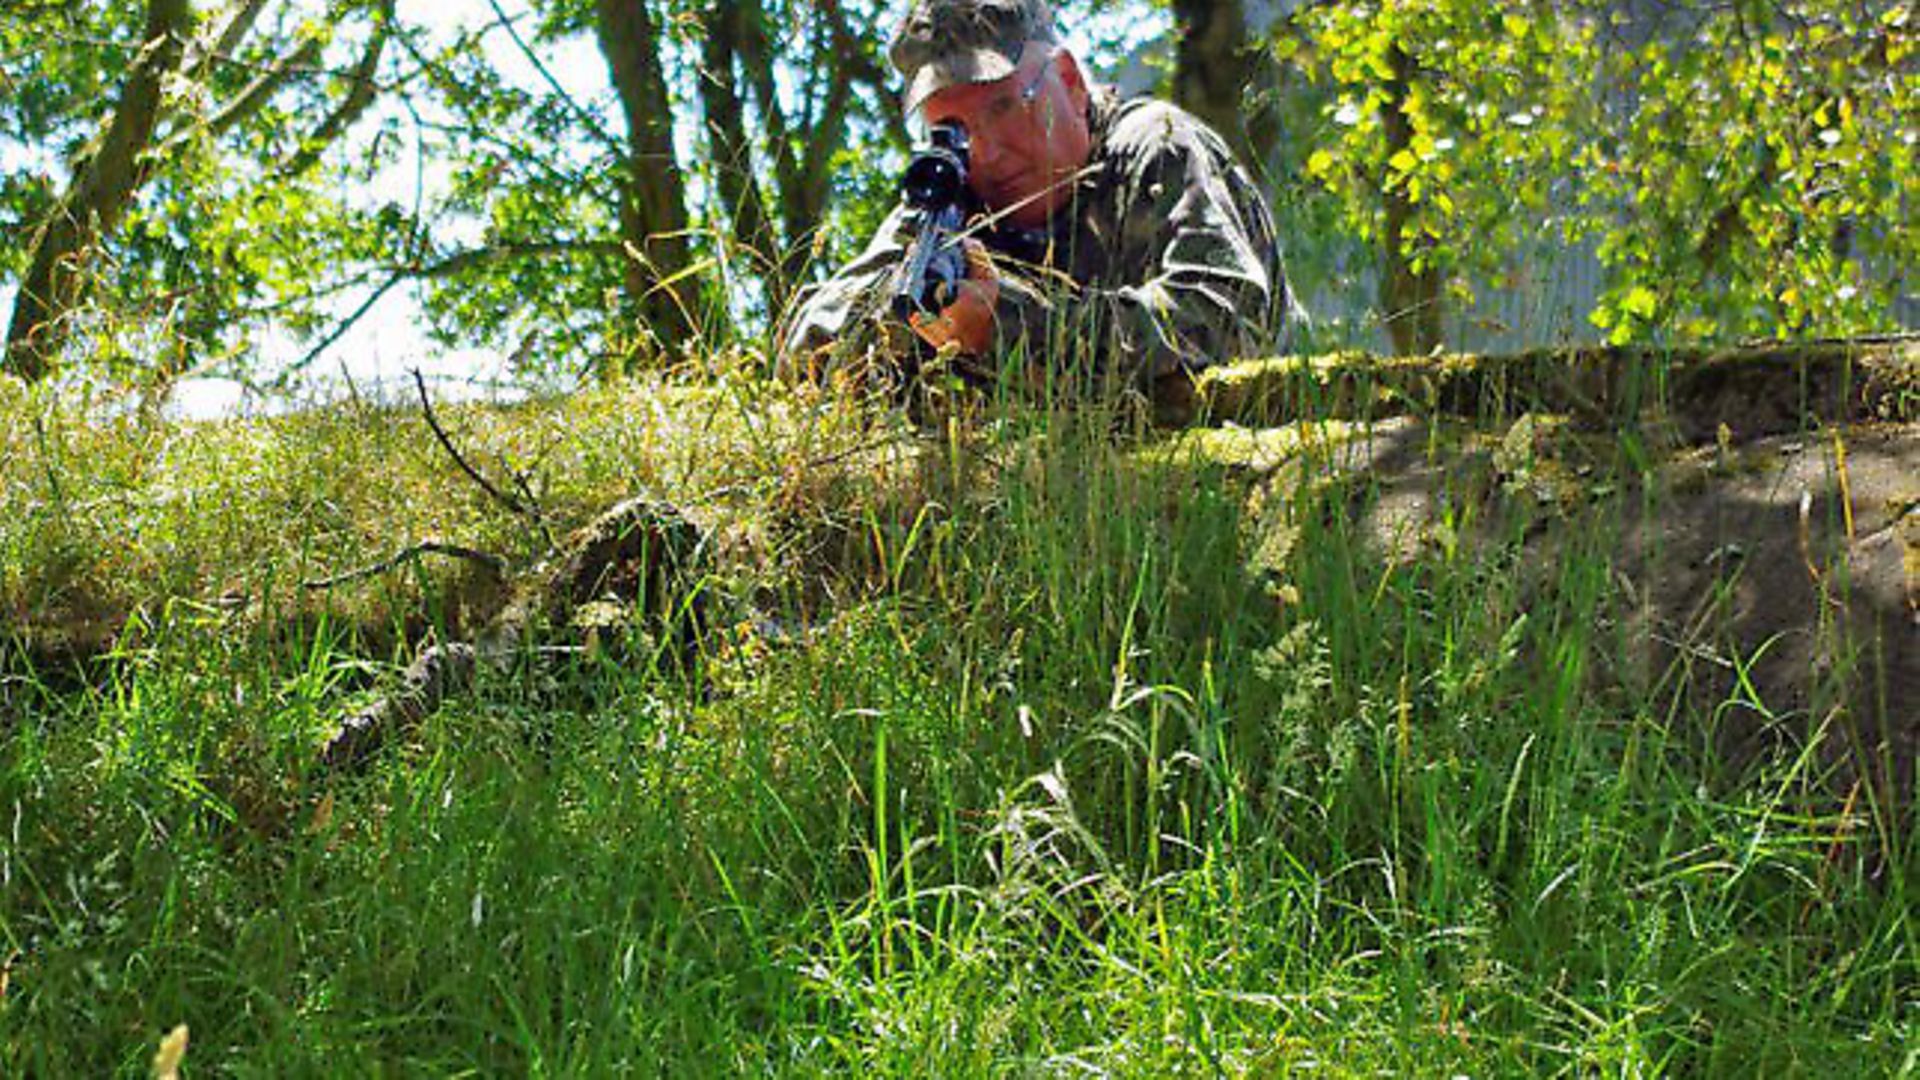
However, out in the field, except when shooting at feeders from a hide perhaps, horizontal shots at known, fixed distances are not the norm. Often, quarry will present themselves downhill or up in trees. Although, my experience has been that downhill shots are rarely at very steep angles and require small compensatory adjustments, shooting upwards, at squirrels and magpies, for example, is a very different matter. Not only is there the difficulty of accurately estimating ranges, unless you have a laser rangefinder to hand (which I invariably do), but the normal parabolic trajectory of the shot is quickly distorted as the upward angle increases, so usual aiming points for horizontal distance-to-target estimates very quickly become unreliable. Unless, you’re very skilled and experienced at this kind of shooting, and know your kit very well, instinctive shots will probably miss.
 credit: Archant
PRECISE AIMING POINT
Making the effort to understand the way that incline affects point of impact not only makes or breaks the success and pleasure of a day’s shooting, but it can also make the difference between the confidence to take on a shooting opportunity, or to have to pass it up.
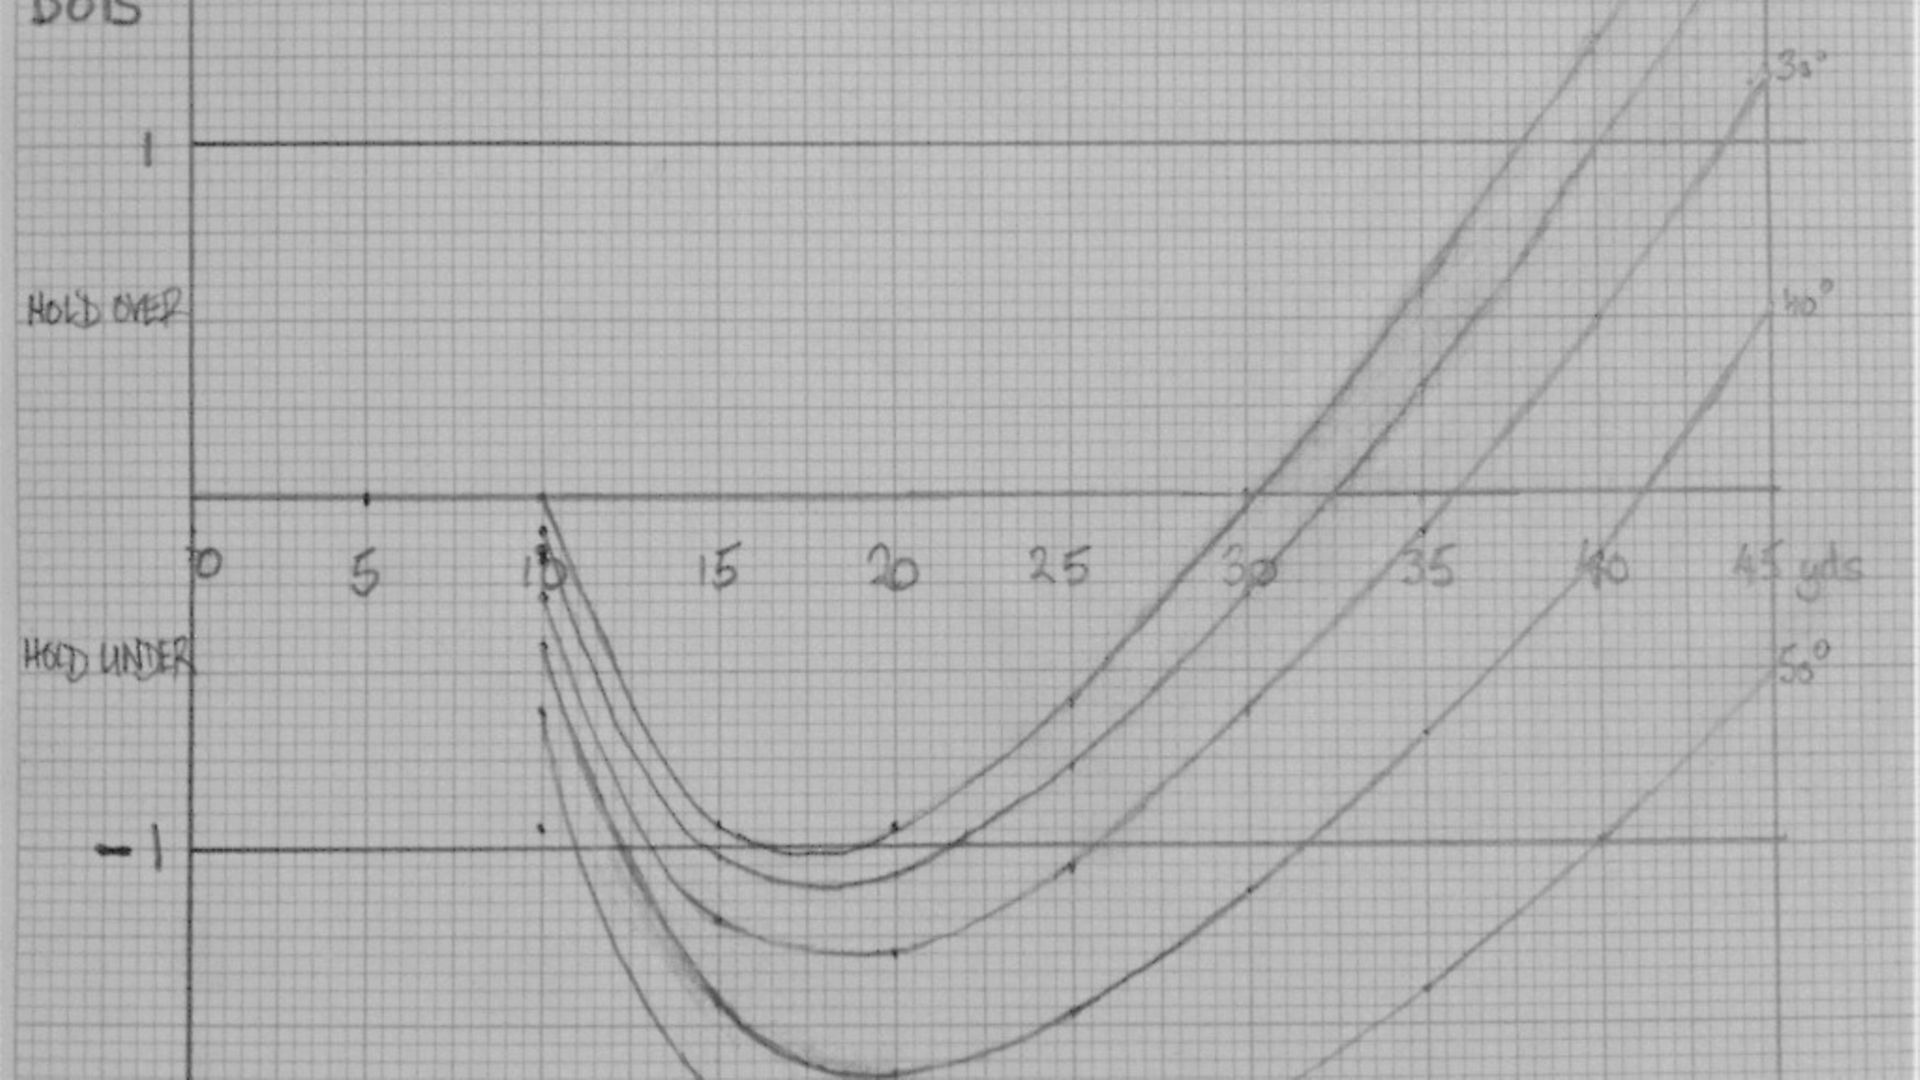
Shooting feral pigeons or rats spoiling grain stored in barns on working farms is a case in point – you can’t afford a miss, or ricochet, even with a solid backstop, and the angles and ranges can make for dramatically varied aiming points. The farm where I shoot feral pigeons to stop them spoiling harvested grain, has a barn as its main storage area with a thin penetrable roof, on top of which are solar panels. No place to miss your shot! To mitigate against this difficulty, I shoot from fixed positions at points that I’ve laser ragefound, and I use tables and a graph to calculate exactly where my aiming point must be. These aiming points have steel girder backdrops and I have permission to shoot against them. I also take heart-and-lung shots, whereas I’d normally aim for the head. Without the confidence that I could do this safely and certainly, that barn would be a no-go area.
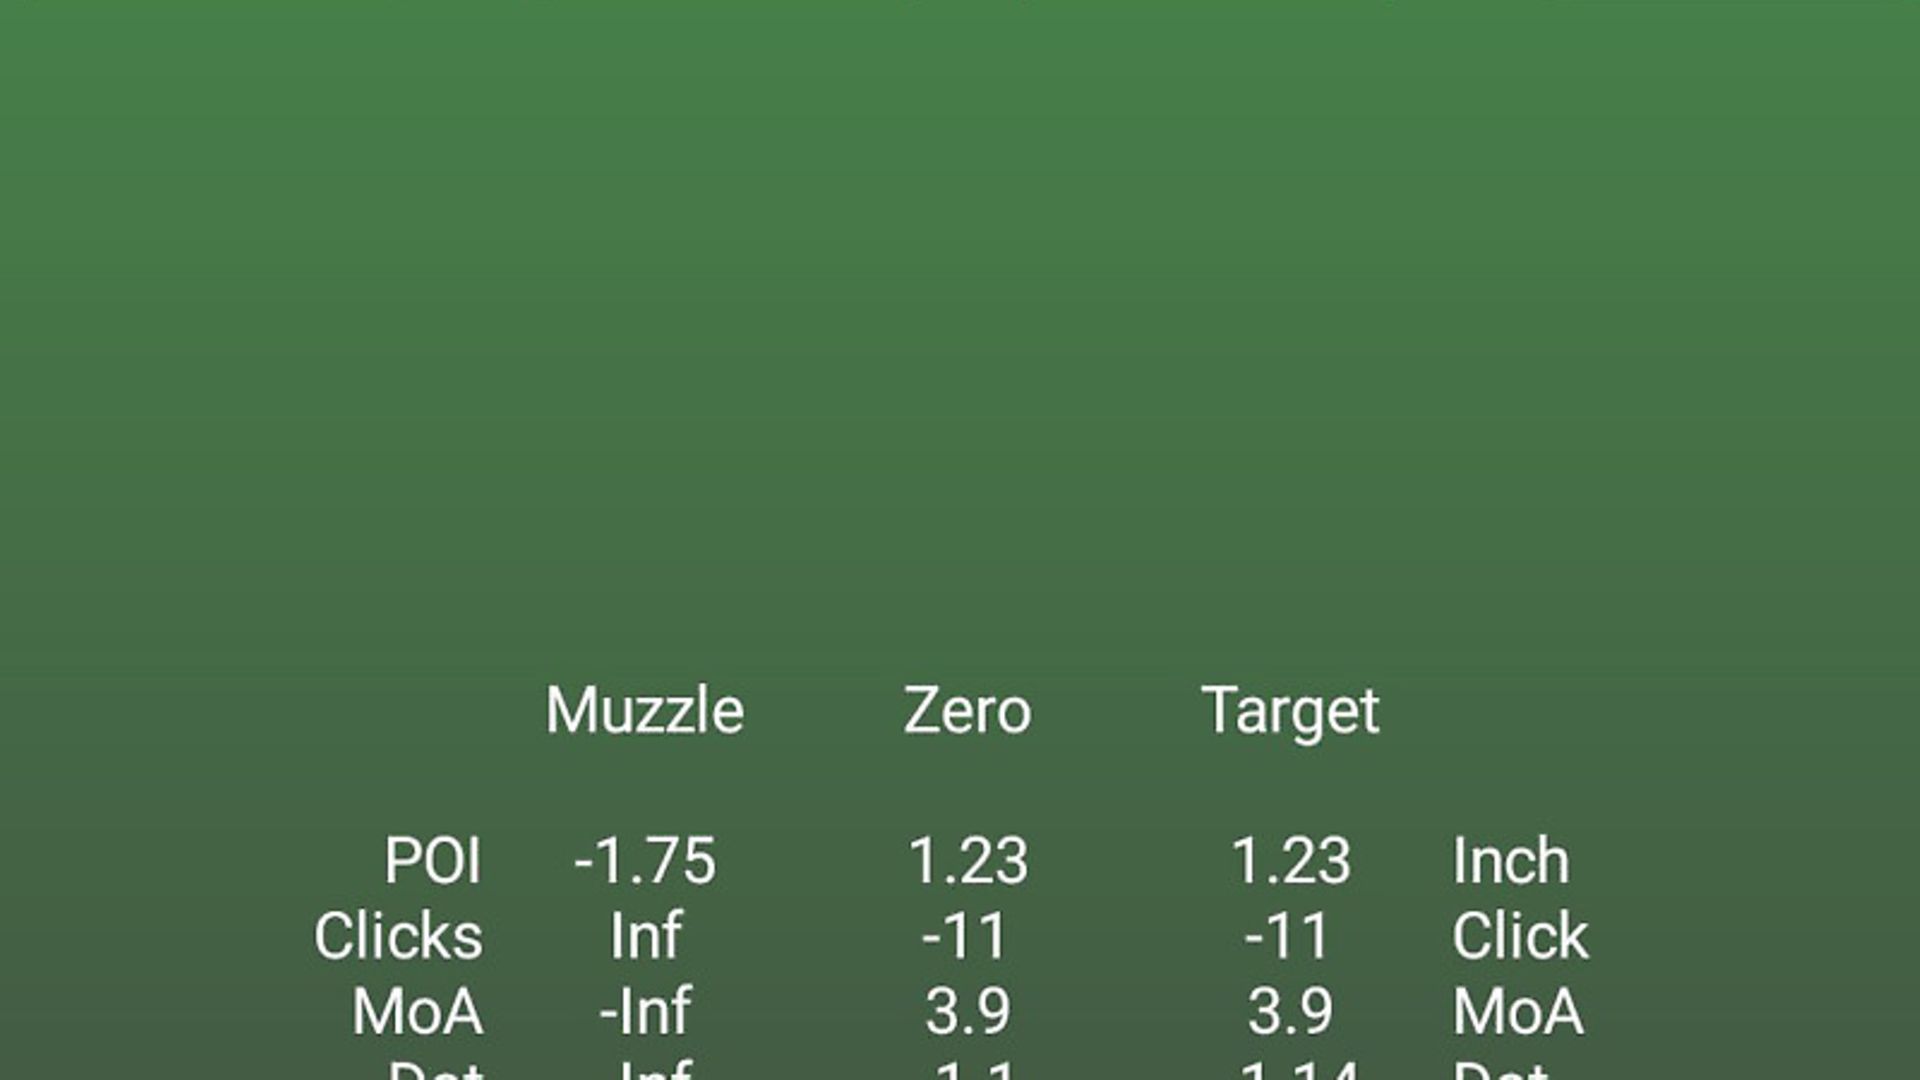
Arriving at these precise aiming points takes a little time and effort, but isn’t especially difficult. Of course, it involves ballistic calculations, but I’m no great mathematician and rely on ballistic software, specifically Hawke Chairgun, which I have on both my phone, for use in the field, and my laptop and tablet. A few minutes of playing around with the software will, I believe, soon convince you of its value. My tables and graph are for my trusty Walther RM8 Varmint in .22, with RWS Superfield and at 11.3 ft.lbs. energy, and my scope is zeroed at 30 yards. If you chose to try my approach with the software, you will need to input the data accurately for your kit. The numbers are specific to the data for your kit and, as you can see, are very precise.
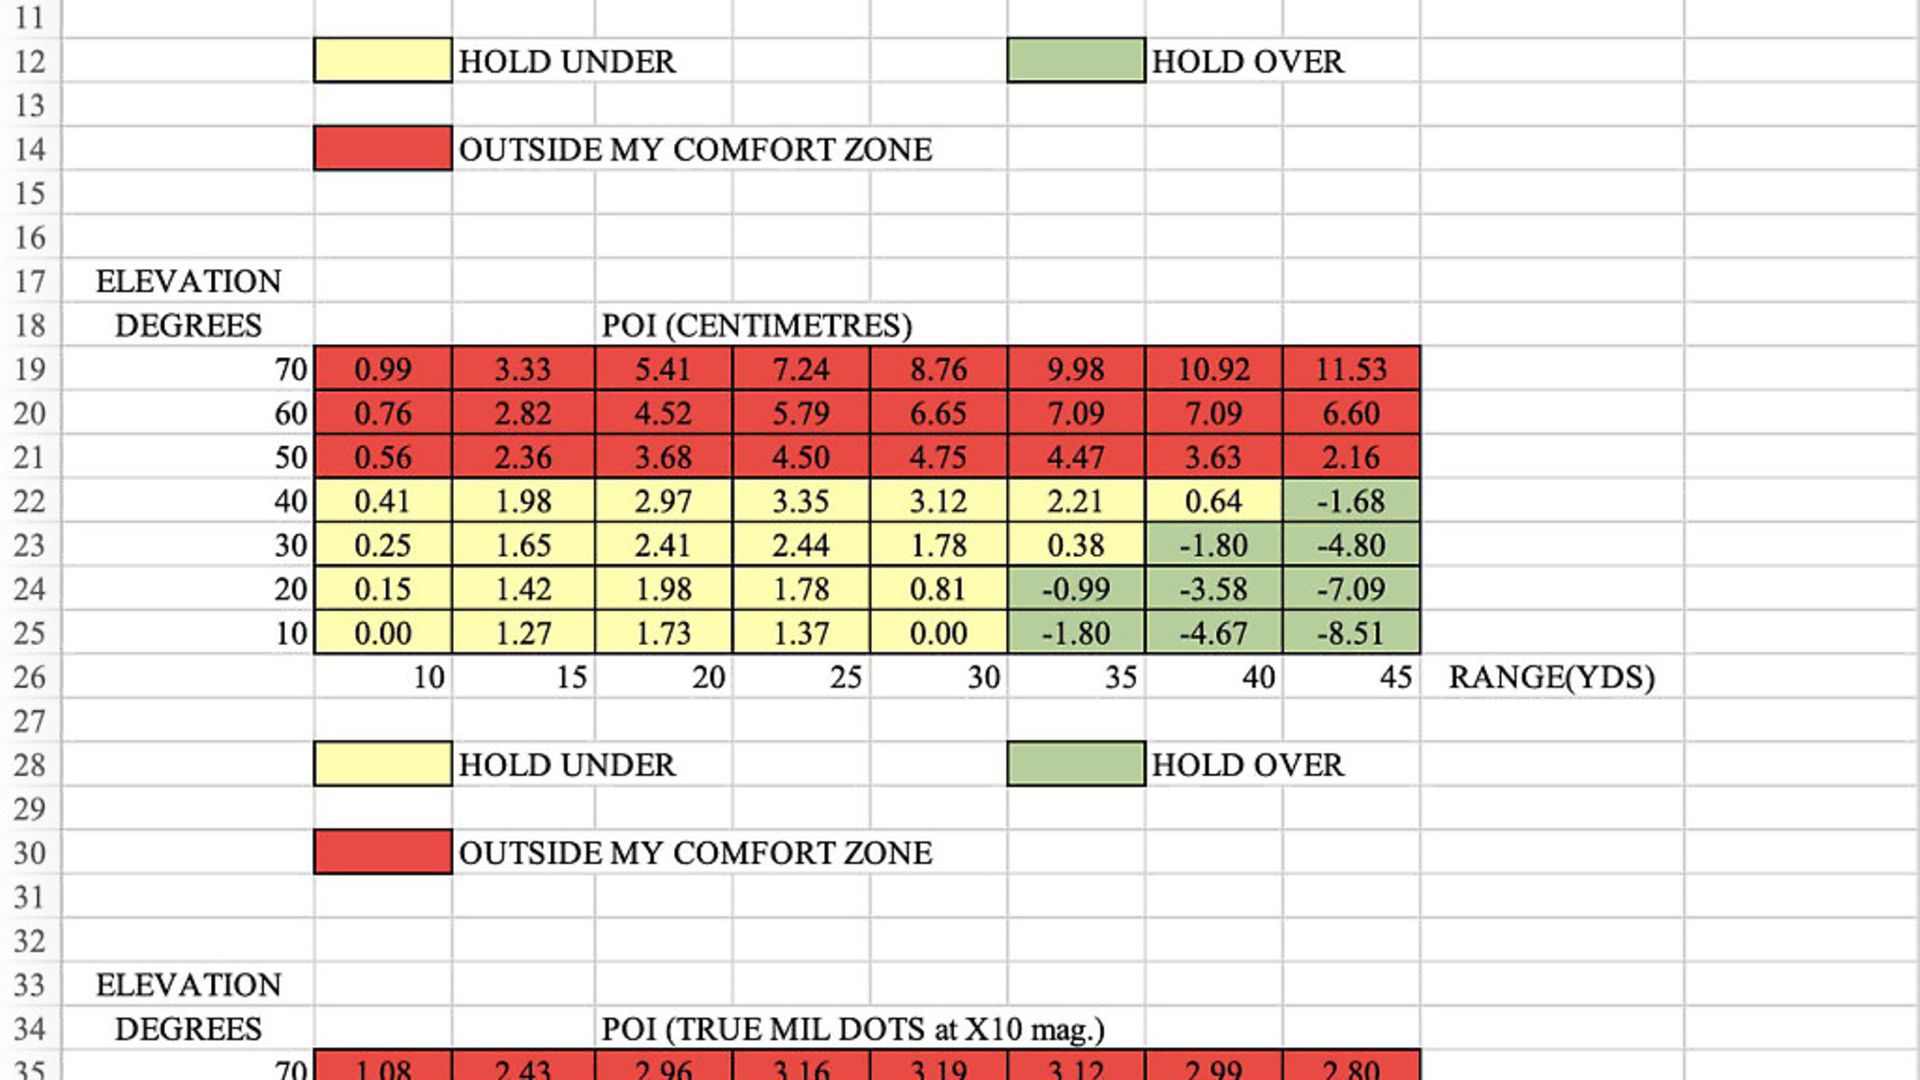
The tables and graph that I have produced for this article were made by taking the data from tables generated by Chairgun software and using a spreadsheet as a ready reckoner, as well as to illustrate the importance of the effects on inclined shots. The graph, I’m afraid, is drawn by hand because I can’t get my spreadsheet graphing tool to output the kind of graph that I need. Some IT lessons needed here, perhaps!
 credit: Archant
40-40 RULE
If you shoot with a mil-dot scope, set to show true mil-dots, that means a magnification of x10 for second focal-plane scopes, The mil-dot table shows the amount by which you adjust hold-over or, more importantly, hold-under for targets at given angles of incline and ranges. First focal-plane scopes always show true mil-dots. The red area of the table shows areas outside my comfort zone, with mil-dot adjustments exceeding two mil-dots, at even close range. I won’t take shots in these parameters. These are large adjustments, but trying to thread a pellet through branches as well, as is often the case, I think is a little beyond my personal skills. I keep my adjustments to two mil-dots or less, preferably one and a half, as a personal rule.
The yellow is the hold-under zone, where the point of aim is below the target, and the green is the hold-over zone, where the point of aim is above the target. For example, at 40 yards and at 50 degrees inclination, my aiming point is one mil-dot (.99!) hold-under. However, at 50 degrees inclination, the adjustments for shorter ranges are, for me, uncomfortably large. Far better to keep shots to 40 degrees or less, where the largest adjustment would be 1.63 mil-dots. The green hold-over area also shows large adjustments in the 45 yards column, and for this reason I try to keep my range to 40 yards or less. I guess you could call it my ‘40-40 Rule’.
 credit: Archant
ANGLE AND RANGE
I have also included tables to show the point-of-aim adjustments in both inches and centimetres for comparison purposes. This is so that the scale of adjustments at different angles and ranges is clear.
I knew before this process that aiming a little low with inclined shots was the thing to do. What I didn’t know was by exactly how much to aim low and what the pellet trajectory meant at various ranges. The data also allows me to know the limits that I want to place on such shots and why this approach suits my shooting and abilities. All in all, this means more confidence and, therefore, more enjoyment!
Of course, to make the most of this, accurately knowing the angle and range is essential. My laser rangefinder provides both, and my phone can provide the angle, too. Otherwise, practice will refine judgement and as long as the margins of error are small, shots should be successful. Perhaps starting with a ‘30-30 Rule’ would be better, if you haven’t got a laser rangefinder or inclinometer with you. Most of these shots would fall well within my comfort zone, and estimated values that are 10% inaccurate are still likely to allow for successful shooting, translating into a miss of less than three millimetres or the diameter of your pellet.
Ironically, if like me, you prefer or need to take head shots for clean kills of grey squirrels in trees, your target is very small, and you need to be confident about compensation for the angle of the shot to squeeze the trigger. This process means that you too can be confident ... if you’ve the inclination.