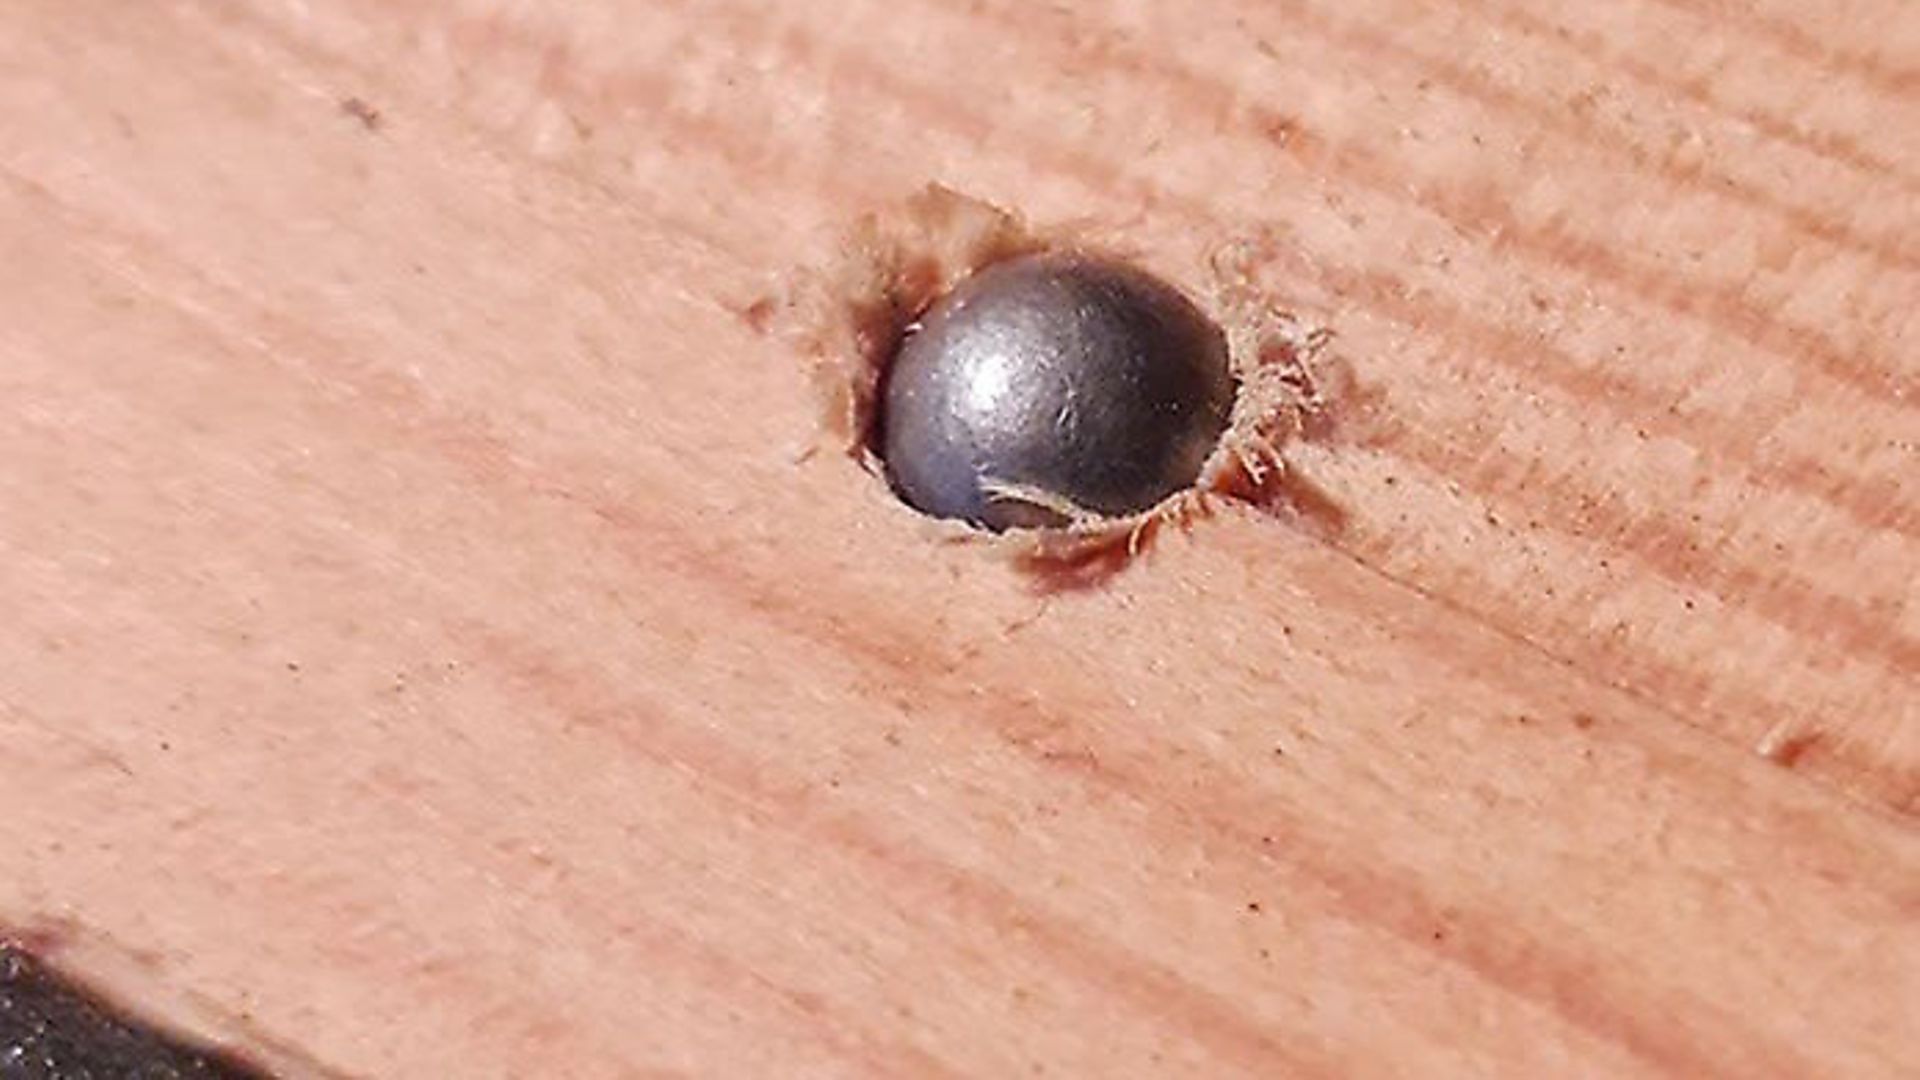
Gary Wain - self-confessed “non-engineer” - tries making his own hollow-point air rifle pellets, before testing them extensively in terracotta wax
 credit: Archant
Disclaimer - we are not encouraging you to try this at home! You do so at your own risk.
Be sure to check out our new YouTube channel - Shooting & Country TV - for airgun tips, reviews and how-tos
Before I launch into this month’s article, you need to understand two things; firstly, I’m not an engineer, and secondly, I’m not an engineer, and this point is so important that it needed saying twice. With the disclaimer out of the way, you are now free to pick holes in my methods and to point out where I could have done things much more easily, efficiently, accurately, and probably safely. The reason I’ve felt the need to get that all that off my chest is that, this month, I’m going to see whether it’s possible to make your own hollow point pellets.
 credit: Archant
Let the non-engineering begin
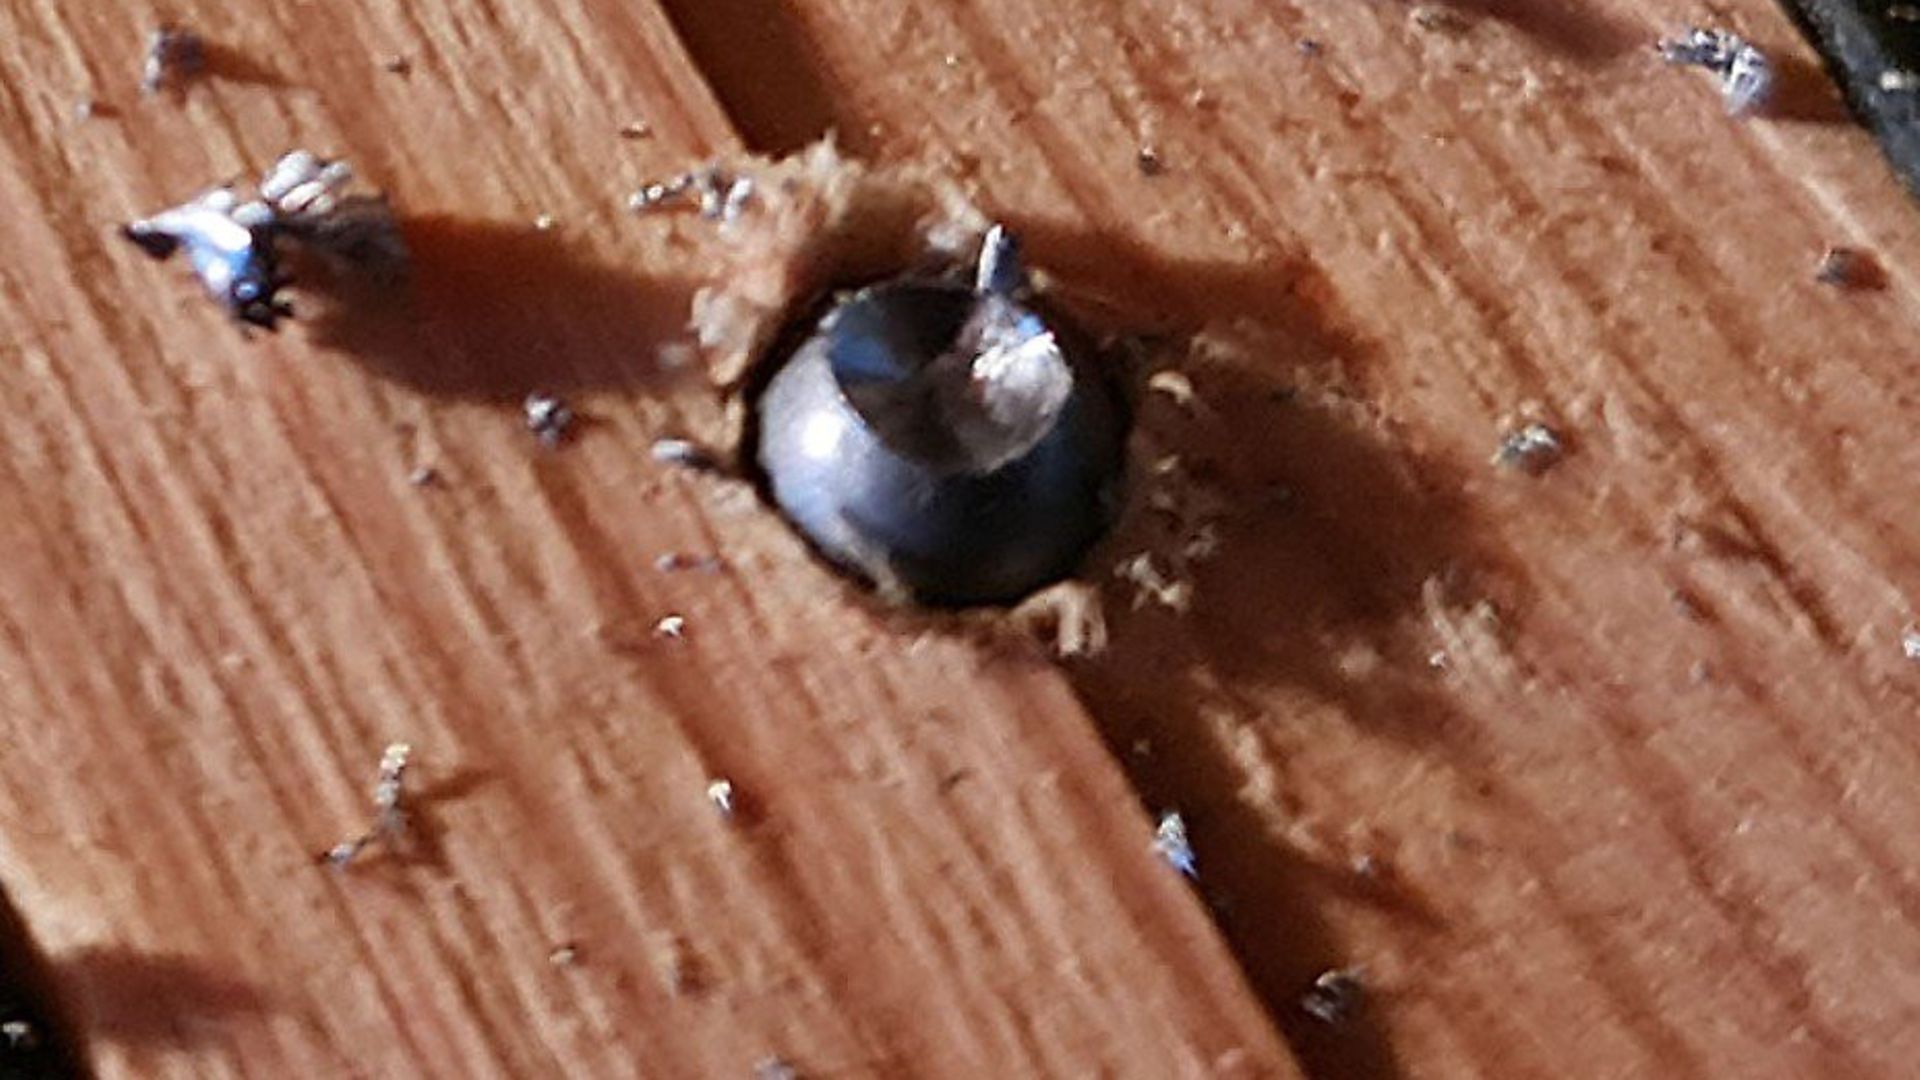
Initially, I considered attempting to cast pellets from molten lead, but in the nano-second it took for me to process what was involved, and for that thought then to evaporate, it became pretty obvious that my best option was to take off-the-shelf pellets and convert them into hollow points by drilling holes in the pellet face. If you ever detect the rhetorical question ‘… I mean, how hard can it be’ wandering through your thought process when you’re contemplating what appears to be the simpler technicalities of an issue, be prepared for the very non-rhetorical answer of ‘pretty damn hard, actually’, when the reality of the situation bites you in the bottom, this being especially true if you’re a know-nothing numpty like me.
 credit: Archant
Bigger is best
Having decided that I would use existing pellets, it was a bit of a no-brainer to decide that .22 would be the calibre of choice for these tests, the reason simply that they’re bigger and so easier to work with because there’s more actual lead to drill into.
I also decided that I wanted to use both domed and wadcutter pellets as the basis for this experiment, and being familiar with the design of pellets with specific regard to the distribution of lead, I had to find pellets that had enough lead in the pellet face and head area for me to drill into. The easiest way to do this is simply to look up the skirt of the pellet and to see how far down the lead plug of the head extends. So, after looking up more skirts than a short pervert on an escalator, I eventually alighted upon the good old Air Arms Diabolo Field as my domed pellet, and the JSB Jumbo Match as my wadcutter.
 credit: Archant
Here’s how I did it
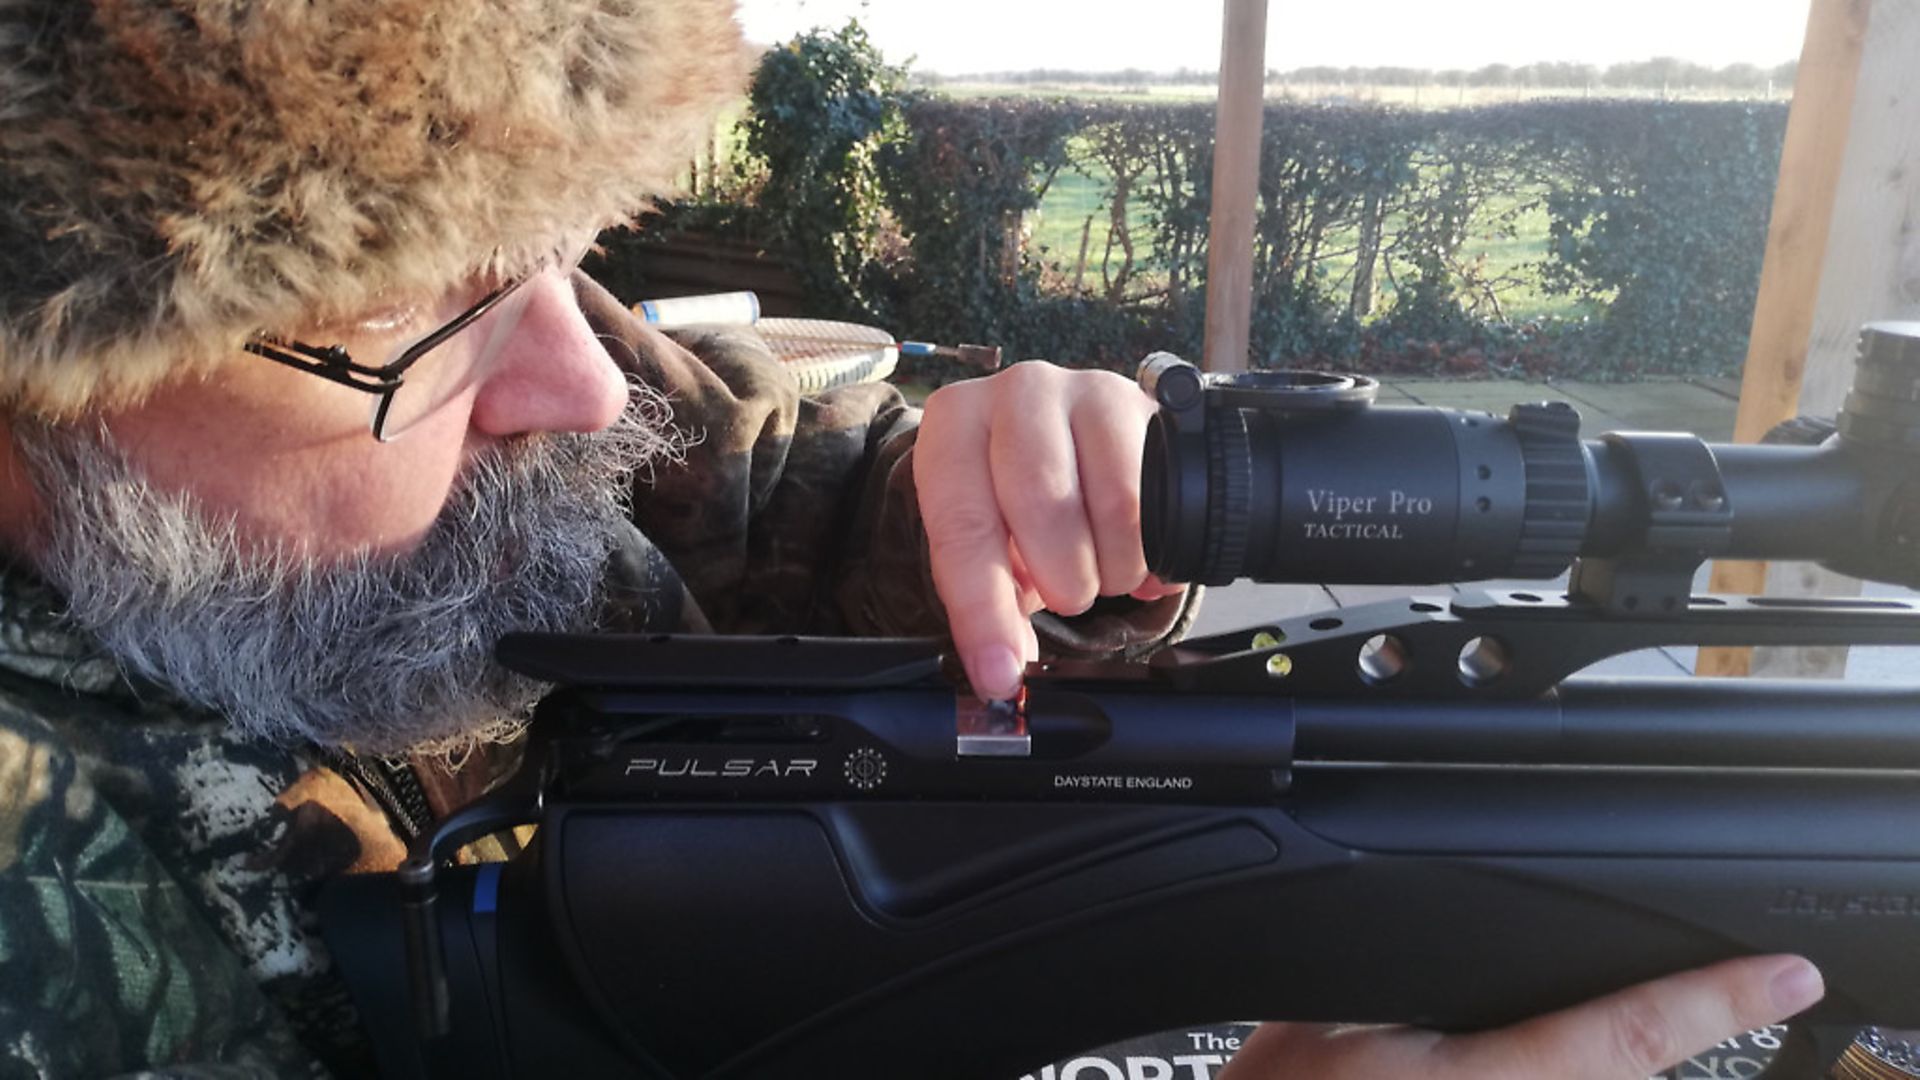
In order to create the cavity, the best way forward was to use a drill. Fortunately, I have an ancient pillar drill in what I imaginatively call ‘the workshop’. If this didn’t work – and when I say ‘work’, I mean if I couldn’t get the old pillar drill to turn on and make holes, then I would have to use a hand-drill. As luck would have it, the pillar drill actually did work, and I could get cracking.
Now that I had decided what I wanted to do, and had a means to do it, the next step was to work out exactly how I was going to make those holes. In the dim and distant past, I’d heard a definition of a pillar drill as ‘a tall, upright machine useful for suddenly snatching what you’re working on and flinging it across the workshop in such a way as it finally comes to rest in a totally inaccessible or otherwise hidden place’. I wasn’t overly keen on that potential outcome, so I took two short lengths of wood, and after clamping them together drilled two 5.5mm-wide holes where they met. The first hole was 7.4mm (ish) deep, and the second was 6mm (ish) deep, which represented the lengths of the two pellets I had chosen. I hoped that I would be able to use the wood as a clamp to hold the pellets as I drilled them.
 credit: Archant
Many attempts
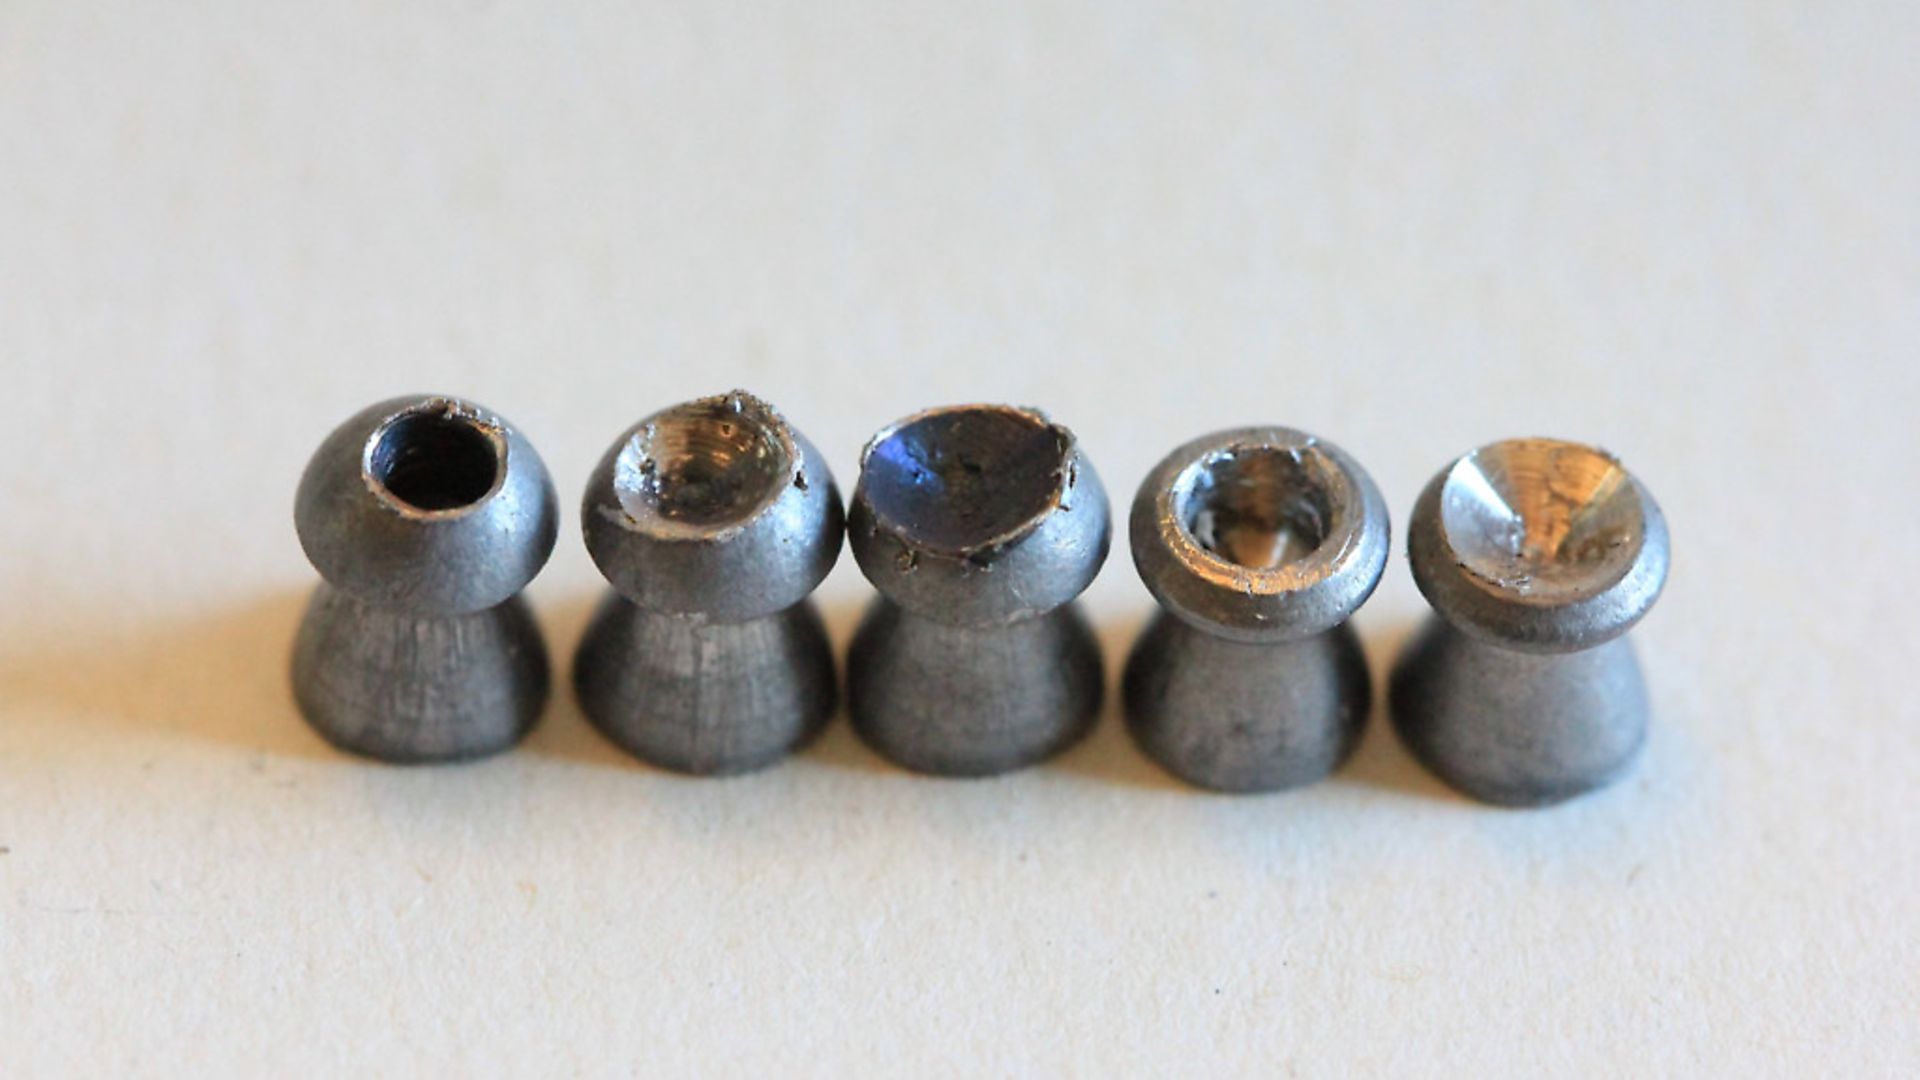
The next step was to drill the holes, which proved to be considerably more difficult than I’d anticipated. Many attempts, and many, many pellets later, I finally managed to produce sets of domed pellets with 2mm, 3mm and 4mm holes in them, and a few wadcutters with 3mm and 4mm holes in them. For reasons that to me seemed obvious, I thought the wadcutters would be much easier to drill into, but for some strange reason, they weren’t; the 3mm holes were particularly difficult to drill, and so I only managed to produce two pellets in this size.
 credit: Archant
Testing
I chose to undertake the testing at just 10 metres, not only because wadcutters are relatively inaccurate at the best of times, but also because the ones I’d produced were nowhere near the quality of those that come from the factory, and that’s because the ones that come from the factory tend to have the cavity formed in the middle of the face of the pellet, as opposed to somewhere near it, as is the case with my home-made ones. So, with an appreciation of the engineering (in)tolerance inherent in my manufacturing process, even at this short range I chose not to concentrate too much on accuracy. Instead, what I really wanted to see was how much of a cavity I could make with these, compared to the original pellets, and a good off-the-shelf hollow point, in this case, the Powerforce Crow Magnum.
 credit: Archant
Simple testing
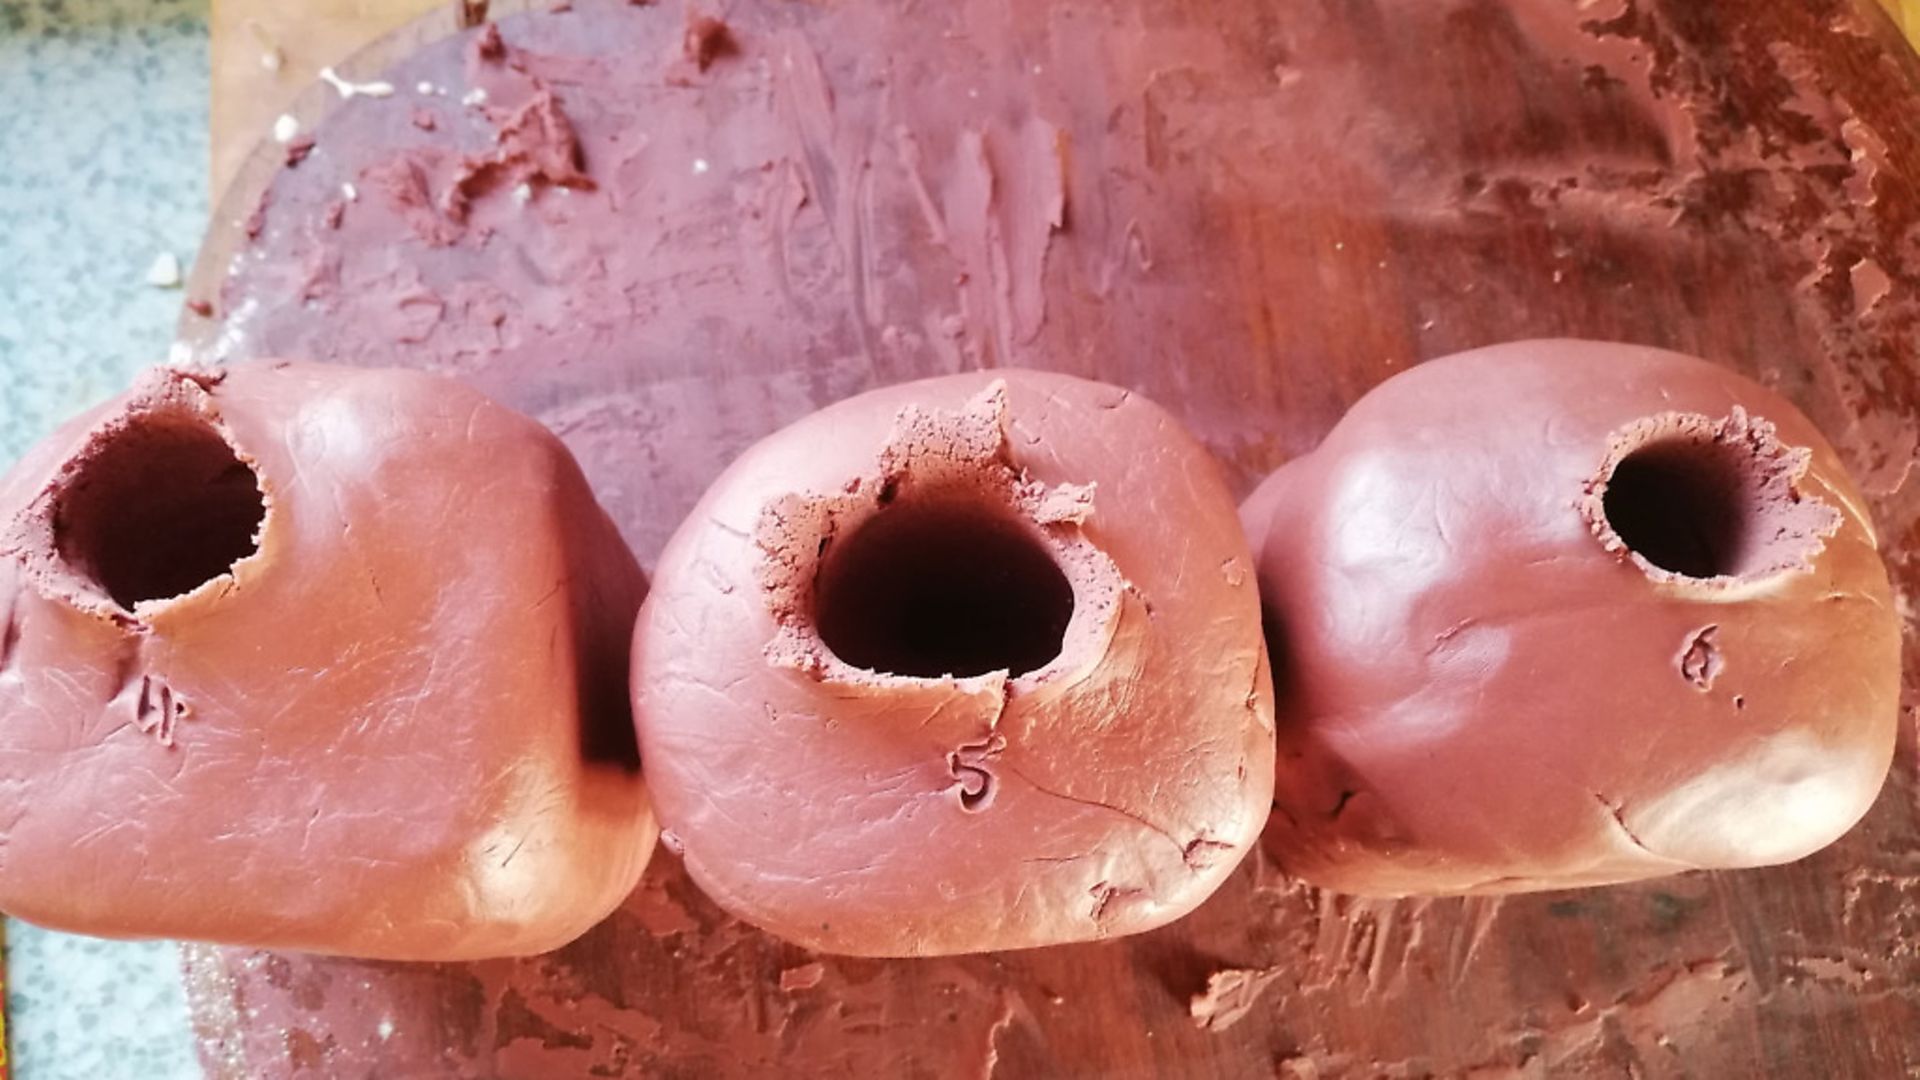
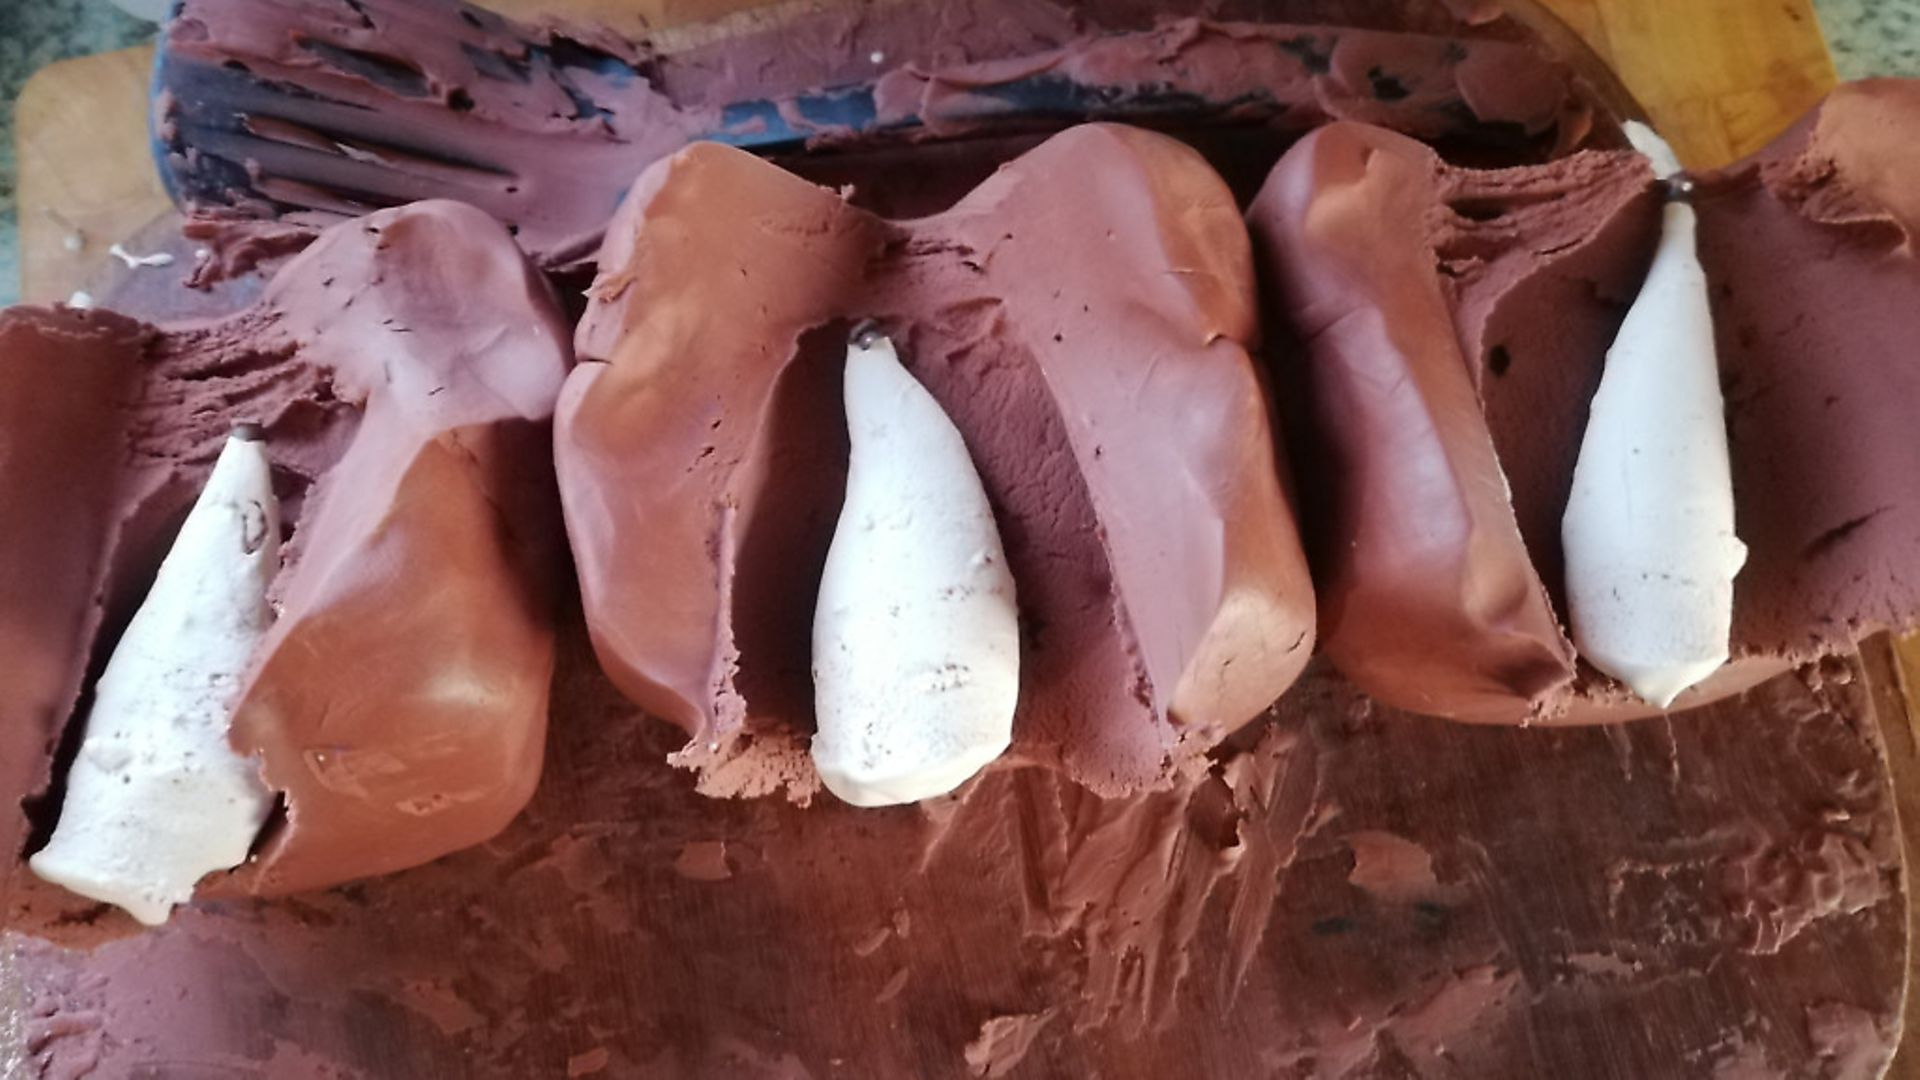
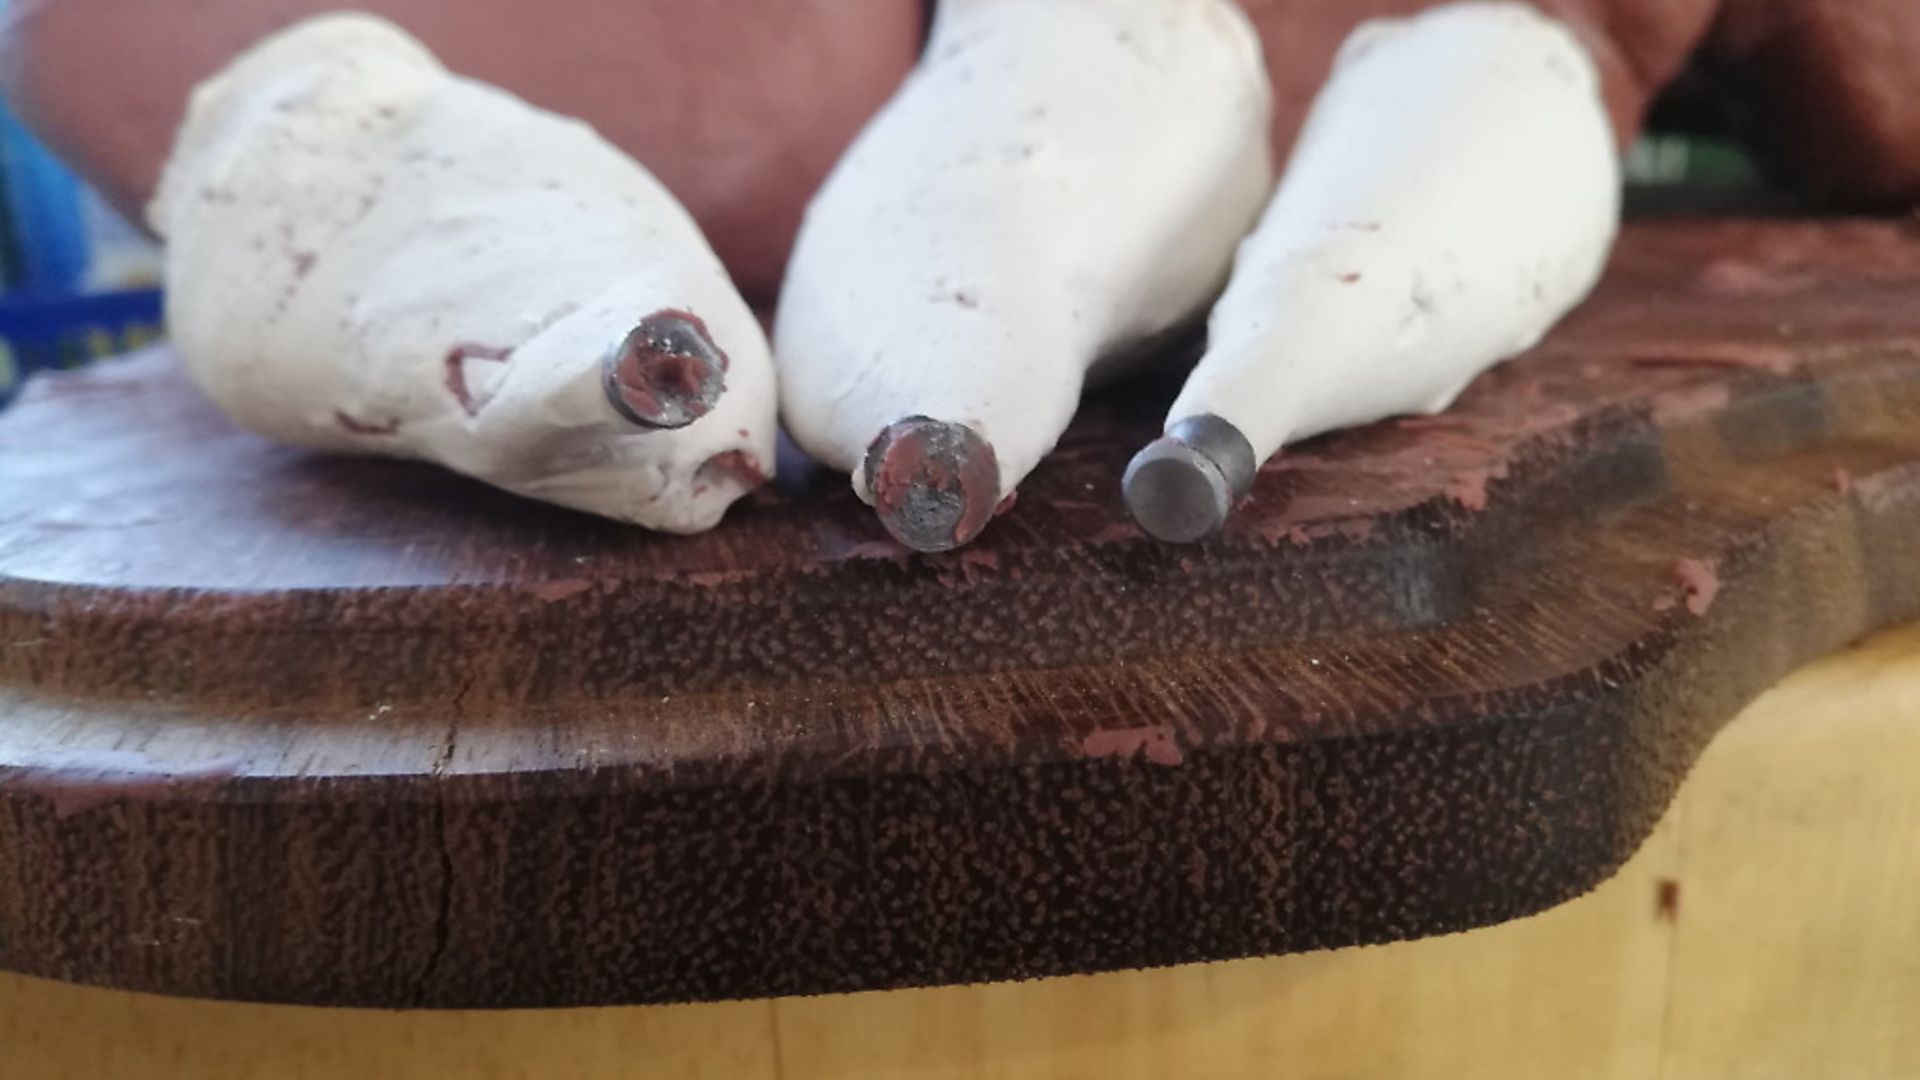
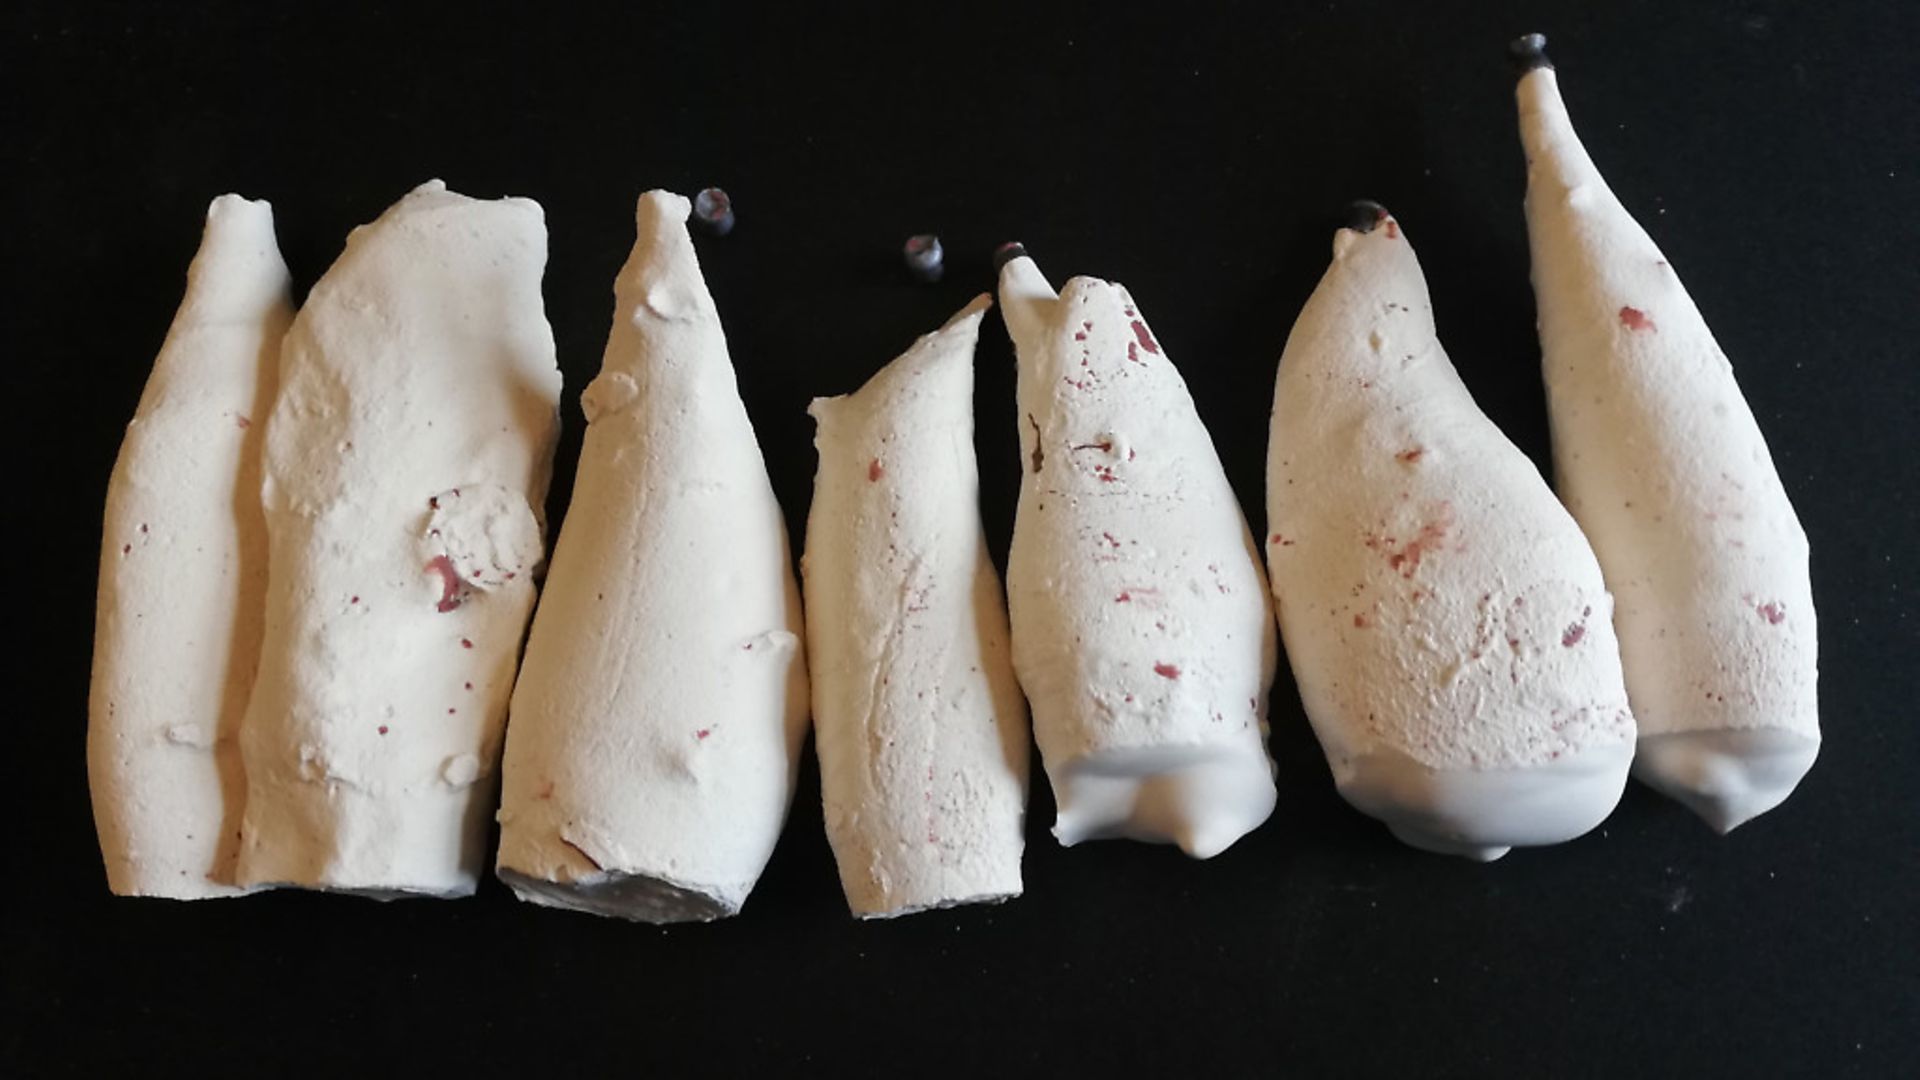
The testing was relatively simple, with a pellet of each type shot into a large block of warmed terracotta wax, with a subsequent plaster cast of the cavity made. I’d also hoped to capture the pellets within the wax, so that I could examine and measure the expansion of the pellet faces. Normally, I’d also gather chronograph data, but as I had a sneaking suspicion that I was going to find it hard enough to land the DIY pellets into the large blocks of wax, let alone shoot them though the much smaller blocks used for chronograph testing, I didn’t attempt that.
 credit: Archant
Results
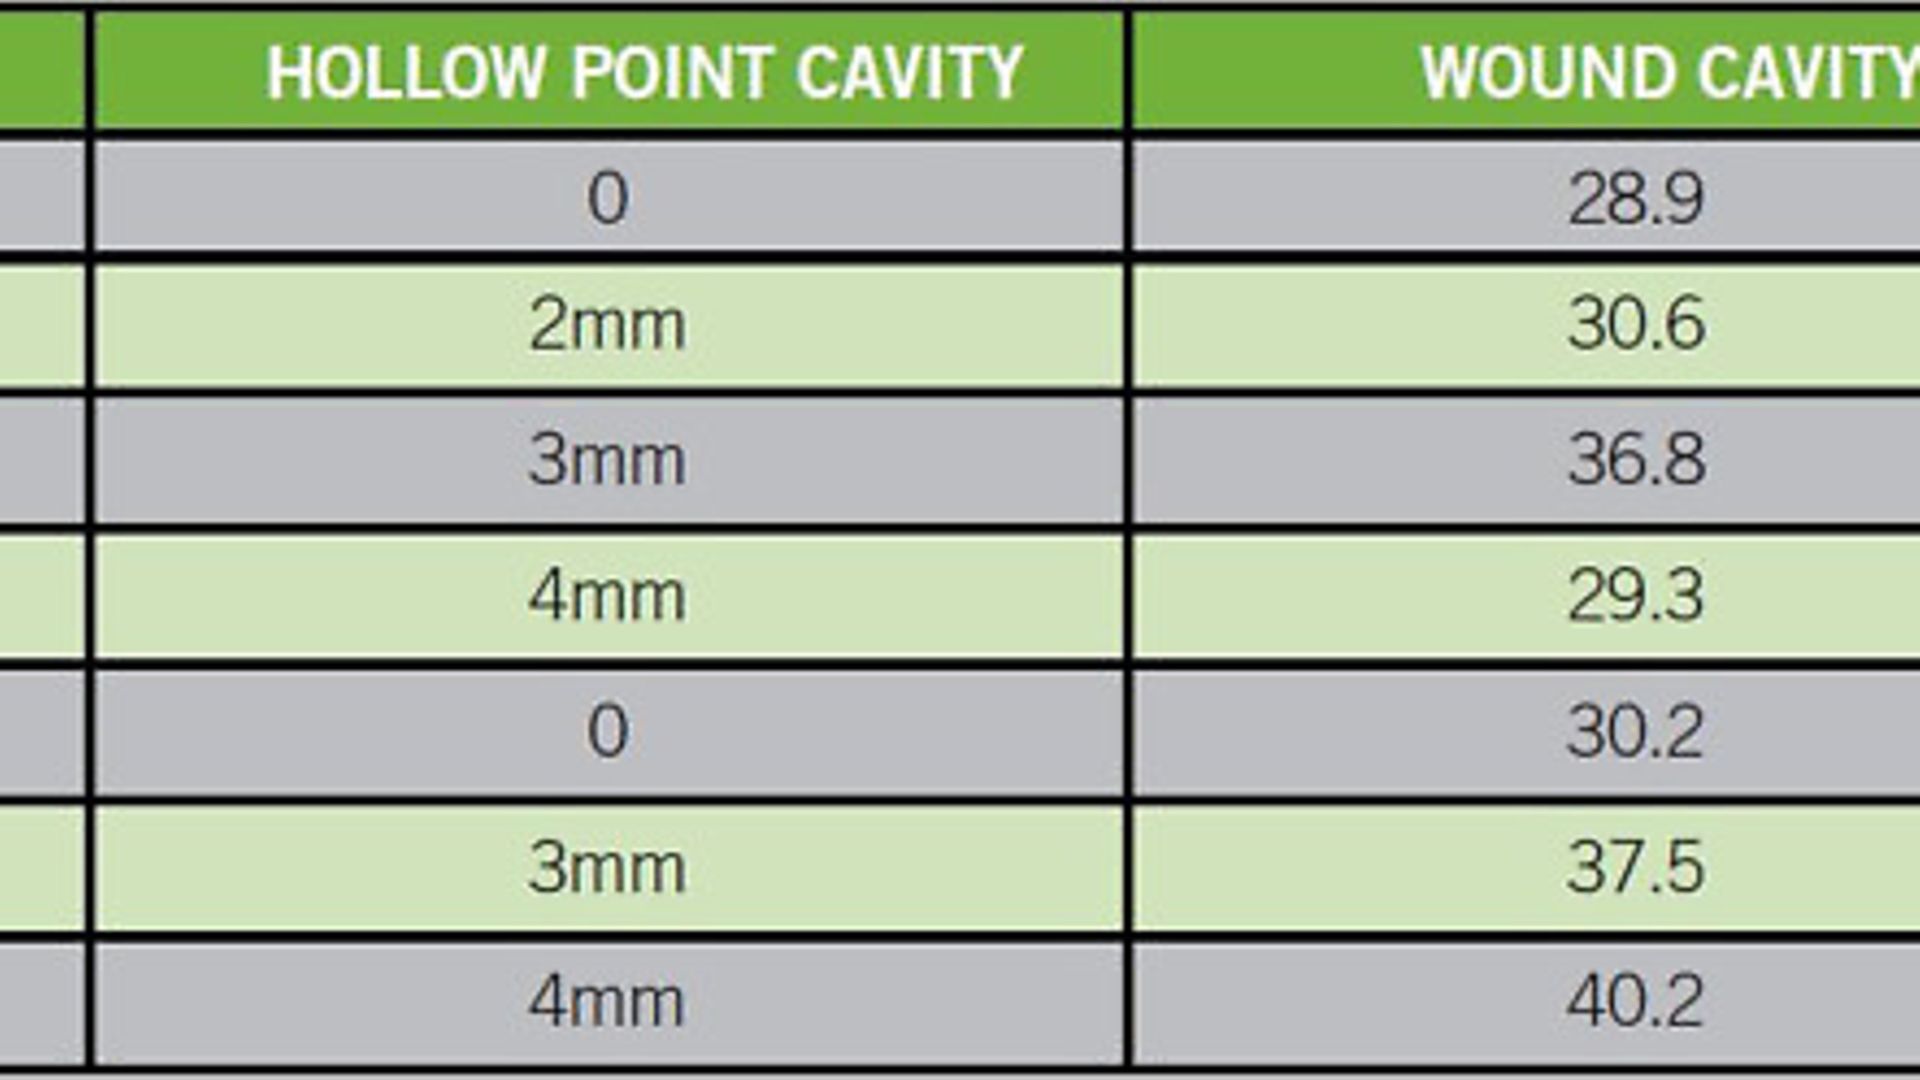
I didn’t think I’d be saying this, but I’m rather pleasantly surprised by the results – well, some of them, anyway. To begin with, I shot the unmolested, ‘tin fresh’ Air Arms and the JSB pellets, which gave benchmark cavities of 28.9mm and 30.2mm, respectively. Next up were the Diabolos with the 2mm hole, with a cavity of 30.6mm, followed by the 3mm which gave a very impressive 36.8mm cavity. The last Diabolo to be shot was the one with the 4mm hole, which sadly gave a cavity of only 29.3mm. I then turned to the JSB Jumbo Match wadcutters, which if you remember, were drilled out to 3mm and 4mm; the former gave a 37.5mm cavity, and the latter a massively impressive 40.2mm cavity in the wax. For those who like their information a bit more organised, and to make things a tad more digestible I’ve brought it all together in a table for you.
The observant among you will have noticed that there is no data for the Power Force Crow Magnum, and that’s because despite taking 10 shots at the wax, I was unable to land a single pellet in it! I think you’ll agree that’s pretty shocking, especially when you consider that my less than perfectly drilled hollow points were all pretty accurate at the 10m distance I’d chosen to test at.
 credit: Archant
Conclusion
I was so convinced that the idea of making your own hollow points would be such a washout that I’d already come up with a snappy phrase to end on, which was ‘just because you can, doesn’t mean you should’. However, as my testing has actually gone quite well, especially when you take into account my lack of anything even approaching engineering skills, I have to say that there might just be something in this, and to that end I intend to delve into this a bit deeper in the coming months. For the time being, if any of you have a good idea for how I can get my holes drilled more centrally, do feel free to write in with your suggestions, just so long as you appreciate that I only have a very small brain, very basic tools and skills, and that the word ‘lathe’ shall not be mentioned.