Barry Hearn reveals what decades of hide-hunting has taught him
 credit: Archant
Read the first part of Barry Hearn’s hide-hunting masterclass here.
In this, the second part of my hide-hunting feature, I’ll explain the system that has worked for me these past 20 years and more. I’ve been hunting for many more years than 20, though, so you can immediately see that I spent a huge amount of time trying all sorts of methods that were nowhere near as successful as the ones I use now. The whole point of this feature is for me to pass on what all those years of experience, and my many, many failures, have taught me, so you learn from my mistakes and save yourselves a whole lot of time.
First, build your hide
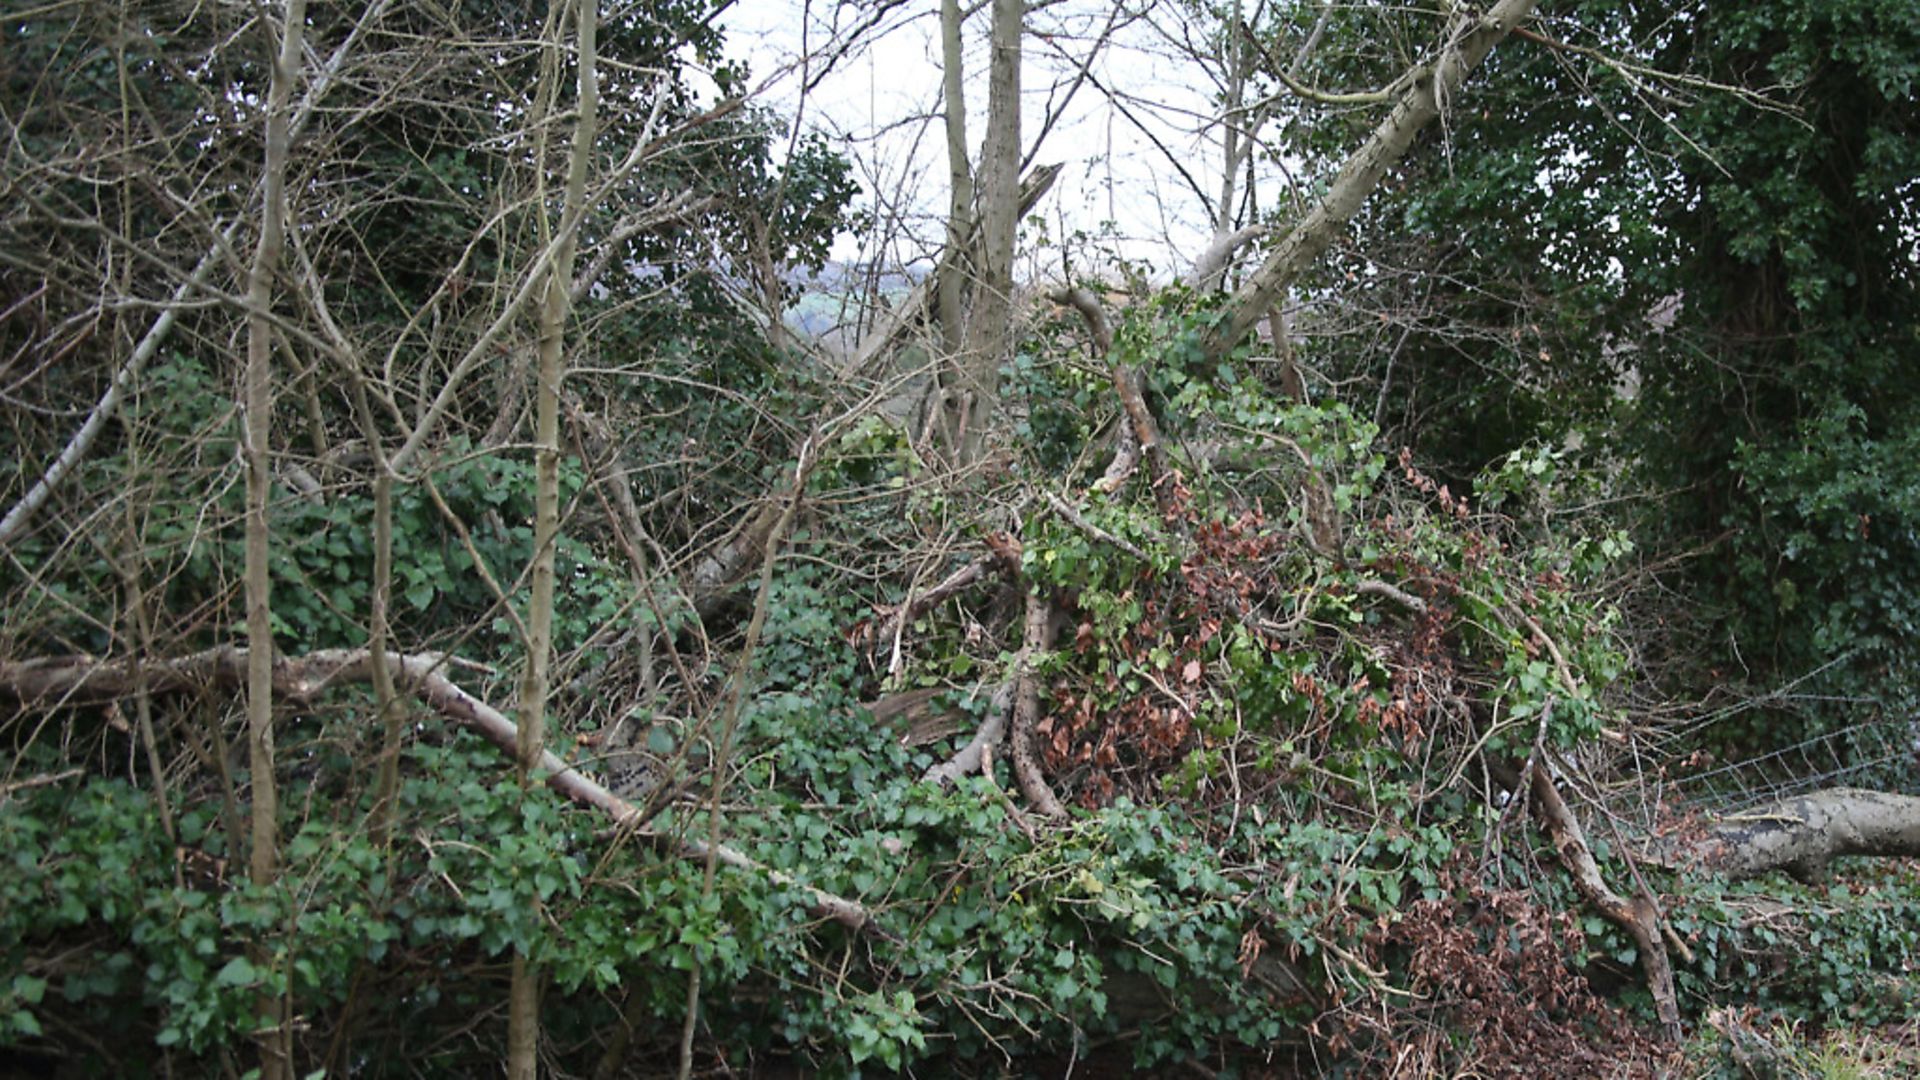
Last month I emphasised how crucial it was to do your homework and site your hide in the most potentially productive area of your shoot, and then to position it within comfortable shooting range of the perching birds, on the ‘right’ side of the ‘sitty tree’, with no pellet-deflecting twigs between you and your quarry. Having covered these absolute essentials, it’s time to build the hide. I always try to use as much of the natural surroundings as possible, which usually means existing trees, bushes and foliage, as my hide’s mainframe, braced with dead branches, either sawn from fallen trees, or carried from other parts of the shoot. I also build my hides without destroying the natural camouflage around it. The less visible disturbance, the better.
The nature of the surrounding area should dictate the appearance of your hide, and keeping it looking as much a part of the landscape as possible is definitely an advantage, although it’s not essential. I’ve had success from hides that were just ‘igloos’ of branches, twigs and leaves, and stood out like brown blobs on a flat field. The secret is to build such obtrusive hides in stages to give the wild residents time to become accustomed to them.
 credit: Archant
The finer points of construction
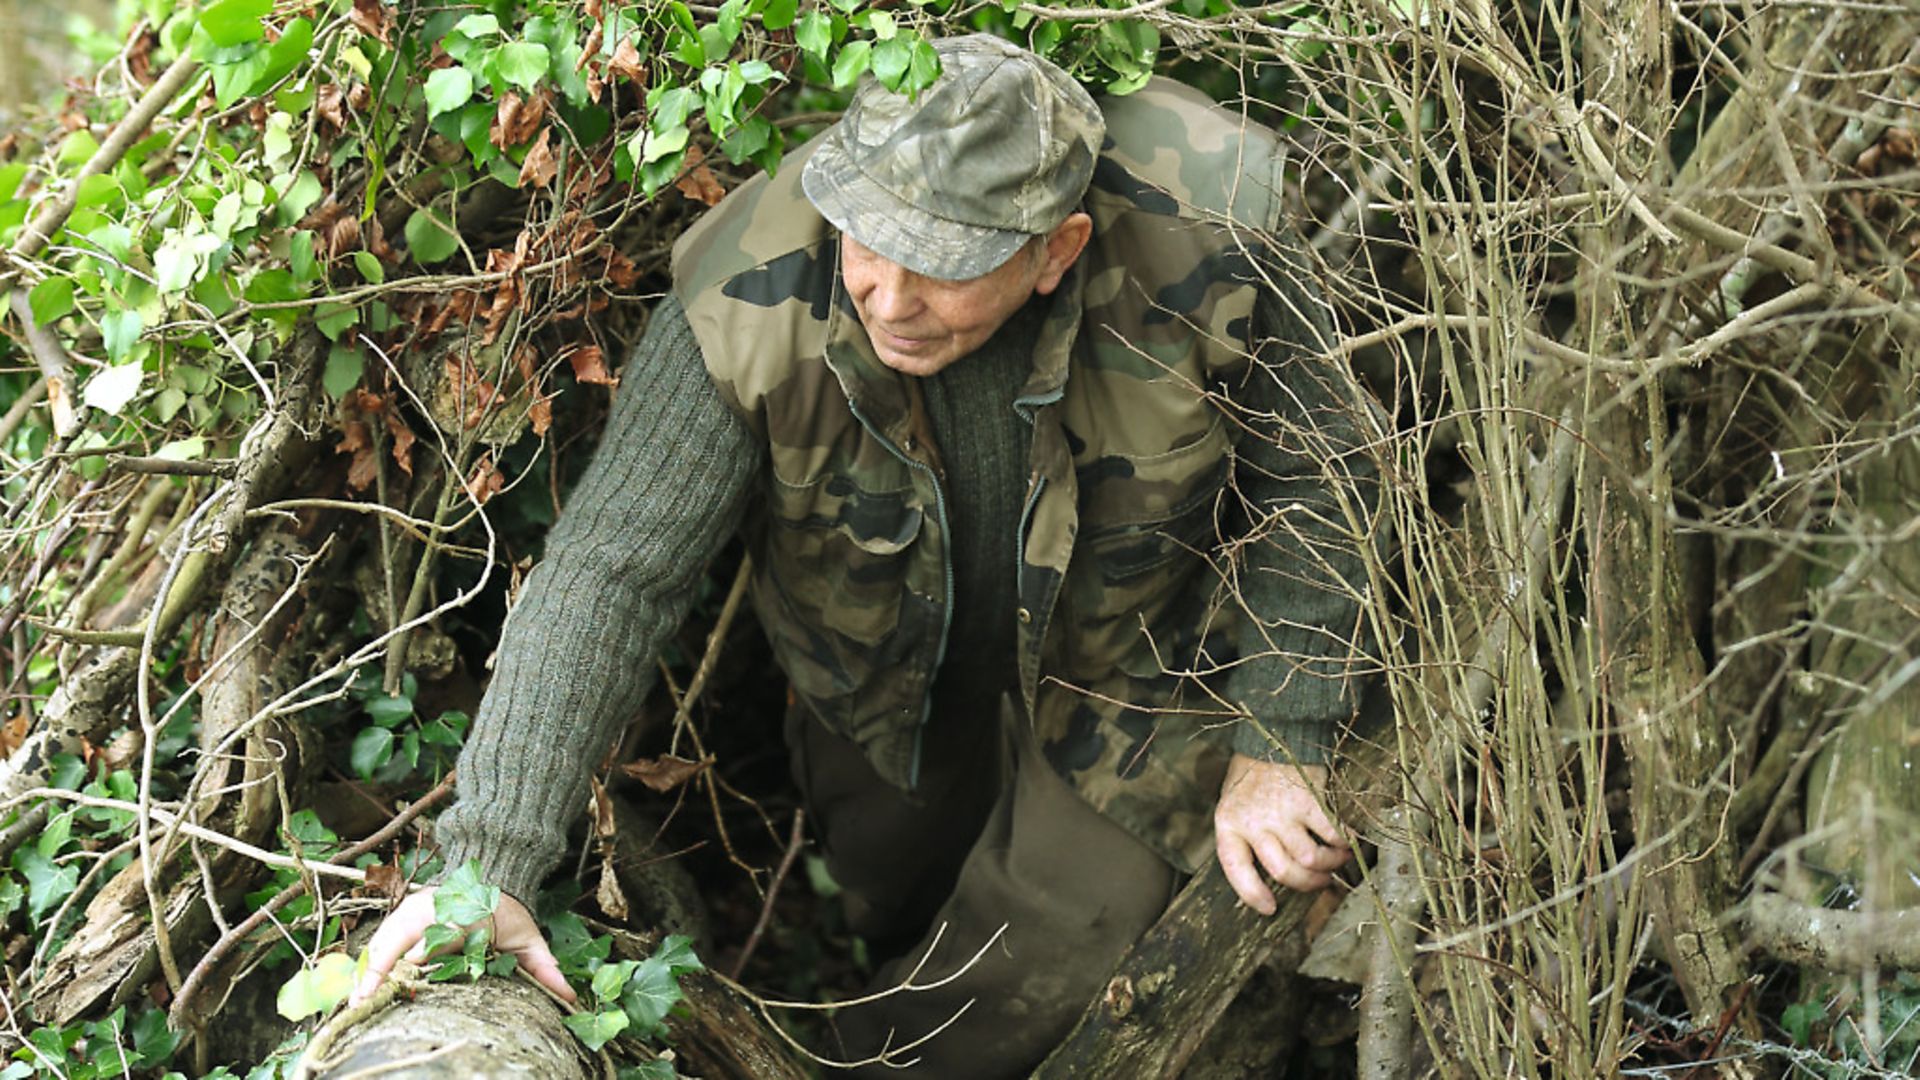
Generally, I begin by assembling a basic framework from the largest dead branches I can find and handle. A folding saw is the best tool for this job, and a ball of thin rope or paracord is perfect for binding the framework together. One day, I ran out of my usual cord and had to use some bright blue plastic baling twine I found on my shoot. It was highly visible and I vowed to replace it on my next visit, but I never did and that hide has been one of the most productive I’ve ever built. I still won’t use anything as visible as that, though!
Once the main frame is in place, just cover it with smaller branches to enclose your shooting position and provide a lattice of supports to which the final covering can be attached. Remember, you’ll need to be invisible to incoming and ‘scouting’ birds, too, and that includes crows as well as pigeons. The last thing you need is for birds to be wheeling away after spotting you and signalling danger to your intended quarry, so go for total coverage if you possibly can. I have a rule – if I can fool the crows, I’ve got it about right.
Carry on attaching those smaller branches until you have a network of twigs that will support the hide’s final covering. Don’t worry about making a door or windows at this stage, these can be cut out later.
 credit: Archant
Dressing for success
Now for possibly the most important phase in the build, the hide’s top cover. This time, you’re going for a ‘light tight’ effect, so any movement inside the hide can’t be spotted against incoming streams of light. Again, study what’s growing naturally and use that to plug the gaps. If you’ve taken care not to trample the ground vegetation surrounding your hide, you just need to complement that, using similar plants gathered from adjacent areas. At this time of year, dried nettle stems and bracken are the most common cover plants for your hide’s lower section, but whatever is growing near your hide will tell you what to use.
For the upper sections of your hide, ivy is an incredibly useful example of natural cammo, especially if you take care not to have too many leaves with their undersides showing. Leaves that have been turned over are a highly visible warning, so if you’re using ivy, ferns, or any other form of greenery, keep those leaves the right way up.
Keep applying the top cover until no chinks of light are visible, then add some more to the top and back of the hide to allow for shrinkage when the vegetation wilts.
I used to line the top and back of my hides with black plastic, and this definitely helps to make any hide ‘light tight’, plus it adds a degree of rain-proofing, but these days I tend to let the vegetation actually grow around and over my hides, and I’ll fill any thin areas with a bit more cover the day before I shoot. I also have an old brolly stashed in my main hide, just in case I get caught in a downpour, but more essential prep’, in the form of watching the weather, usually prevents a soaking.
 credit: Archant
Inside story
With your hide built and dressed to perfection, it’s time to sort out a door, a shooting window and some form of seat inside the structure. Start with the door, and this should be only as large as you need to exit and enter the hide easily and quickly. Remove sufficient cover to create the door, obviously without weakening the structure of the hide, and if your hide is small, a flap of cammo netting can be used to maintain concealment.
Your shooting window follows the same principle as the door, in that it should be just large enough for your needs, and no larger. Sighting through your scope, make sure you can cover the most popular branches on the sitty tree and snip away just enough foliage to allow clear shots. I then tie on a sturdy section of branch to the base of my window to act as a rest for my rifle during aiming. I can’t stress enough how important it is to make the shot as clinical and straightforward as possible, and I do everything I can to make dropping each bird a formality.
Are you sitting comfortably?
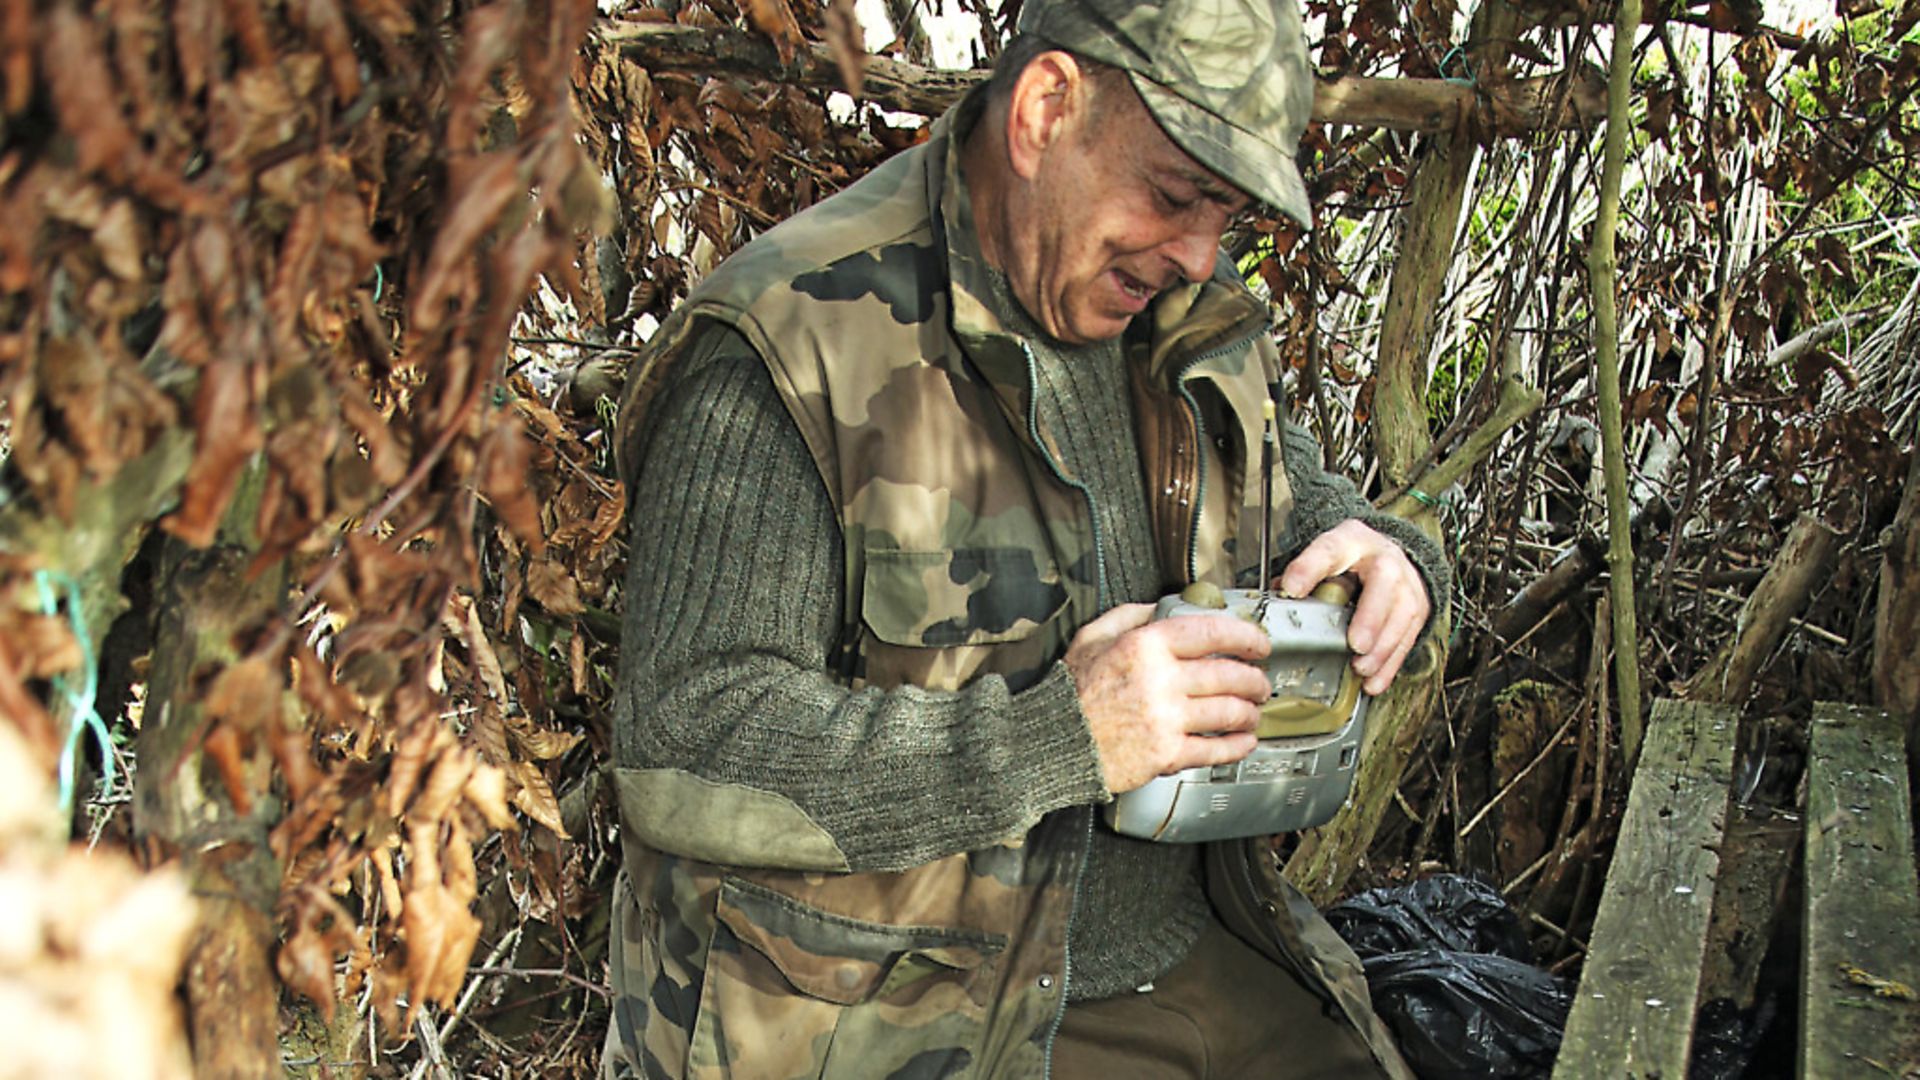
Finally, build yourself a comfortable seat. Sitting for hours on end is considerably less enjoyable with a numb bum, and being uncomfortable will divert your attention from the task in hand, making you and your hide less productive. I usually make a bench from a couple of log sections and sit on a beanbag shooting seat, so I can be comfortable whilst on full alert for incoming birds. I’ll also set up a small shelf for essentials such as binoculars, a flask, or even my old radio – yes, radio, that I listen to on my longer stints. Its volume is set really low so the birds can’t hear it 25 yards away, and it keeps me in touch with events as I’m enjoying my own little world.
 credit: Archant
I believe it’s really important to make yourself comfortable throughout your hide-shooting sessions. You’ll be more relaxed, more successful and you’ll definitely get more enjoyment from your hide hunting.
Make the most of every session
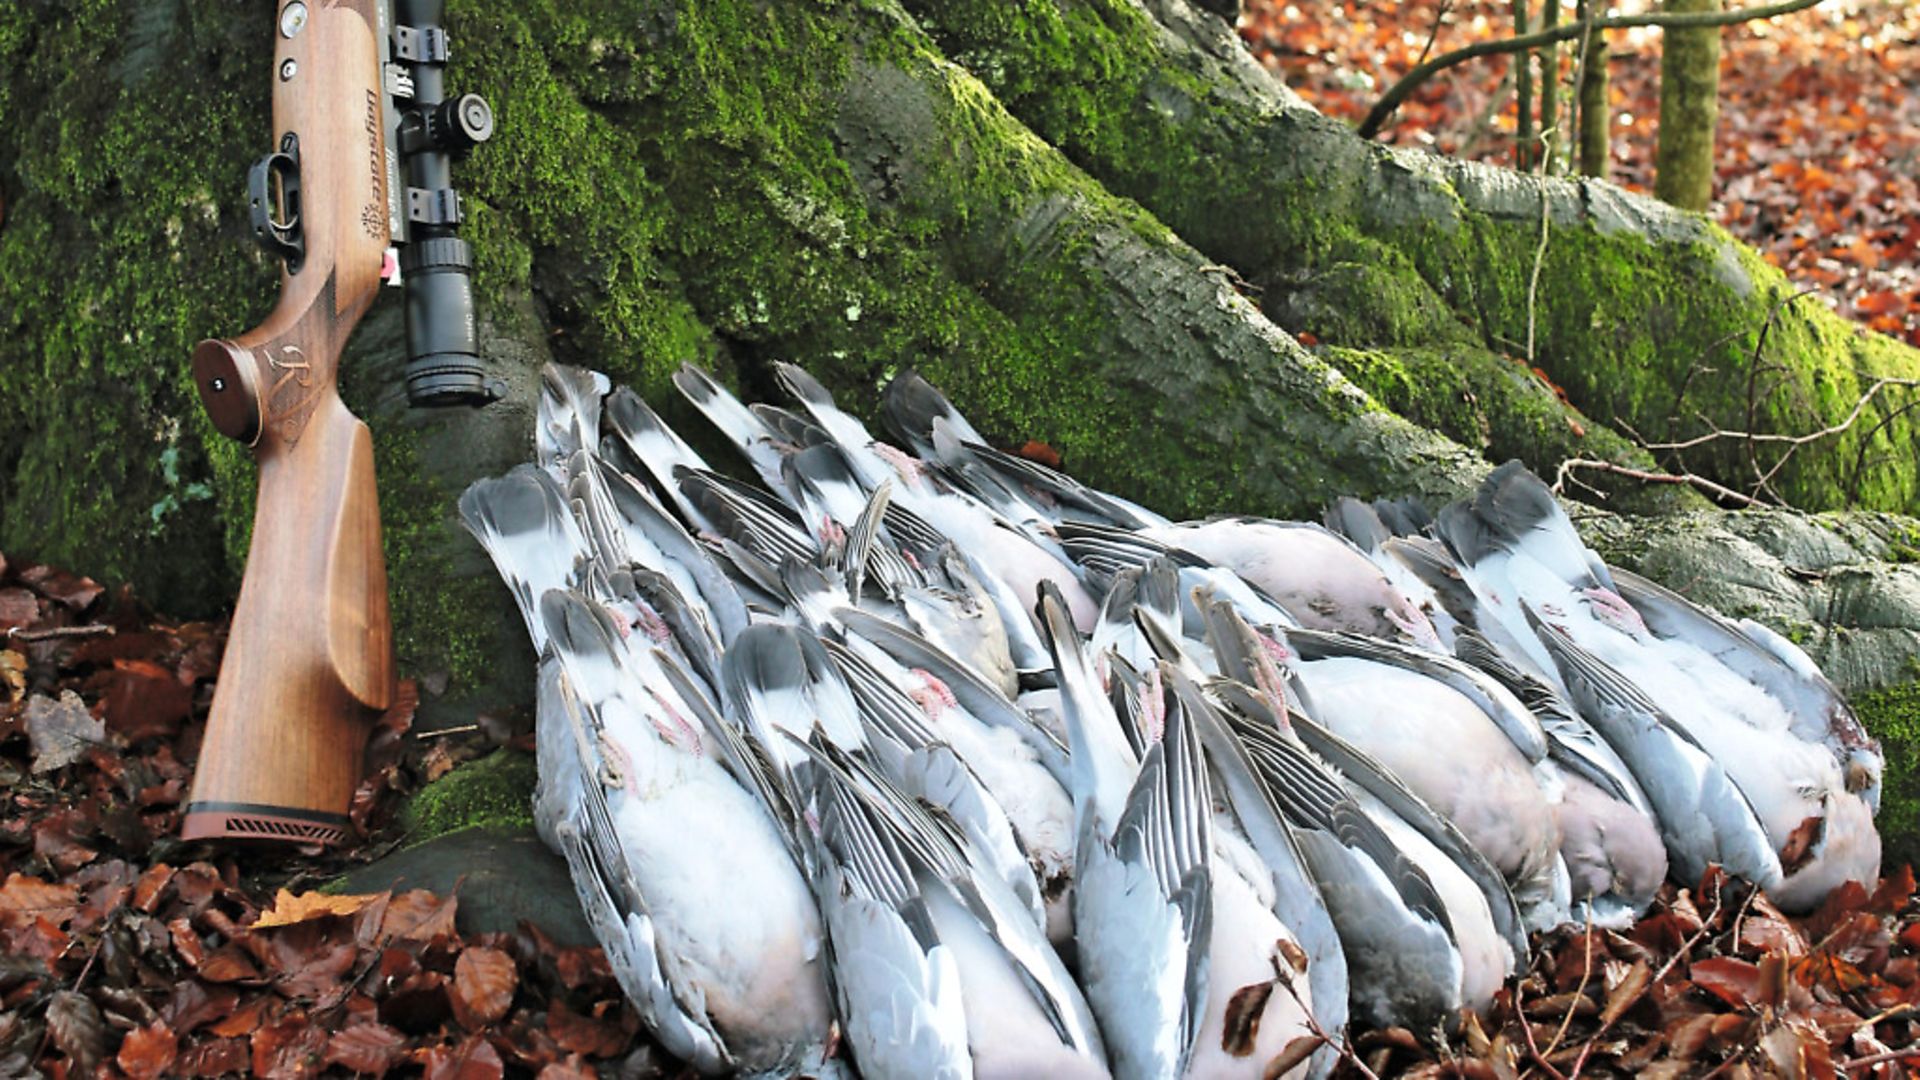
Once you’ve mastered the siting and building of your hide, the key to getting the most from it is far more down to timing than marksmanship. It might surprise people to learn that I rarely spend more than three hours in a hide, but that’s usually an hour more than I need to make a good-sized bag and keep my freezers topped up with what I regard as the best wild food on the planet.
As ever, getting the timing right is all about preparation; specifically watching the birds and learning their habits. After years of observation, I know the times that certain hides really come into their own, because the birds will be either feeding or digesting what they’ve eaten in the various sitty trees covered by those hides. With this information in the bank, I can target the birds at the most productive times, rather than sitting around all day hoping they’ll turn up.
Final prep
Just before I install myself in a hide, I’ll set out a few decoys, and I’ve always found ‘feeding’ deeks to work best. Hide shooting with an air rifle is a different matter entirely compared to using a shotgun and taking birds on the wing. In our version, the birds need to settle and relax, rather than simply fly within range, so I prefer to use previously shot birds as decoys, but there are some excellent artificial ones available.
Setting up a ‘feeding’ bird is a simple matter of propping up its head with a twig and facing the bird toward any breeze there might be at the time. Four or five pigeons, seemingly feeding contentedly, is more than enough enticement to encourage others to perch in the branches above them, and that’s all the chance you need.
Taking the shots
As I keep saying, I strive to make the shooting part of the hide-hunting technique as easy as possible, and that always means taking the closest shots first. Often, several birds will alight together, and I’ll be straight on to the one that presents the least demand on my marksmanship. Off the zeroing bench in my garden, my .177 Daystate Royale can group its JSB pellets inside 20mm at 45 yards, wind permitting, so the 25-yard range at which I’m taking pigeons is no demand on the accuracy of that rifle whatsoever. I use a silencer that muffles the sound of the shot to almost nothing, and I shoot off a rest in my hides. I also know the ranges of my quarry’s perching hotspots, so it’s just the wind that can mess things up for me, and sometimes, even with so much in my favour, I still miss, as does everyone else. I’m pleased to say it’s a rarity, but it does happen. The important thing is, I’ve done my utmost to reduce the chances of missing, and I believe we should all do that.
As the session progresses...
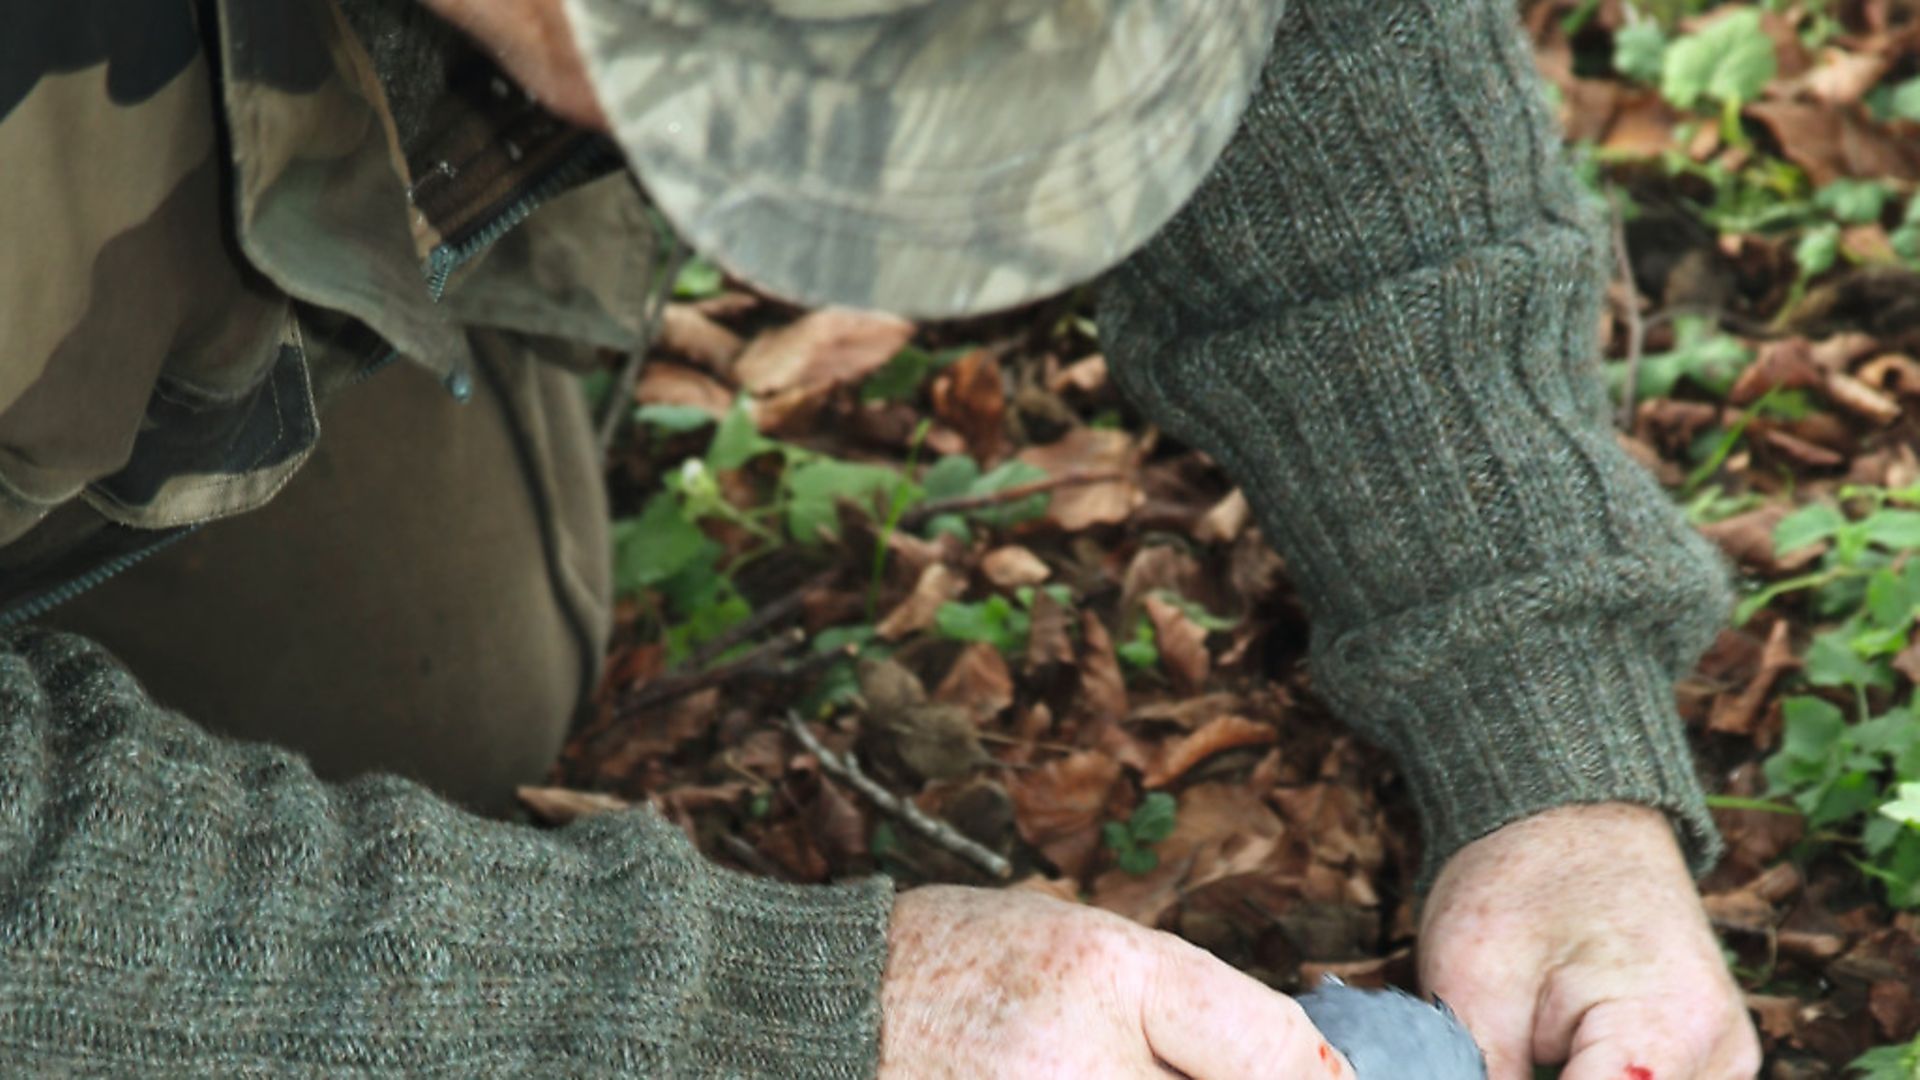
If a shot bird is lying on its back, wings spread, I’ll nip out, flip it over and turn it from a scarecrow to a decoy. I can do this in seconds and the results are undeniable. In the few hours I’ll be shooting, I’d expect to ‘convert’ dead birds to deeks about five times. On the other hand, if the birds keep coming, I’ll keep dropping them, but as soon as there’s a lull in the action, out I go to fix things. I’m so much happier when everything’s working as I think it should, and being happy in my shooting will always be my greatest goal.
Things I don’t do
Before I close, I’ll just mention some things I never do, starting with wasting edible quarry. Please find an outlet for your pigeons, rabbits and squirrels. Pensioners, wildlife sanctuaries, butchers and restaurants will take your lead-free offerings, so don’t leave them for the foxes.
I also don’t shoot ‘my’ pigeons at their roost sites, unless they’re in plague proportions and the landowners want big hits to reduce numbers. Apart from rats and grey squirrels, I do my best to manage the vermin on my permissions, rather than conduct a wipeout policy.
Finally, I never forget what a privilege it is to be doing what I so love to do, and how easily it can all be lost. I do my best to avoid losing it by trying hard to be an asset to those who grant me permission to hunt on their land, rather than regarding myself as doing them a favour by controlling vermin for them.
This mindset, and the ever-growing list of things time and experience have taught me, have allowed me to become successful at hide-shooting and hunting with an air rifle. I hope it does the same for you.
__________________________________________________
Read the first part of Barry Hearn’s hide-hunting masterclass here.